StoreHippo Help Center
StoreHippo Help Center
call to replace anchor tags contains '/admin' in href
 2017-01-03T11:59:56.116Z
2019-04-29T08:18:50.130Z
2017-01-03T11:59:56.116Z
2019-04-29T08:18:50.130Z
Configure Login with Facebook
Mr.Rajiv kumarAt StoreHippo, you can allow your customers to log in through Facebook to perform basic operations like placing orders, tracking order status etc.
To set up account kit in your store, you need to follow the steps mentioned below:
- Log in to your Facebook account and go to https://developers.facebook.com/.
- Click on Get Started.

- Click on the Next button.
- In the next step, you are required to verify your developer account with your phone number.

- The App name and Contact email are pre-populated but you can edit it as per your wish. Click Next.

- Next, Facebook asks for your profession. Choose what you do.

- Click on Add your first product. You are entered in your developer's panel.

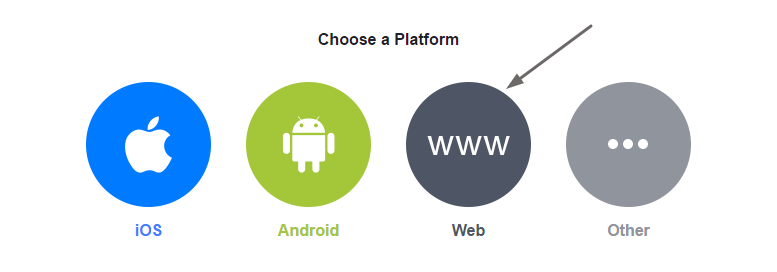
- There you will see options like Account kit, Facebook login, Audience network etc. Click on Facebook login to setup login through facebook for your store.
- In next step, select the platform as Web.
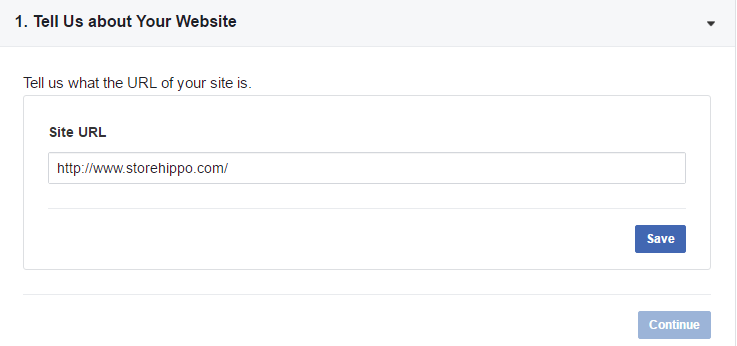
- Enter the URL of your site in the specified field. Click on Save and then Continue.
- Now, add the basic settings of the app. In the left panel, click on the Settings > Basic.

- Provide the Privacy Policy URL of your website in the settings and click on Save Changes.

- After you added the basic settings of the app, you need to review it. To review your app, turn on the toggle button as shown in the image below.

- When you turn it on, a pop up appears asking if you want to make the app public. Click on Confirm button.

- Now, go to Facebook Login under Products in the left bar. Click on Settings. All the settings on the screen should be as shown in the screenshot below:

In the valid OAuth redirect URLs, provide the callback URL by mentioning the URL of your domain with bothhttp and https, followed by "/auth/facebook/callback" as shown in the screenshot above. - Now, go to the Basic settings.
- Copy the App ID and App secret from the screen.


Configuring Facebook login in StoreHippo
To configure Facebook login in StoreHippo,
- Go to
Advance settings > Login providers section in StoreHippo Admin Panel. - Click on Add New button to provide login provider for Facebook.
- In the form appeared, provide Title as Facebook login.
- Select Type as Facebook.
- Enter the Facebook settings "API key" and "API secret" you have generated in the above steps. Select Permissions that you want to provide to your users from the drop-down.

- You can provide the domain and flag if you wish.
- Save and enable the login provider.
Please note that if your website is not hosted on https, you must disable the Enforce https checkbox for the proper functioning of Facebook login.
According to Facebook, you should plan to migrate any existing apps to use only HTTPS URLs by October 6, 2018.


