- Email:
[email protected]
Phone:
+918010117117
StoreHippo Help Center
StoreHippo Help Center
Designing themes
Mr.Rajiv kumarA beautiful store design makes the first impression on your customers and speaks to them on your brand's behalf. An aesthetically beautiful site offers stickiness and helps you engage your customers better. StoreHippo offers simple tools and features under the design theme to make the process of creating an impressive web design template super-easy for you.
The StoreHippo theme designer allows you to edit your themes and preview your changes in real time. It has a wide range of tools that make the theme designer useful for beginners as well as experienced web designers.
To access the theme designer, click on the Design Theme icon in the top header of your StoreHippo Admin Panel. ![]() Clicking on the icon will open the design theme in a new window.
Clicking on the icon will open the design theme in a new window. 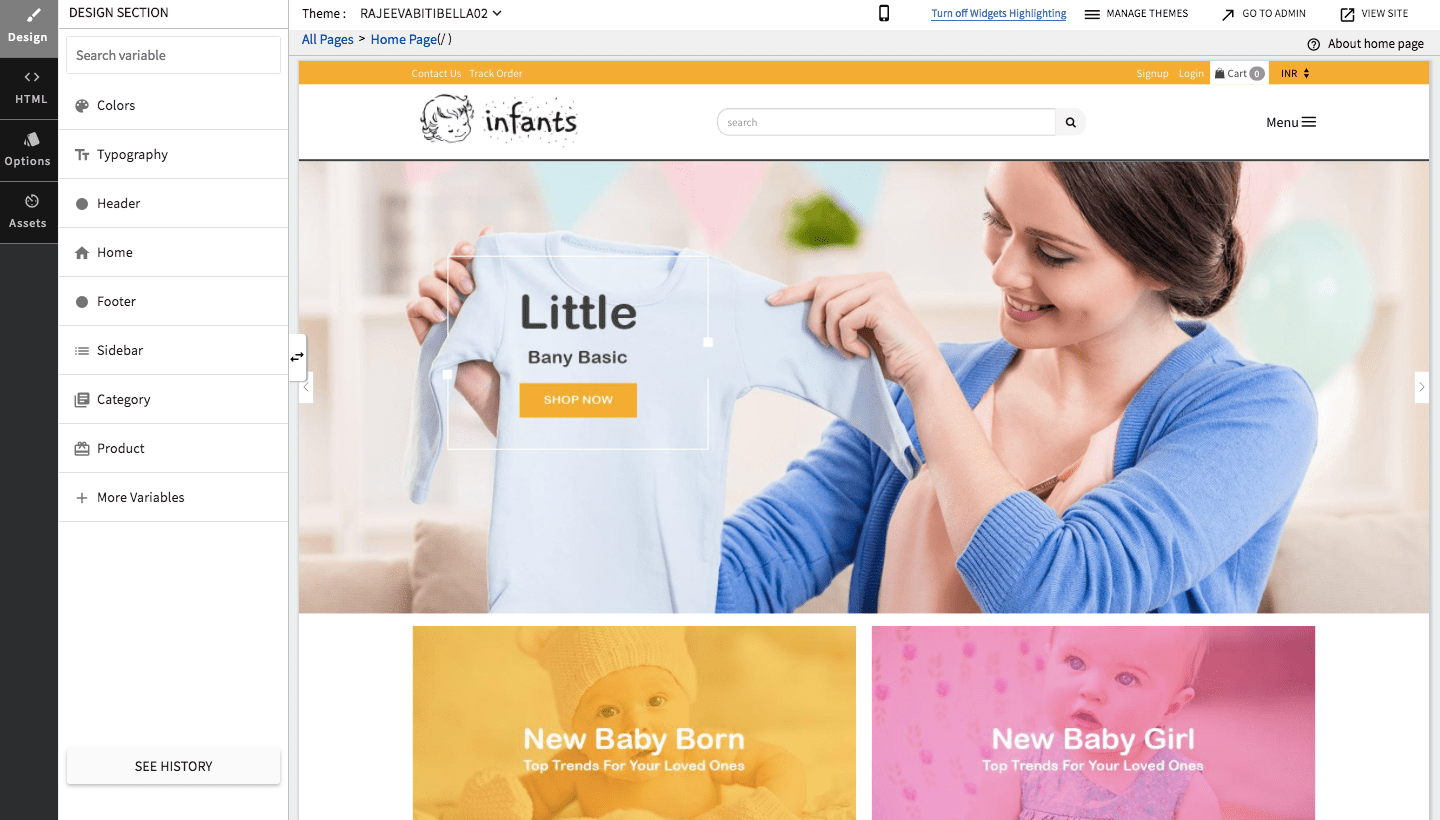 The design theme consists of the Left Navigation Panel, StoreHippo Dashboard, and Top Navigation Panel.
Top Navigation Panel
The top navigation panel consists of many options which are explained below:![]()
Theme
StoreHippo allows you to configure and design multiple themes for your store. Using this option, you can switch between themes and customise the settings of the selected theme. All the themes that you imported in the Site > Themes section of your admin panel
A message is displayed when the
Mobile/Desktop view
Clicking on the mobile/desktop view button opens the mobile/desktop view of the site. You can review and edit the display as per your desire.
Turn off widget highlighting
Using this option you can on or off highlighting of widgets in the themes preview section.
Manage themes
Using this section, you can manage all themes which are applied to your store. When you click on MANAGE THEMES, it takes you the Themes section (Site > Themes) in StoreHippo admin panel.
Go to admin
Clicking on GO TO ADMIN takes you to the admin panel of your store. This button is directly linked to the admin panel of your store. When you click on it, you will get redirected to the admin panel.
View Site
View site opens the store's front end for you. This button is directly linked to your site.
Breadcrumb
Breadcrumb shows the name and URL of the page that you are currently editing in theme.
About <home> page
An optional link in the right corner takes you to another help
Left Navigation Panel
The left navigation panel consists of 4 sections described below:

Design Section
The design section is ideal for beginners and users with little or no technical knowledge. It allows store owners to change the look and feel of their store by changing a few settings. In the 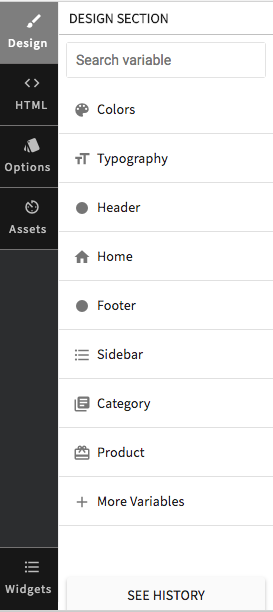
Design theme consists of the general groups which are available in most themes. These are explained as below:
Colors
Typography
You can make the font based changes in the selected theme through the typography section.
Header
All the variables related to the header of the selected theme are accessible in the Header section.
Home
You can access the variables related to the home section of the selected theme in the Home section.
Footer
You can access the variables related to the
Category
You can access the variables related to the category page of the selected theme in the Category section.
Products
You can access the variables related to the products page of the selected theme in the Products section.
More Variables
- Miscellaneous: This section covers the general variables of the selected theme.
- Global: This section contains the variables which affect the theme functionality globally.
- CSS: This section allows you to custom style the theme through CSS.
- Product grid: This section allows you to access the variables related to the product grid section.
- Images: This section allows you to make changes related to placeholder images of the selected theme.
- Widgets: StoreHippo provides you with many widgets for every section in the theme. You can define the name of the desired widget which you want to apply in the theme in the widgets section. This section is available only when the selected theme is global.
- Checkout: This section allows you to make changes to the checkout section of the selected theme.
When you make changes to these variables, then you can preview your changes, whether these are looking good in your store or not before saving. If you are not satisfied with your changes, then you can revert these also, otherwise, you can save your changes.

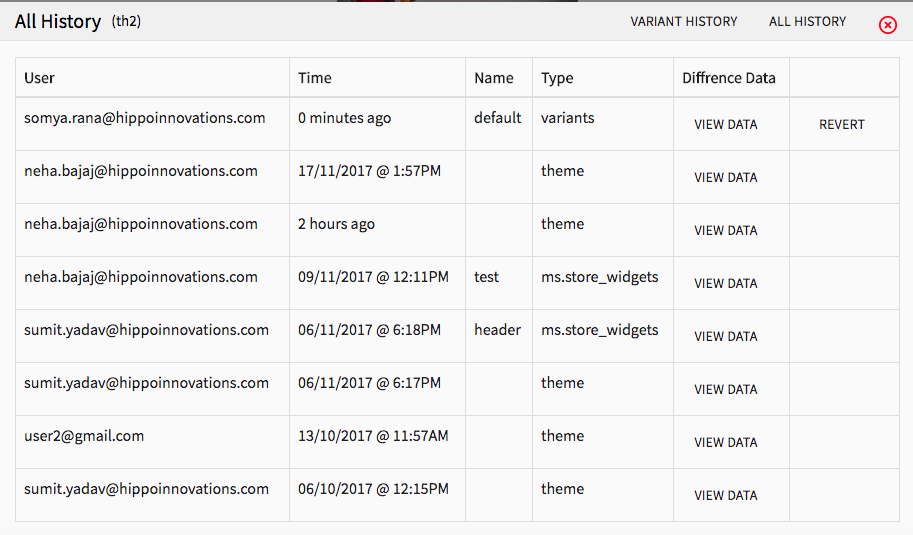
View History
History option is also available to see the history of your changes. It is available at the bottom of the variables. In history, you can see user id, time, difference data and also can revert your changes from here.
HTML Section
The HTML section lets you edit the widgets that make up your theme. By default, the HTML section shows only the widgets used on the current theme page. You can edit any widget, click on the widget name in the
Once you edit the widget, a popup appears that allows you to edit the code, settings, translations, and options of that widget. Different sections/tabs are explained as below:
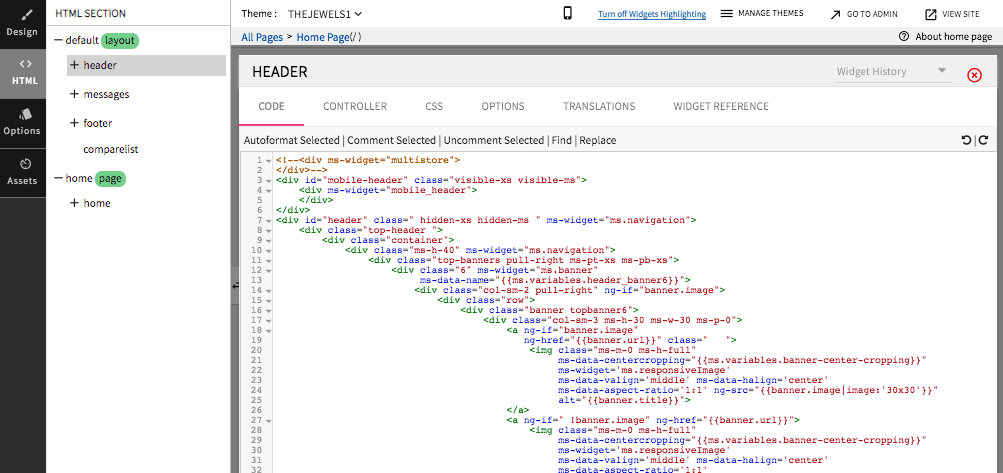
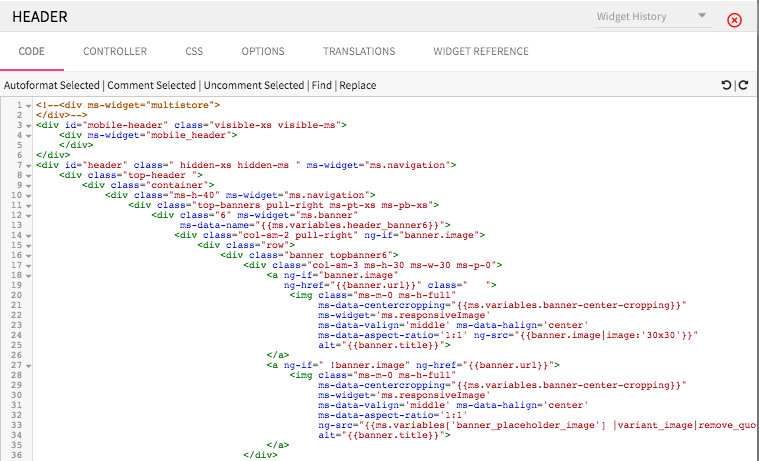
Code
You can access the HTML code of the selected widget in the Code tab. You can edit the code as per your requirement and save it.
Options
StoreHippo provides the Options tab for the ease of use of the user having no or little knowledge of coding. This section allows you to preview and switch between these options without editing the code. 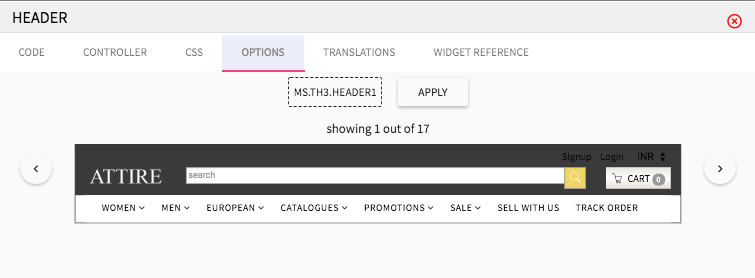
Translations
Translations in the design theme allow you to translate the keys of a widget into another language. This tab lets you provide values to the supported keys for translations of a widget in another language. The values are used for translation on the storefront.
Widget Reference
In the widget reference section, a list of reference and documentation of the global widget and objects used in the widget are provided. 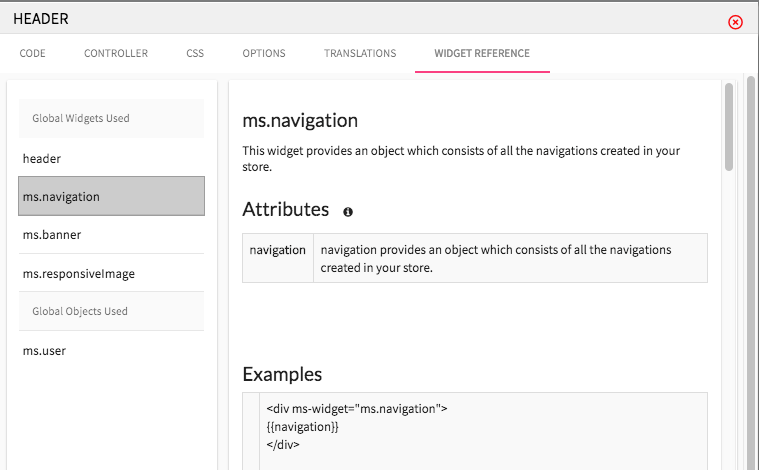
Widget settings
This tab allows you to customise the
Let us take an example of a global widget ms.slides. Here, you can edit the sliding interval for the slides through widget settings.
 Data
Data
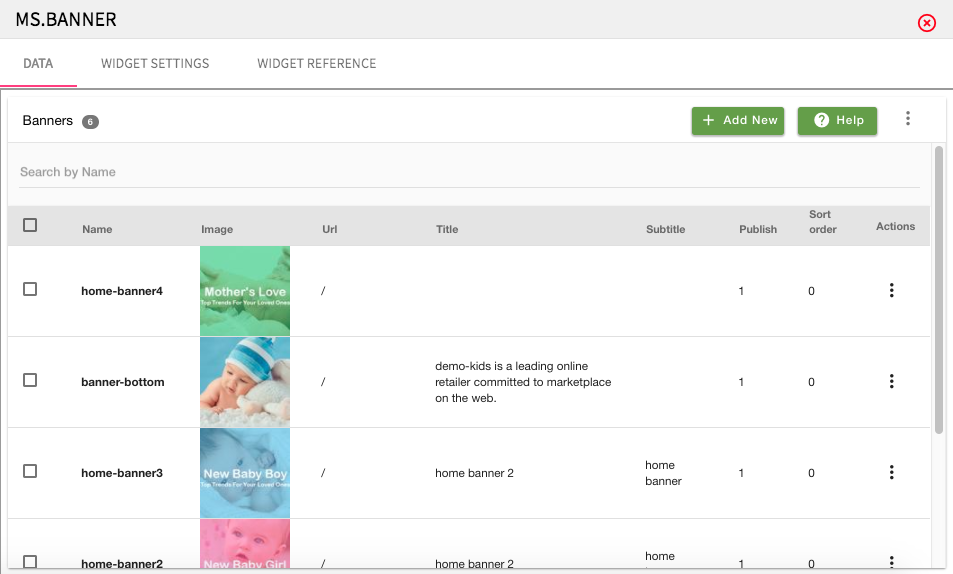
StoreHippo provides the provision to access the admin panel for a particular entity in the design theme to make your experience better. For example, the data of ms.banner provides you with access to the banners section of the
 See all widgets
This section contains the list of all the widgets that are used in the selected theme. You can access and make changes to all the widgets of the theme here. You can edit the code, add translations and view widget reference of all the widgets of the theme. You can also add a new widget to your theme.
Options
Every theme is a collection of multiple widgets. For certain common widgets like header, footer, home, etc., the theme might also offer alternative options. The Options section allows users to preview and switch between these options without editing the code.
You can select any widget and preview the different options. You can choose whichever you like the best and apply it to the selected theme. For example, when you click on the header, then some options for the

Assets
Assets are the resource files like Javascript, CSS, font files, etc. that are referenced in the theme. This section allows you to add or edit these assets.
When you add a new asset file, you need to include it in default layout of the theme to use it in the selected theme.
For accessing the Assets section, your selected theme should be Local. If your theme is Global Or globally linked to the code, then you can not access assets. To access the section, you will need to unlink the theme. 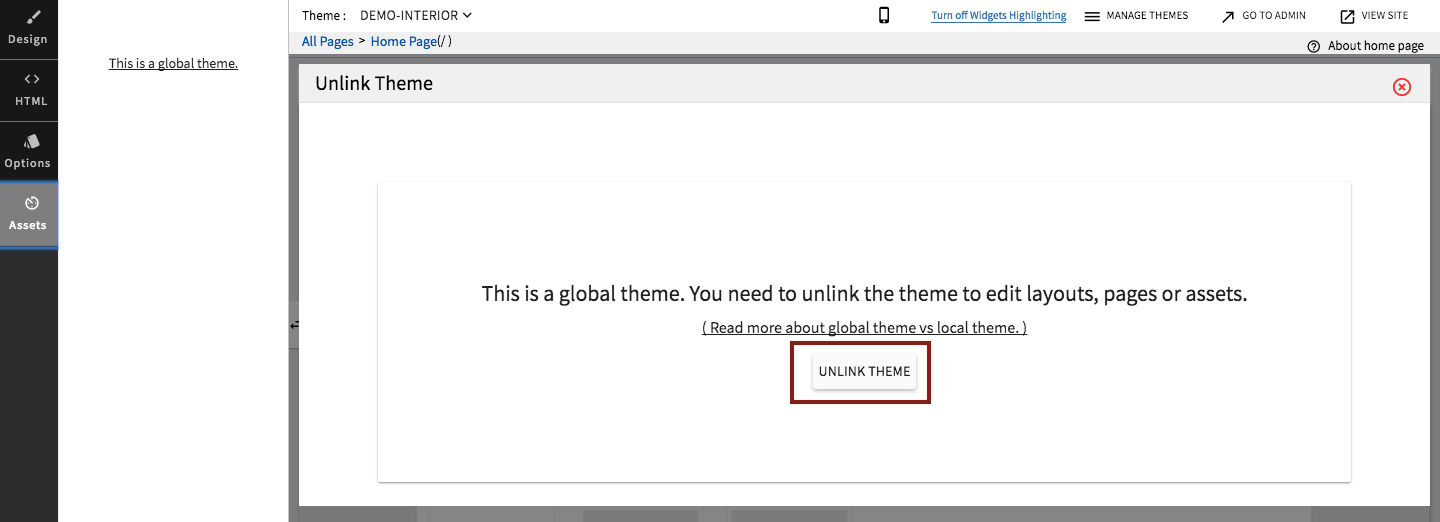 By using the Unlink theme option, you can unlink your theme from global code and access the Assets section.
Know more about the advantages of a global theme in StoreHippo, refer Globally linked themes.
StoreHippo provides some inbuilt assets for your theme, as shown below. You can add or update the assets of the theme. 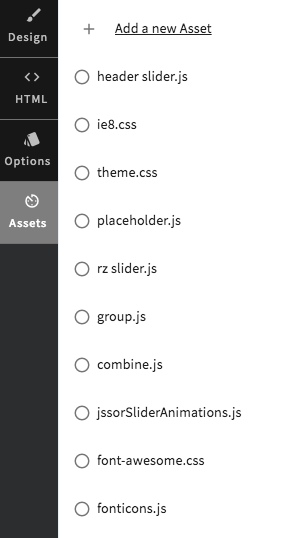
Adding a new asset
To add a new theme, click on Add a new asset. When clicked, the following window appears: If you create a file, provide the file name and content of the file and save it. You can also choose to upload one or multiple asset files.
Home panel
This section provides various amazing functionalities that allow even a novice to design a website effortlessly. The brief description of them is given below: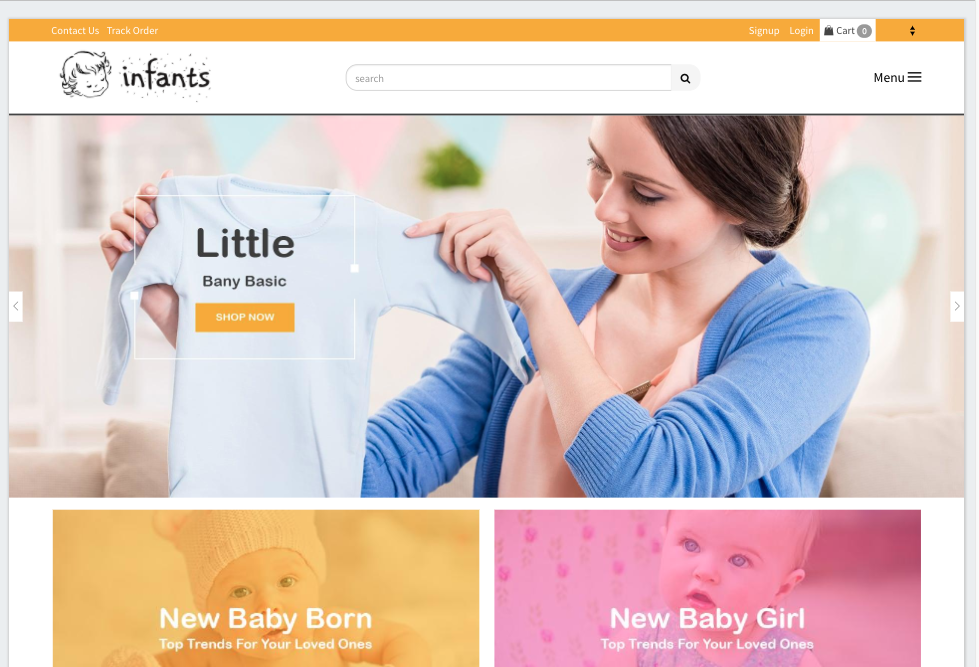
Hovering over widgets
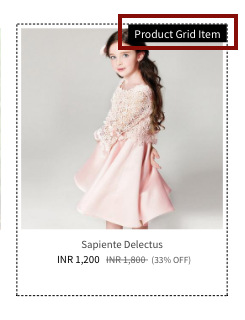
When you hover over widgets, the respective widget in the theme is highlighted as shown below. You can quickly identify which widget's code you need to edit and change any section of the theme. Clicking on the widget name takes you to the code of the particular widget where you can edit it as per your requirement.
Update logo
StoreHippo provides you with
Uploading slides
The support of drag-drop and uploading files directly
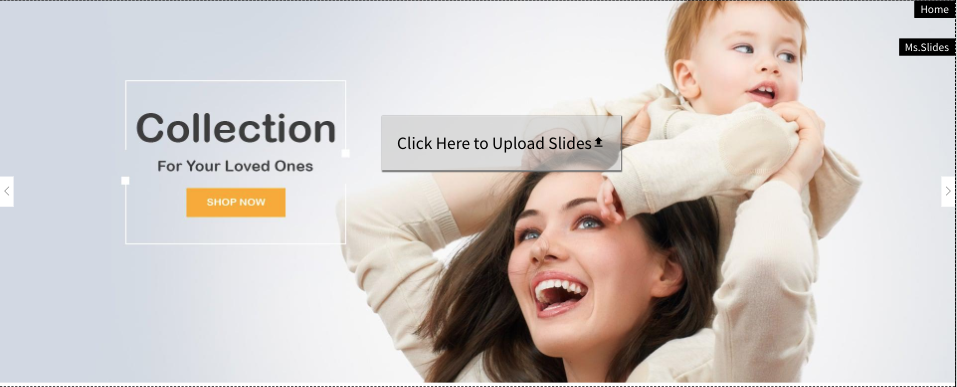 Change banner
StoreHippo allows you to manage banners in the design theme in an effortless way. Hover over a banner, and you will find Change Banner button.

When you click on the button, various options to upload banners appear in the left panel. You can either choose to upload a new banner or select from your existing banners.
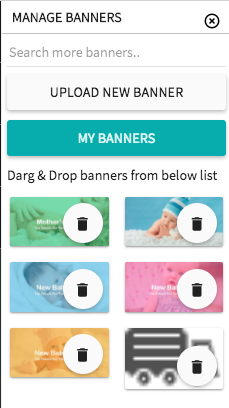 If you wish to choose the banners from your existing banners, you can use the drag and drop functionality for the same.
If you want to upload a new banner, click on the Upload New Banner button. Choose the file and enter its name, title, and subtitle. Provide the URL where you want to navigate the banner and publish it. 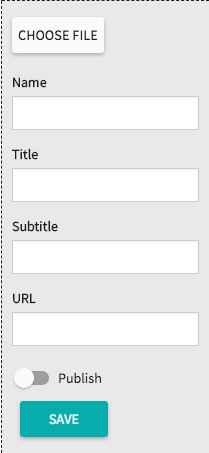 You can also search for banners from the design theme. Enter the name and various options for banners appear to choose from.
FAQ
To add CSS in themes, follow the following steps:
- Go to Design Theme.
- Go to Design > More Variables.
- Click on CSS.
- Edit Custom CSS and make changes to the code.
- Click on Add CSS button in the right corner to save the changes.
The themes appearing in the Theme drop-down list are the themes that are imported into the admin panel from the StoreHippo themes gallery.
You can browse and import a new theme for your store in the Site > Themes section in StoreHippo admin panel.
Know how to import themes, refer
https://help.storehippo.com/topic/importing-a-new-theme


 Data
Data See all widgets
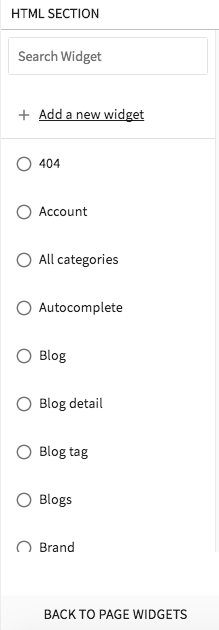

 Change banner

