StoreHippo Help Center
StoreHippo Help Center
Enable iOS Push notifications
Mr.Rajiv kumar1. Setting Up Push Notifications on Developer Account
1. Prerequisites
You'll need two things if you'd like to test the push notifications.
- The first thing you need is a physical device to receive push notifications because the iOS Simulator doesn't support push notifications.
- The second thing you need is a paid iOS developer account. Only paid accounts have provision applications to run on a physical device.
2. SSL Certificate
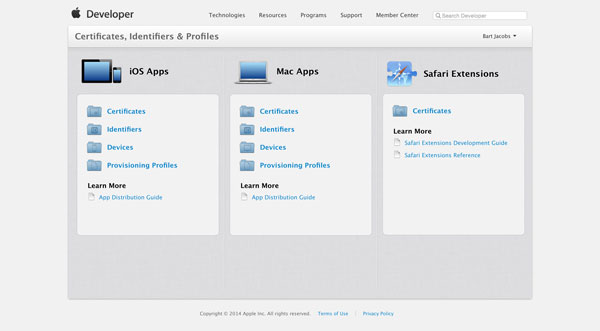
To complete the next step, you need to sign into your iOS developer account at Apple's iOS Dev Center. Choose Identifiers from the iOS Apps sections.
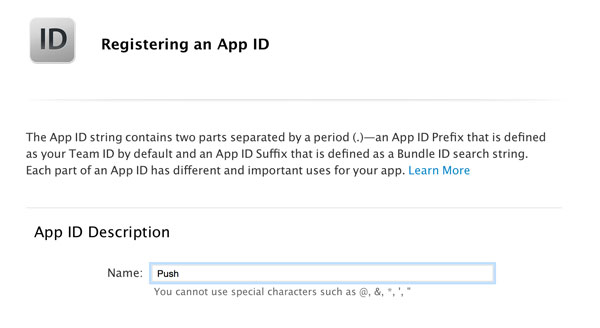
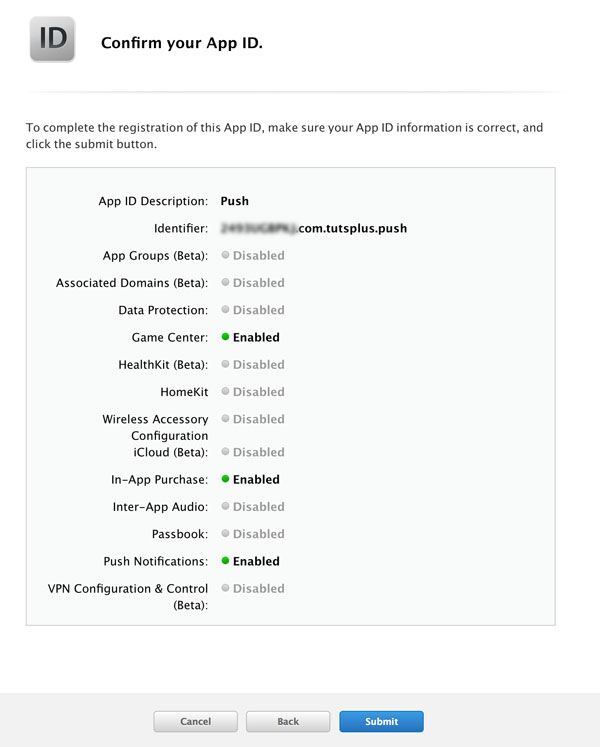
Click the plus button in the top right and enter an App ID Description. This helps you identify the App ID later.
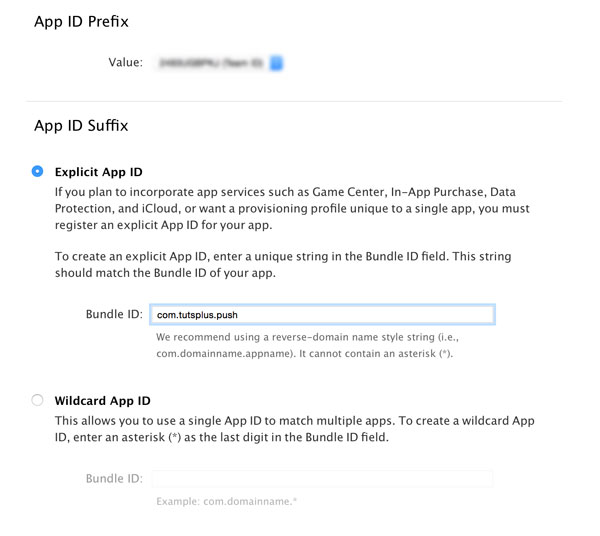
You can leave the App ID Prefix as is, but the App ID Suffix needs to be set to Explicit App ID, instead of Wildcard App ID. If you want an application to receive remote notifications, then you need to use an Explicit App ID, such as com.tutsplus.push, instead of com.tutsplus.*.
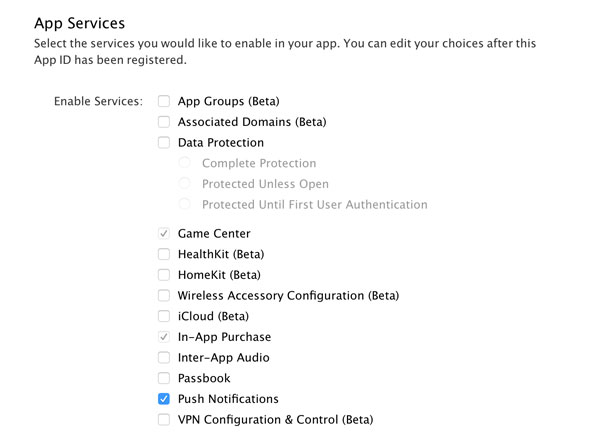
In the section App Services, enable Push Notifications. Click Continue to submit the form and click Submit to create the App ID.
From the list of App IDs, select the one you just created and click the Edit button below it. Scroll down until you see the section that covers push notifications. You should see two buttons
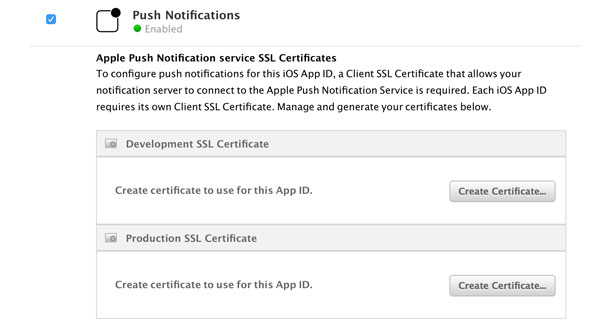
The backend server communicates with Apple's servers to send remote notifications to your application. It sends remote notifications to your application via Apple's servers. For this reason, Apple needs to know that only your servers can connect to their servers. You don't want someone else to send remote notifications to your application.
Generate Certificate File
1. Mac OS:- If you have a Mac or Macbook, then follow the steps to generate the certificate file.
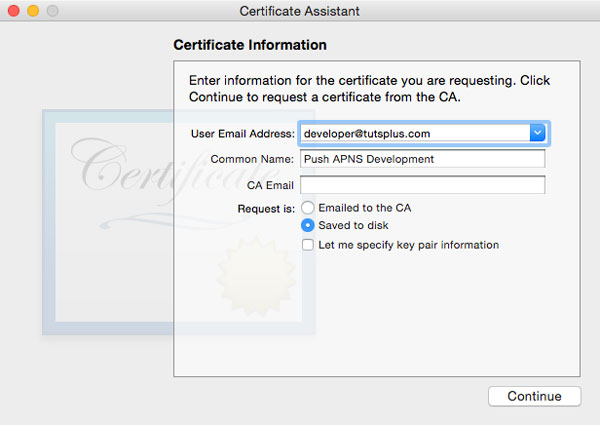
Open Keychain Access on your development machine and select Certificate Assistant > Request a Certificate From a Certificate Authority... from the Keychain Access menu. Double-check that no key is selected in Keychain Access when you select this option.
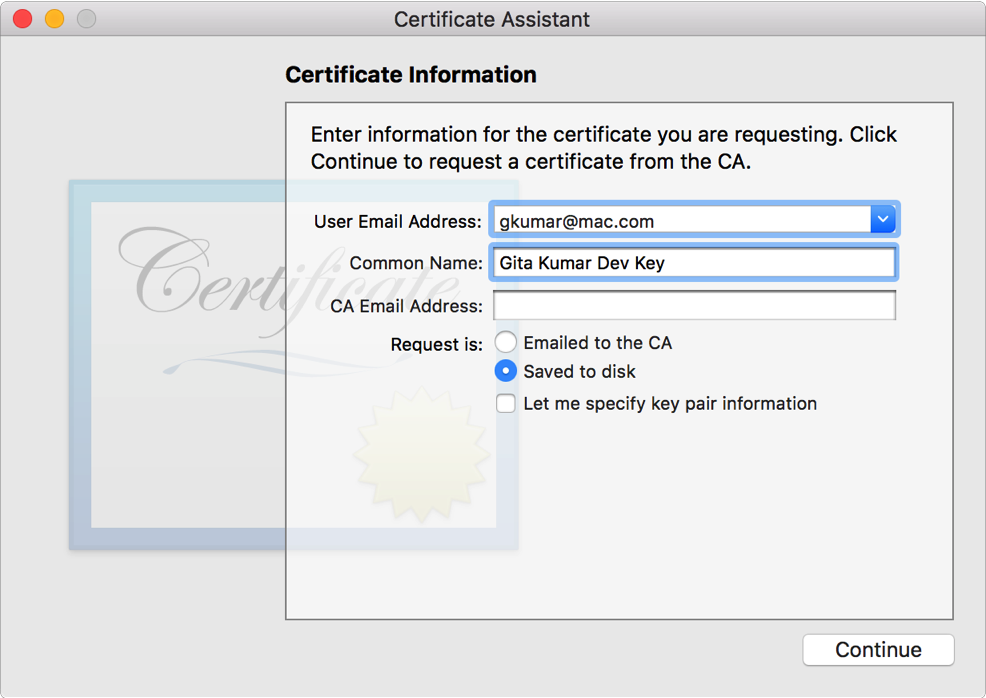
Enter an email address and a Common Name to identify the certificate later. Leave the CA Email field empty and select Saved to disk. Click Continue and save the certificate signing request to your hard drive.
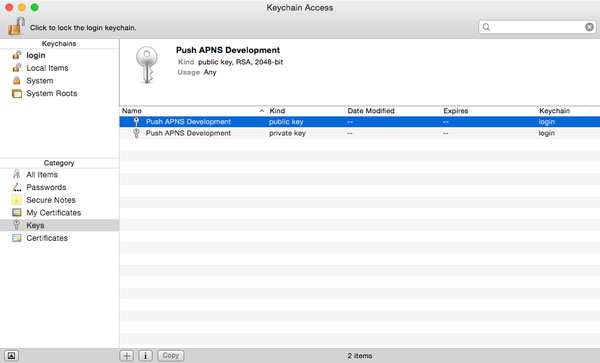
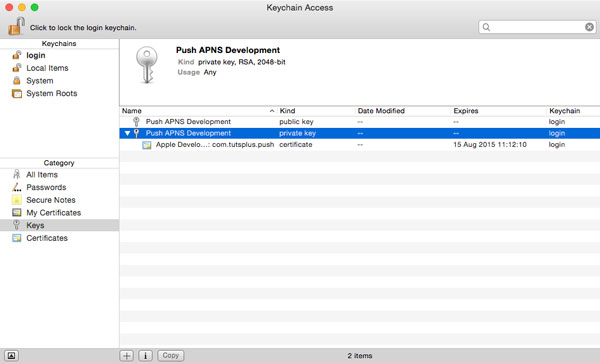
You have created a few things by completing this step. You've created a certificate signing request as well as a public and private key. The keys should be visible in Keychain Access as shown below.
2. Other Os - If you don't have a Mac or Macbook, then follow the steps on Windows or any Linux Environment for generating the Certificate file
-
Open the Terminal (Linux) /Command Prompt (Windows)
- Generate a certificate signing request(CSR) file using following terminal command:
- openssl genrsa -out private.key 2048
- openssl req -new -key private.key -out CertificateSigningRequest.certSigningRequest -subj '/[email protected], CN=Joe Example, C=UK'
Upload Certificate
Head back to the iOS Dev Center and click the Create Certificate... button that we saw earlier. Apple tells you which steps you need to take to create the certificate signing request, but we've already completed those. Click Continue, upload the certificate signing request by clicking the Choose File... button, and hit Generate to generate the SSL certificate.
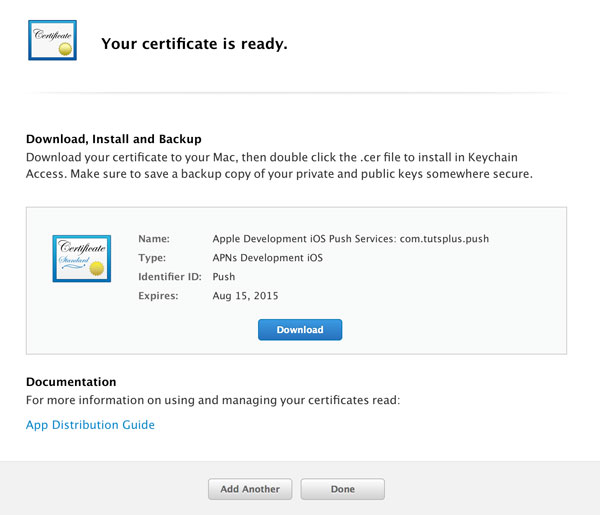
As Apple instructs, download the certificate and double-click it to install it in Keychain Access. Double-check that the certificate is added to Keychain Access and linked to the correct private key.
Application Provisioning
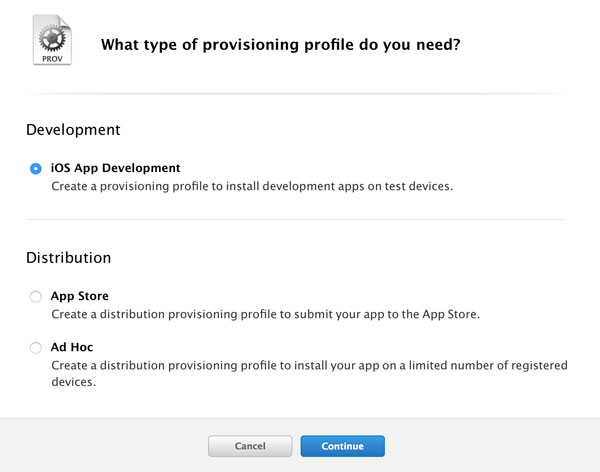
Before we can test our push notifications setup, we need to create a provisioning profile for our application. In the iOS Dev Center, select Development in the Provisioning Profiles section. Click the plus button in the top right and select iOS App Development under the Development section.
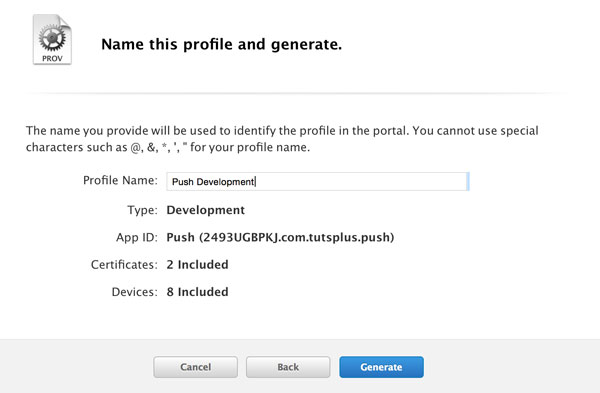
Click Continue and select your App ID from the list. Select the certificates you want to include in the provisioning profile and click Continue. Because we're creating a provisioning profile for development, we also need to specify which devices need to be included in the provisioning profile. Make sure your test device is included. Give the provisioning profile a sensible name and click Generate.
Update in the StoreHippo Admin Panel
Go to the StoreHippo Control Panel and click on the Mobile Apps section.
In the Mobile Apps section click on Mobile Signing Keys section to add the signing keys
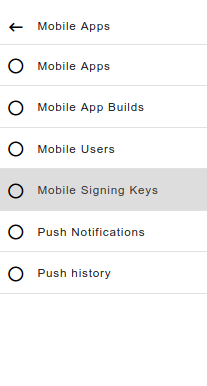 Click on Add New for adding a new record
Download the provisioning profile and insert it into the StoreHippo Admin Panel with the development or production .p12 file in the Mobile Signing Keys. (Refer to the link to create a development or production p12 file.)
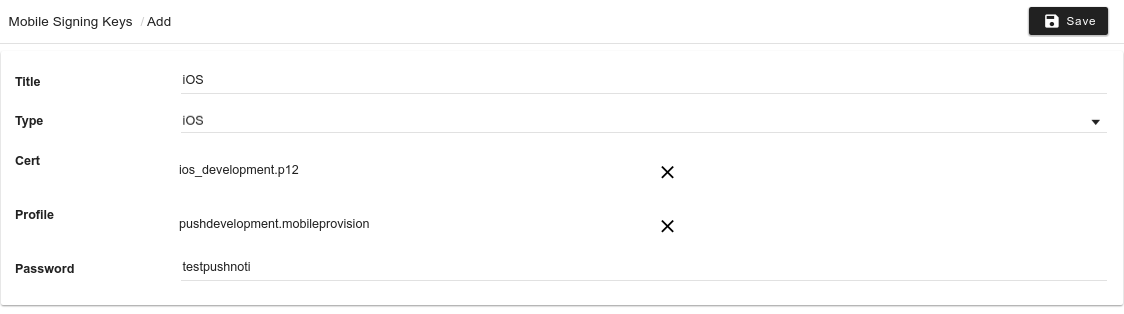
Save the record after filling the form.
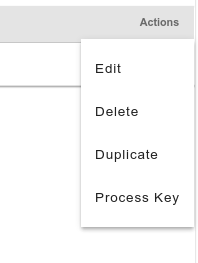
After the record has been saved, the key has to be processed so that it could be used with the mobile app. For that click on Actions and select Process Key.
After it has been processed then build the app with the required key in the mobile app section. (Build for iOS).
If you run into issues, then double-check that the bundle identifier of your application matches that of the App ID. Note that a bundle identifier is case sensitive.
If you've followed the steps outlined in this tutorial, your application should prompt you with the following message.
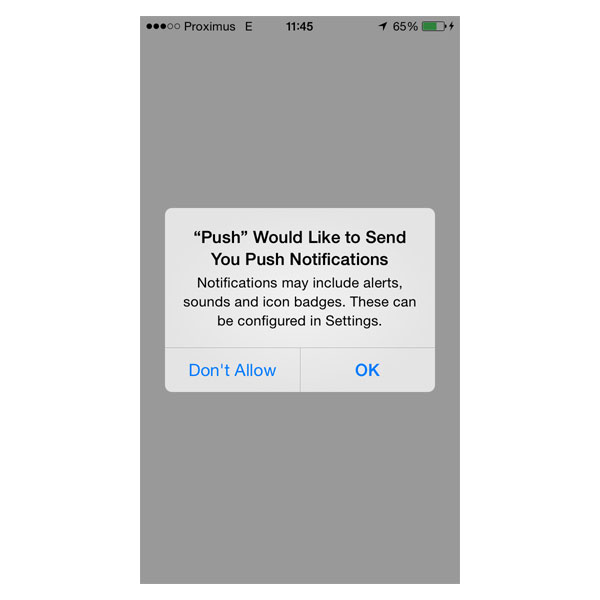
If you tap OK, your application will ask the operating system for a device token. If this is successful, then you would get an entry in the entity Mobile Users with the GCM ID filled with the value that the device provides.
2. Setting Up Push Notifications on StoreHippo Admin Panel
There are currently two options for sending Push Notifications to the users.
- SSL certificate based
- Token based authentication
SSL certificate based
Use a universal client SSL certificate (A client SSL certificate is a certificate that allows a developer’s server to connect to an Apple service. For example, developers use a client SSL certificate to communicate with the Apple Push Notification service.) to establish a connection between your notification server (in both the development and production environments) and the APNs. Create a separate client SSL certificate for each app you distribute that uses push notifications.
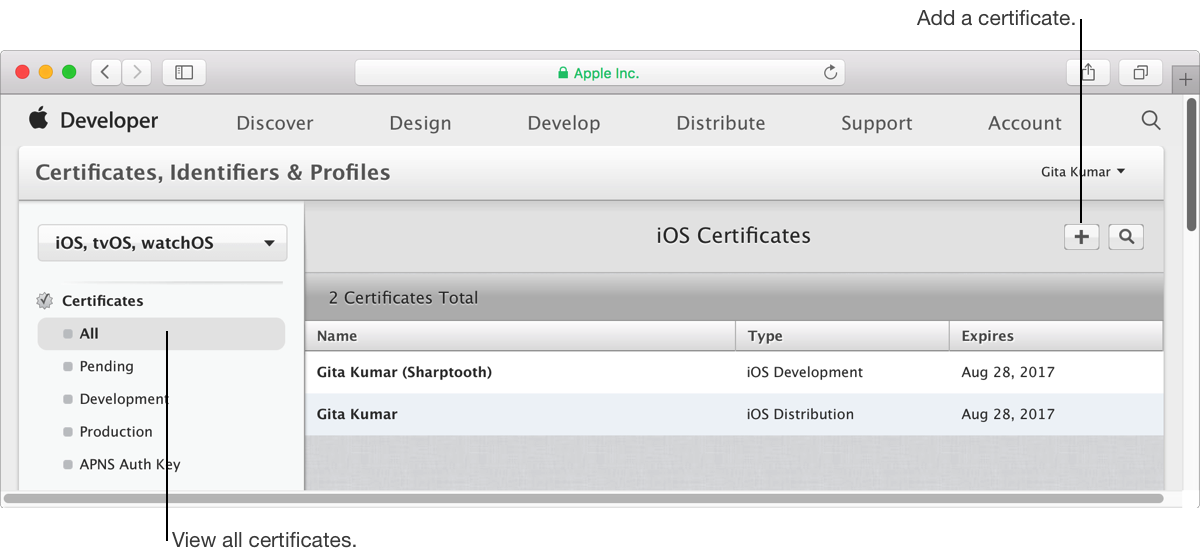
- In your developer account, go to Certificates, Identifiers & Profiles and if necessary, choose the operating system from the pop-up menu on the left (for macOS apps, choose OS X).
- Under Certificates, select All.
- Click the Add button (+) in the upper-right corner.
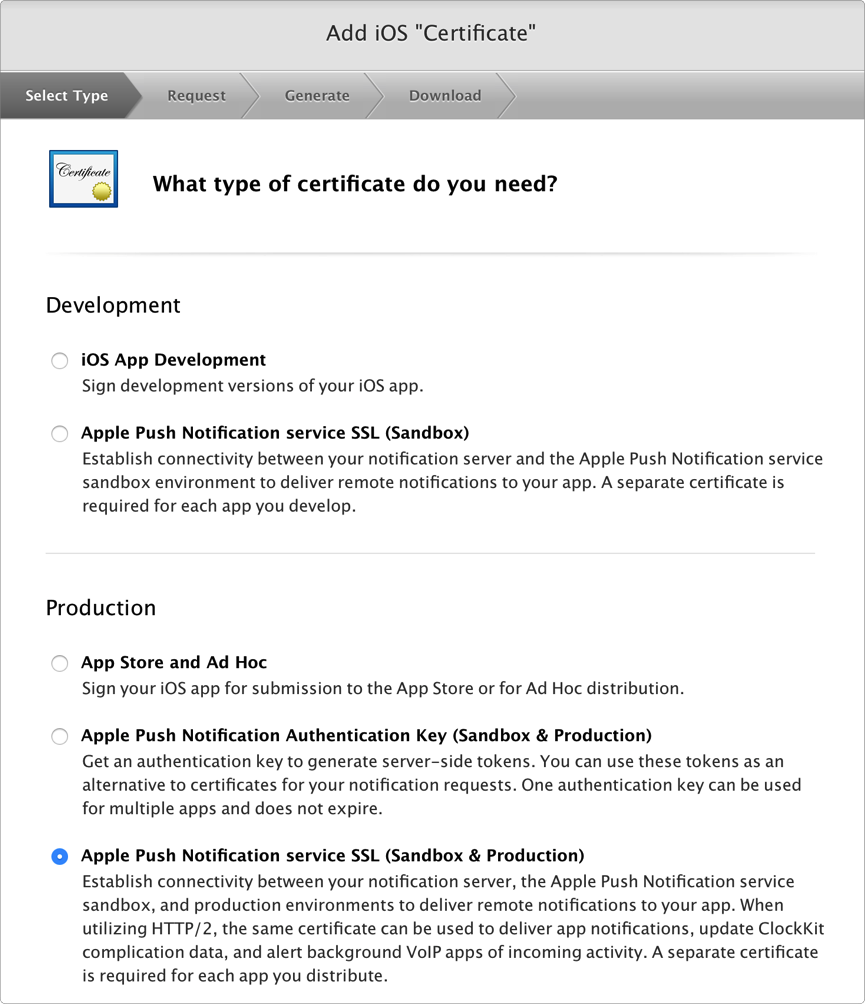
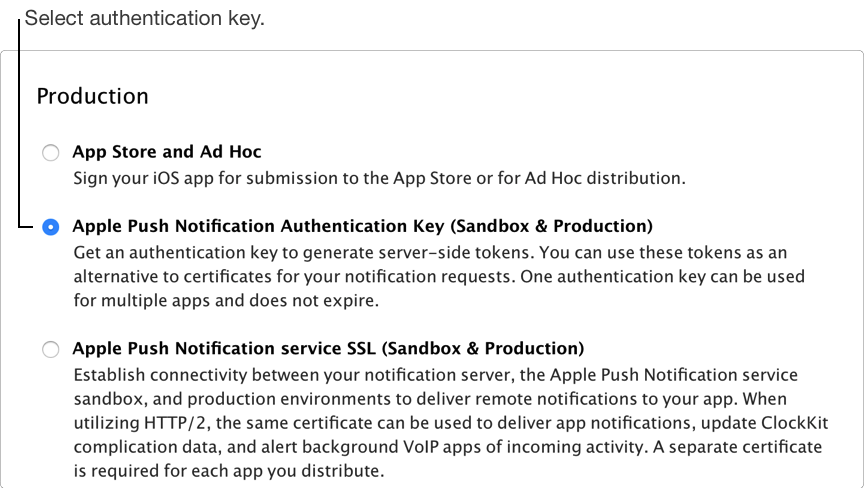
- Under Production, select the “Apple Push Notification service SSL (Sandbox & Production)” checkbox, and click Continue.
- Choose an App ID from the App ID pop-up menu, and click Continue
.Choose the explicit App ID that matches your bundle ID. - Follow the instructions to create a certificate signing request on your Mac, and click Continue.
- Click Choose File.
- In the
dialog that appears, select the certificate request file (a file with a .certSigningRequest file extension), and click Choose. - Click Continue.
- Click Download and double-click the downloaded file (a file with a .cer file extension) to add the certificate to your keychain.
- Click Done.
- In your developer account, view the App ID and verify that the status of the Push Notifications service (in the Push Notifications row and the Distribution column) changes from Configurable to Enabled.
Create a certificate signing request
-
Launch Keychain Access located
in /Applications/Utilities. -
Choose Keychain Access > Certificate Assistant > Request a Certificate from a Certificate Authority.
-
In the Certificate Assistant
dialog , enter an email address in the User Email Address field. -
In the Common Name field, enter a name for your private key (for example, Gita Kumar Dev Key).
-
Leave the CA Email Address field empty.
-
Choose “Saved to disk”, and click Continue.
Export the client SSL identity from your Mac
Export the identity from the keychain on the Mac where you created it, and copy it to the appropriate place on the server that runs the provider code and connects with the development or production version of APNs.
- Launch Keychain Access.
- In the Category section, select My Certificates.
- Find the certificate you want to export and disclose its contents
.You’ll see both a certificate and a private key.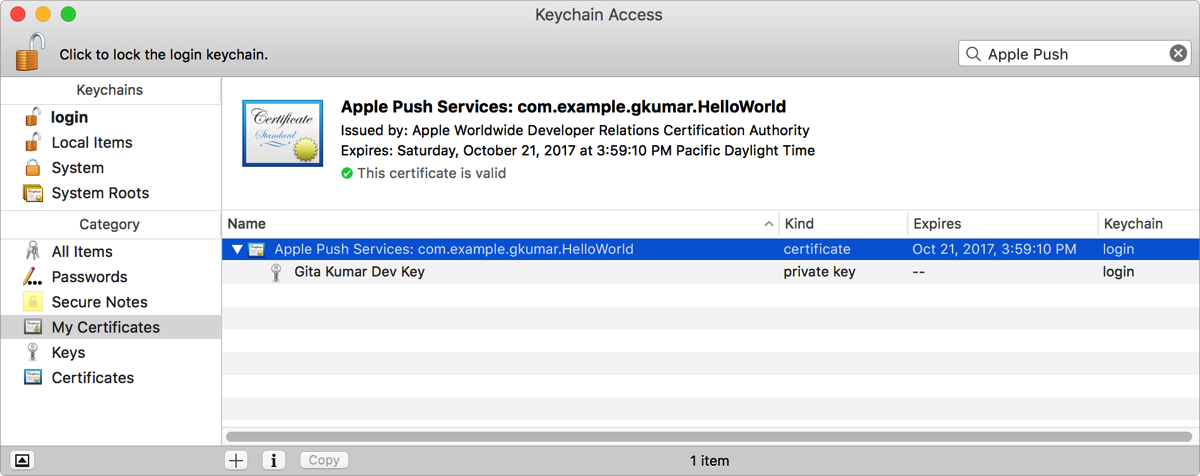
- Select both the certificate and the key, and choose File > Export Items.
- From the File Format pop-up menu, choose a file format that your server accepts.
- Enter a filename in the Save As
field , and click Save.
Files in the Personal Information Exchange format have a .p12 file extension, and files in the Privacy Enhanced Mail format have a .pem file extension.
Generate a universal provider token signing key
You can also use token-based authentication to communicate with the APNs. Get one authentication key to sign tokens for multiple apps. The authentication key doesn’t expire but can be revoked.
- In your developer account, go to Certificates, Identifiers & Profiles, and under Certificates, select All or APNs Auth Key.
- Click the Add button (+) in the upper-right corner.
- Under Production, select the “Apple Push Notification Authentication Key (Sandbox & Production)” checkbox, and click Continue.
- Click Download.
Important: Save a back up of your key in a secure place. It will not be presented again and cannot be retrieved later.


