Helpcenter +918010117117 https://help.storehippo.com/s/573db3149f0d58741f0cc63b/6969f0c18a8568e4561210d8/storehippo-logo-500-1--480x480.png" [email protected] https://www.facebook.com/StoreHippohttps://twitter.com/StoreHippohttps://www.linkedin.com/company/hippoinnovations/https://plus.google.com/+Storehippo/posts
B4,309-10 Spaze iTech Park, Sector 49, Sohna Road, 122001 Gurgaon India
Create a Trial Store StoreHippo.com Contact Us
- Email:
[email protected]
Phone:
+918010117117
StoreHippo Help Center
StoreHippo Help Center
call to replace anchor tags contains '/admin' in href2018-09-19T12:29:07.597Z 2023-07-04T06:15:20.306Z
- Home
- How to add pop up on site load?
- How to add banner on pop up on site load?
How to add banner on pop up on site load?
Mr.Rajiv kumarTo add pop-up
Follow the
- Go to Advance Settings > Apps section in the StoreHippo Admin Panel.
- Click on Visit StoreHippo App Store. It will redirect you to the StoreHippo App Store.
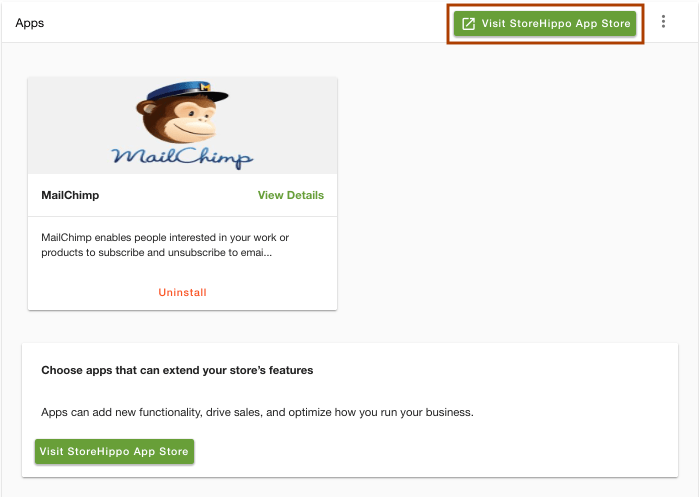
- Search for the app Pop
on site load and install it. Go to design theme in StoreHippo Admin Panel.
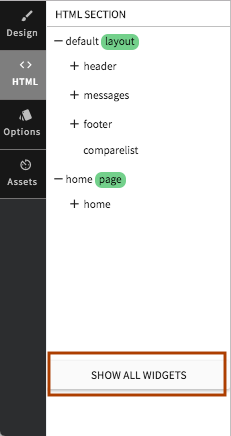
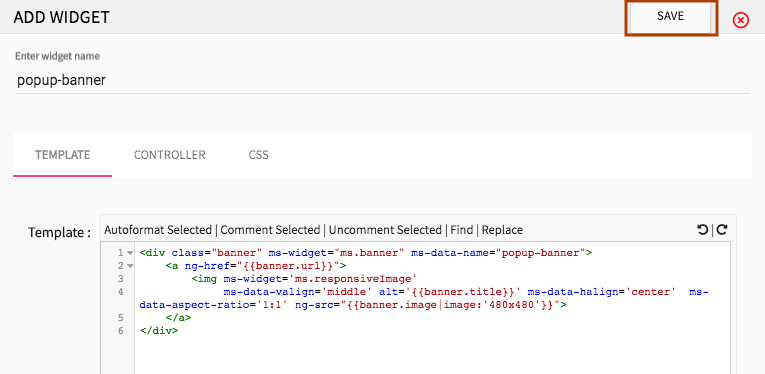
In the HTML section, click on Show all widgets.
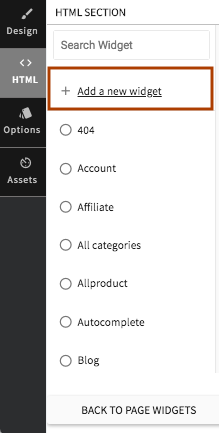
Now click on +Add a new widget.
Here, enter the widget name as "pop up banner" and template as given below.
<div class="banner" ms-widget="ms.banner" ms-data-name="popup-banner">
    <a ng-href="{{banner.url}}">
        <img ms-widget='ms.responsiveImage'
             ms-data-valign='middle' alt='{{banner.title}}' ms-data-halign='center'  ms-data-aspect-ratio='1:1' ng-src="{{banner.image|image:'480x480'}}">
    </a>
</div>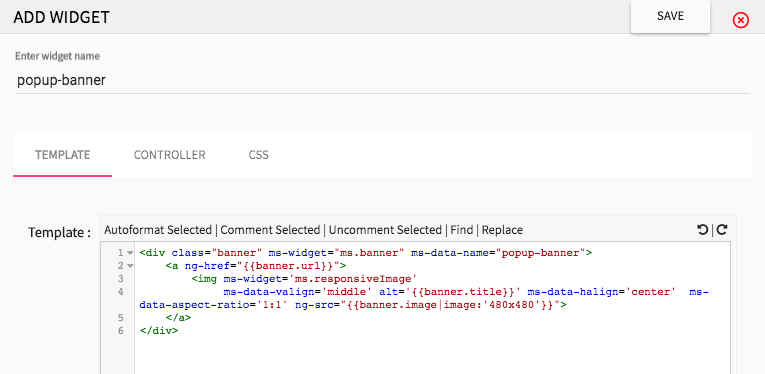
Click on Save when you are done. Your widget will be added successfully.
- Go to Site > Banners section in StoreHippo Admin Panel.
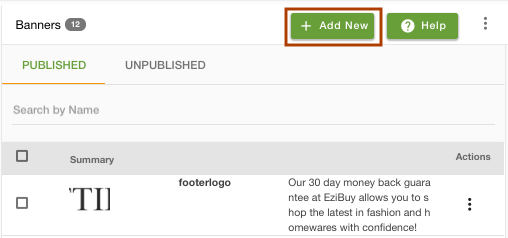
- Click on Add New to add a new banner.
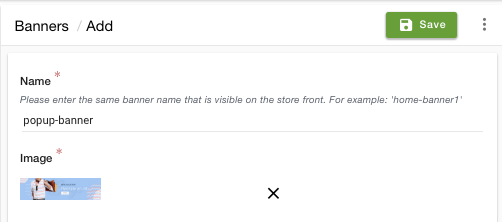
- Enter the Name as "popup-banner" and banner image.
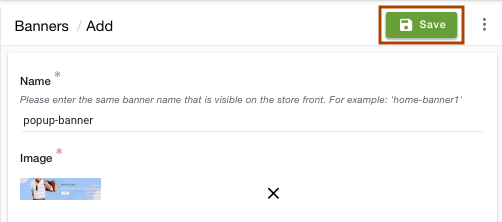
- Click on Save to save the banner.
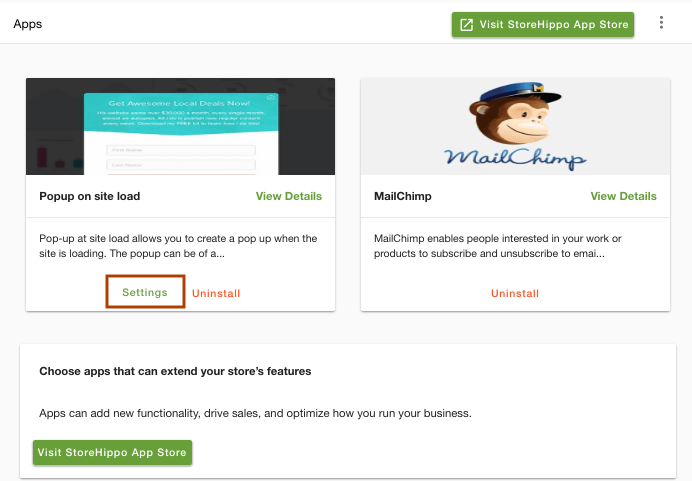
- Go to Advance Settings > Apps section in the StoreHippo Admin Panel.
- Click on the Settings of the app.
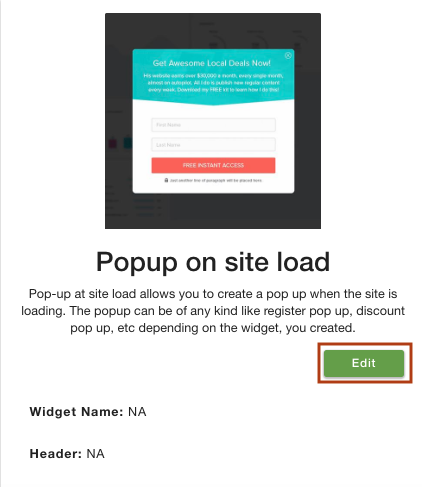
- Click the Edit to provide the widget name and header.
- Specify the Widget Name and header for the pop-up in app settings.
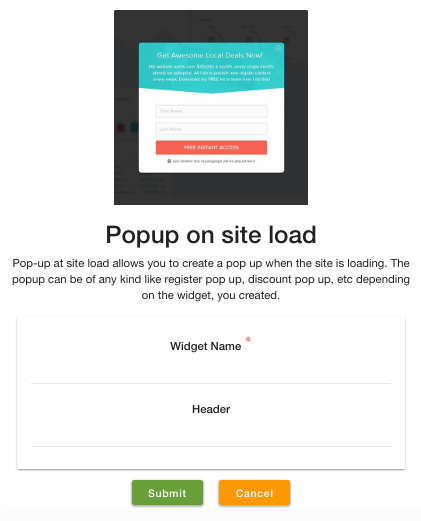
Widget name: Provide the name of the registration widget as "popup-banner".
Header: Enter the tagline of the pop-up as "Welcome to Attire". - The pop-up on the site load will appear as shown below.

NOTE: Can directly put the code in startup widget to show widget dialog;
Specify the widget name as per user added widget
ms.dialog({'widget': 'widgetname'}).showModal()


