StoreHippo Help Center
StoreHippo Help Center
How to integrate PushEngage with your store?
Mr.Rajiv kumarStoreHippo allows you to add PushEngage in your store for sending web push notifications. Integrating PushEngage to your store requires three steps, which are creating the PushEngage account, getting the service worker URL, and adding the PushEngage JS code.
Create an account on PushEngage
First of all, you need to create a PushEngage account. To set up the PushEngage account, follow the steps given below:
- To register yourself, go to the PushEngage.
- Select your plan and provide details.


- After you have registered successfully, you can log in to your PushEngage account.
Get the PushEngage Service Worker URL
Once you have set up the PushEngage account, you need to get the service worker URL. To do so, follow the steps mentioned below to get the service worker URL.
- Now, login to your account. Go to the Settings > Site Settings section.
- Click the Installation Settings option.


- Copy the mentioned code as shown in the image below. You can put the async version on any section of your HTML page.


- Also, you can download the package files - service-worker.js from Step 2 of Installation Settings.


- After getting the service worker files, log in to the StoreHippo admin panel.
Add the PushEngage JS Code
Once you have created the service worker, you need to add the PushEngage JS code in startup widgets. To add the code in the startup widgets, follow the steps given below:
- Go to the Site > Startup Widgets section in the StoreHippo Admin Panel.
- Click the Add New button.

- Provide the name in the Name field and add the code that you have copied in the Template section. Select the "Head" in the Append To section.

- After providing the details, click the Save button.

Add the PushEngage Service Worker URL to StoreHippo
After you have got the service worker URL, you need to add that. To add the service worker URL, follow the steps given below:
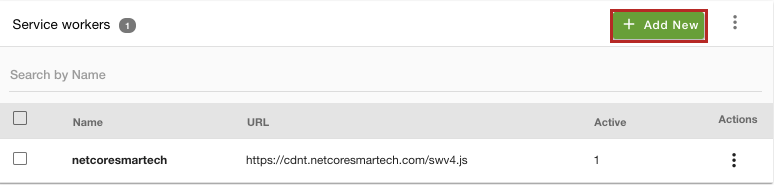
- Go to the Settings > Service Workers section of the StoreHippo Admin Panel.
- Click the Add New button to add a new service worker URL.
- A new form will open up. Enter the name, URL, and description.
- Select the Active checkbox to enable the service worker URL.
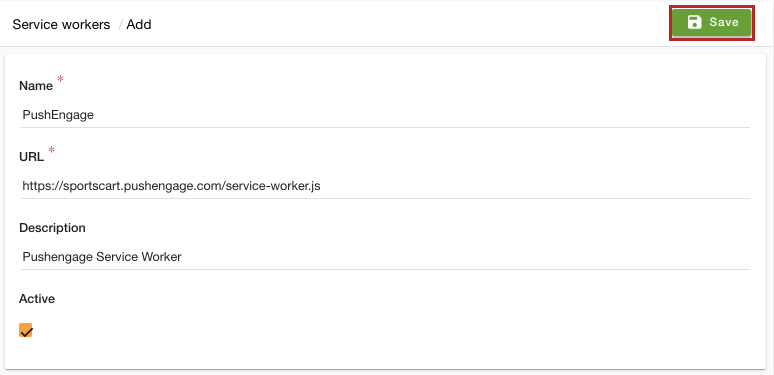
- After providing the details, click the Save button to save the service worker URL.
Now, the PushEngage is integrated to your store. You can use PushEngage for Web Push Notifications.


