-
Email:
[email protected]
Phone:
+918010117117
StoreHippo Help Center
StoreHippo Help Center
- Home
- Logistics Providers
- Integrate Shyplite as logistics provider
Integrate Shyplite as logistics provider
Mr.Rajiv kumarStoreHippo provides you the support for major domestic and international Logistics Providers and Shyplite is one of them. You can integrate Shyplite as a logistics provider in your store. Integrating Shyplite is a two steps process. First, you need to create a Shyplite account and get the API keys. Then, you need to enter the keys in the admin panel of your store.
Getting Shyplite credentials
- Register for the Shyplite.
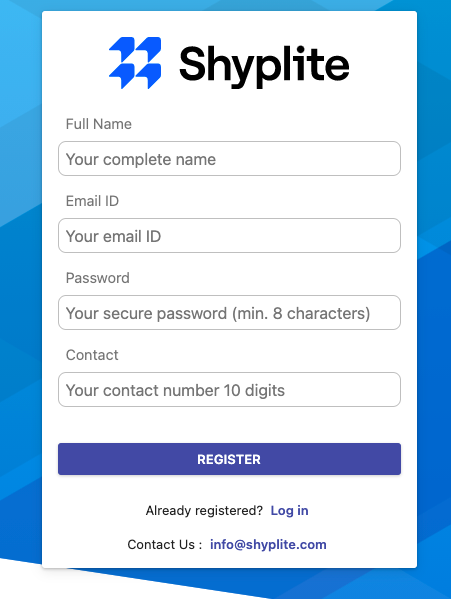
- If you already have an account, then go to the Shyplite dashboard.

- Click on the settings icon.
- Click the API option and get the API credentials
Setting Shyplite as the logistics provider
Once you have got the API credentials, you can proceed with setting Shyplite as the logistics provider. To set up Shyplite as the logistics provider, follow the steps mentioned below:
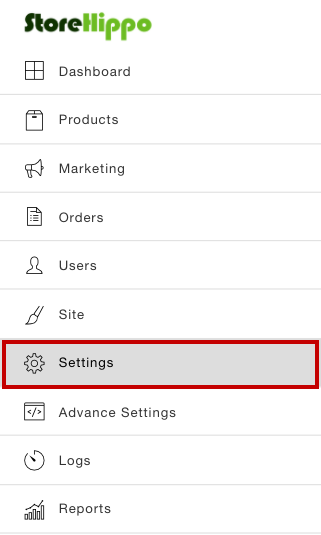
- Go to the Settings section in the StoreHippo Admin Panel.
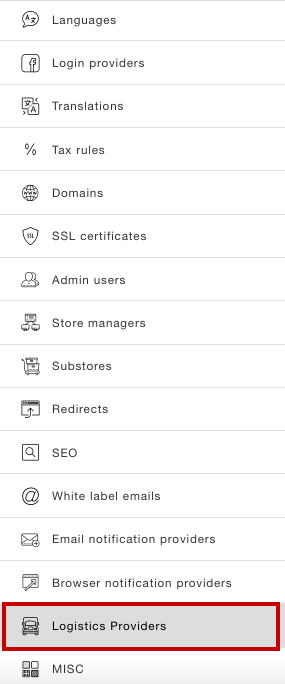
- Go to the Logistics Providers section by clicking the Logistics Providers option.
- Now, you will be on the Logistics Providers page. In the Available Providers section, all the available logistics providers will be displayed as shown in the image below.
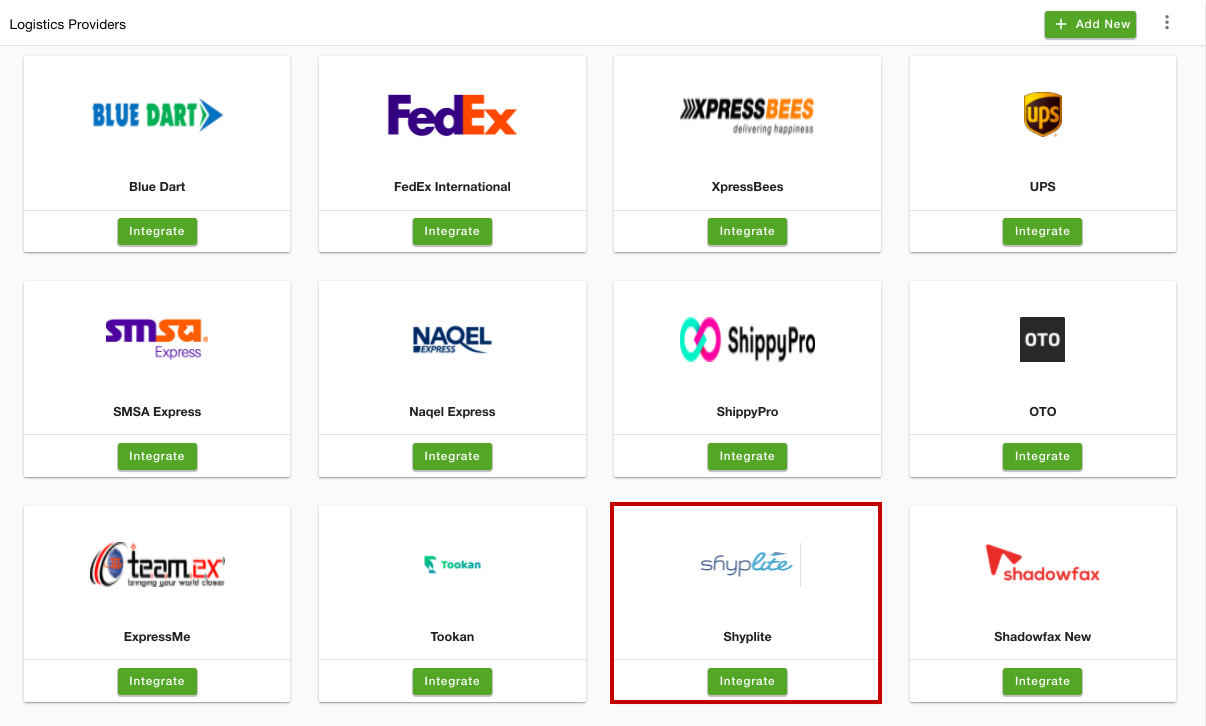
- Search for the Shyplite and click the Integrate button.
- The form with the following field is opened.
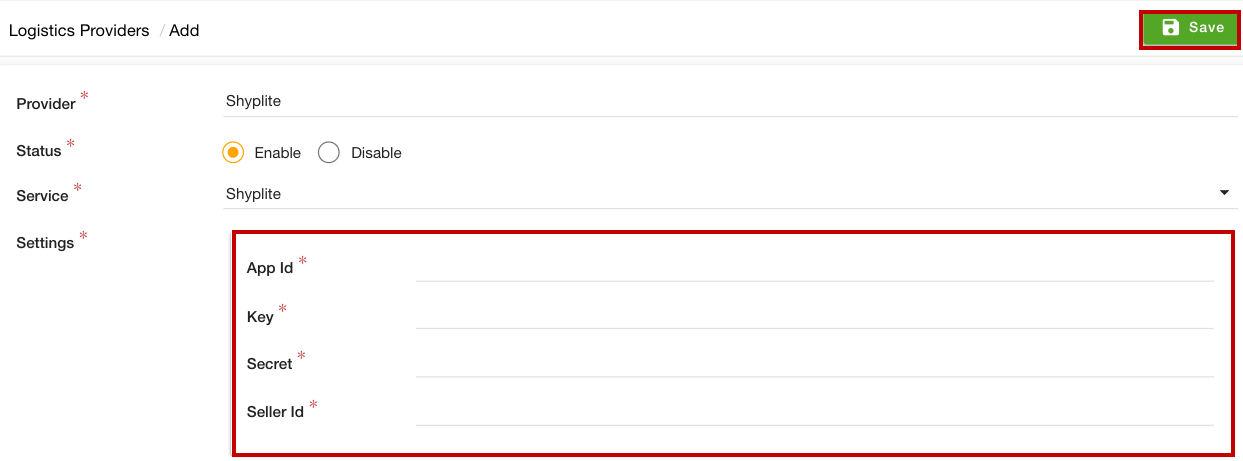
- Provider: In this field, the name of the logistic provider will be auto-filled.
- Status: There will be two options - Enable and Disable. By default, Enable will be selected. You can choose other option as per the status of the provider.
- Service: In this dropdown field, Shyplite will be auto-selected as your logistic provider.
- Settings: In this field, enter the value of the App Id, Key, Secret, and Seller Id.
- After entering all the details, click the Save button.
Adding Seller Address Id ( For Multiple warehouse / Multiple sellers )
Once you have integrated the Shyplite, you need to configure the seller address ID for multiple warehouse locations.
- Go to the Settings > Store Locations section.
- Proceed to add or edit the store location.
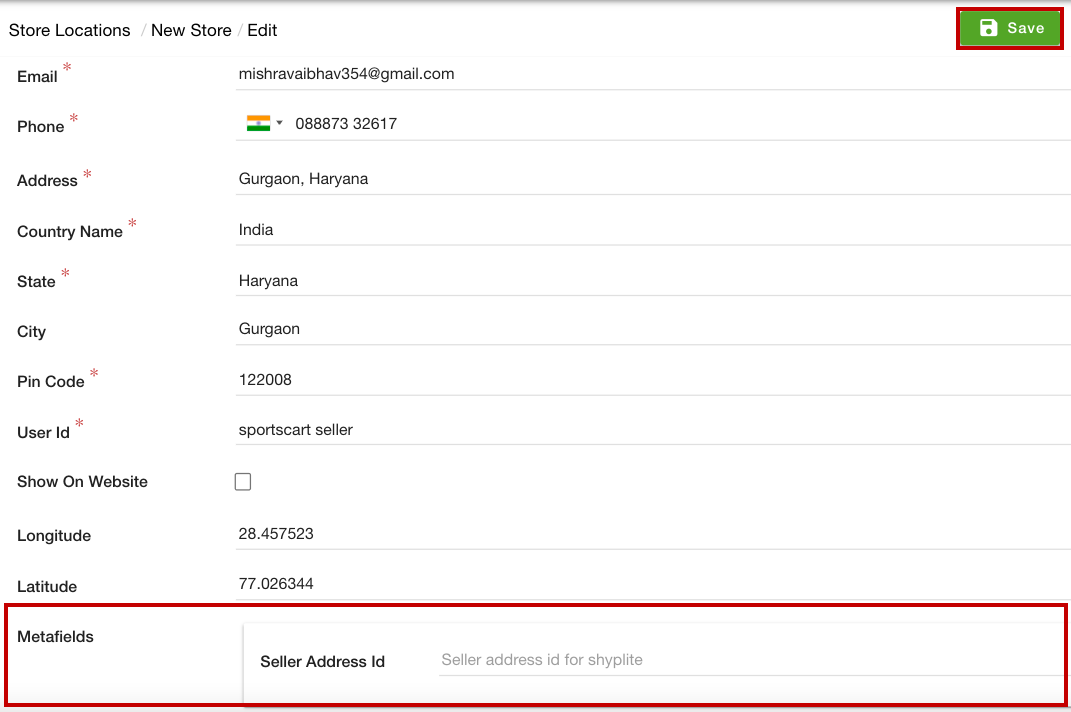
- Scroll down and there will be a Seller Address Id field. Enter the seller address ID.
- Similarly, you can provide the seller address ID for each seller of your store.
- Click the Save button to save the changes.
Now, the Shyplite will be integrated as the logistics provider in your store and the admin can select any pickup address associated with the seller address ID.


