- Email:
[email protected]
Phone:
+918010117117
StoreHippo Help Center
StoreHippo Help Center
Managing Sellers
- https://help.storehippo.com/topic/channels#contentid5 Name: Somya
date: Nov 6, 2018
comment: done
Under the Sellers section, you can manage sellers who sell products in your store. Every store has at least one seller. When you create a store on StoreHippo, a
To access the Sellers section, go to the Sellers > Sellers in StoreHippo Admin Panel. 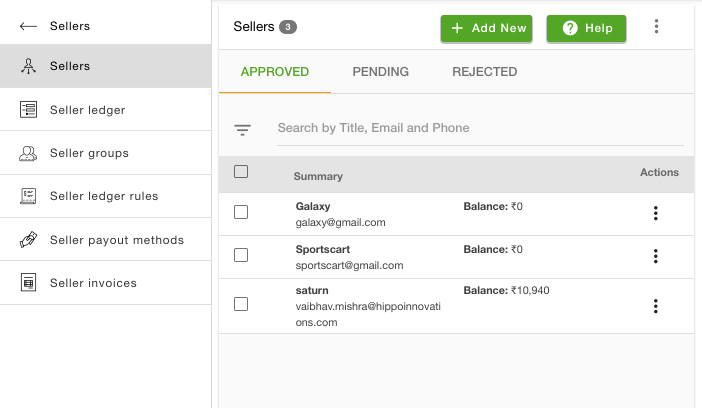
Adding New Sellers
A seller can be added by the admin from the backend or sellers can register themselves at the storefront.
To add a seller, click on Add new button and a form will open on the right side of the window.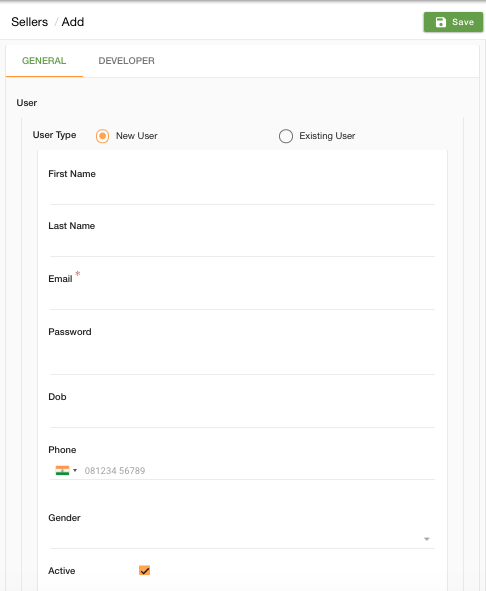
In the seller form, there are multiple information fields that you can use to save the seller login and other required information for seller registration.
User type
You can choose whether you want to add a new user or you want to select from an existing user (who can be a customer as well).
In the case of an existing user, details are taken from the id that is mapped.
In the
case of the new user, you need to provide details for the user.
First Name
The first name of the seller is to be provided here.
Last Name
The last name of the seller is to be provided here.
Provide email for the seller; this email will also serve as the id of the seller by which he will be able to login to seller admin. This is a mandatory field.
Password
Set a password for the account. It is also a mandatory field.
DOB
Fill in the date of birth of the seller here.
Phone
Gender
Provide
Active
To activate the seller's account, check this field.
Email and Phone Verification
These respective fields are automatically checked when the 
Title
Provide a title for the seller by which the seller would be visible in the store.
Logo
Upload logo for the seller.
Image
Upload the seller profile image here.
Legal Name
Fill in the legally registered name of the seller. 
Info
This field provides 
Website
Provide the URL for the seller's website.
Address Details
Fill in full Address with City, State, Country, and ZIP Code.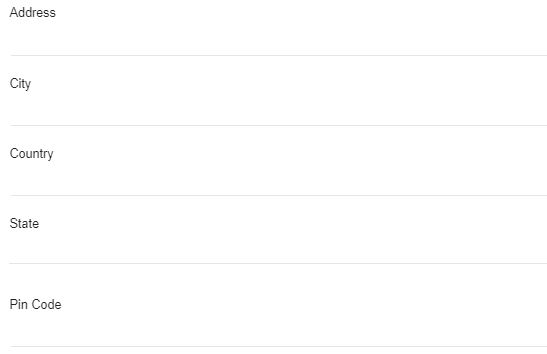
Invoice Prefix
Enter a prefix that the respective seller invoice will have.
Bank Details
Provide Bank Details of the seller for commission and payment processing.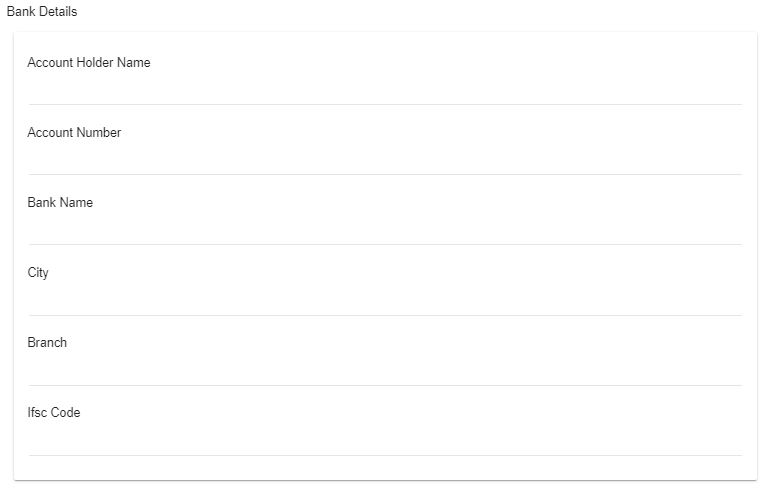
Regulatory Documents
Add legal details and proofs for seller registration, following are the details that can be added.
- Pan
- Pan Proof
- Cin Number
- Tin
- Tin Proof
- Tan
- Tan Proof
- Cancelled Cheque
- Address Proof
- Id Proof
- GSTIN
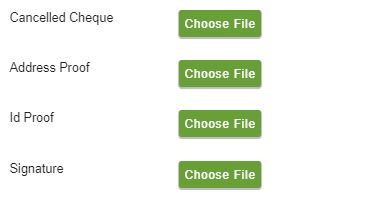
NOTE: Once you select "India" from the country dropdown, the PAN and PAN proof fields will be shown.
Seller Groups
You can assign the seller to a specific seller group. One seller can be assigned to multiple seller groups. 
Metafields
You can add metafields to add extra fields such as longitude, latitude, etc.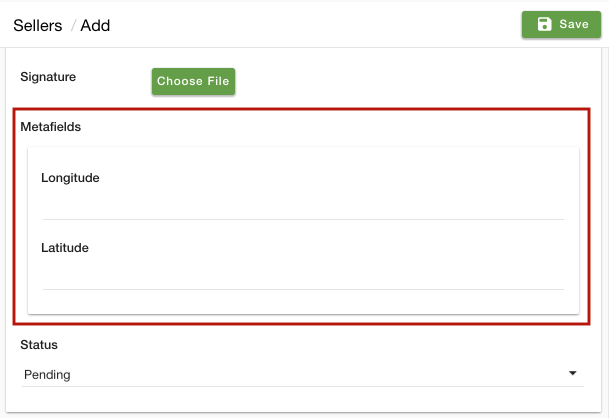
Substore
In this field, you can assign the seller a specific substore to sell his/her products.
Status
You can mark the status as approved, pending, or rejected by choosing the option from the drop-down. Select the recommended option to approve the seller; the unapproved seller will not be able to log in

QR Code
When the seller is created, the QR code for the seller gets generated automatically. The QR code can be downloaded from the seller section. 
Operation on Sellers
There are many operations provided which can be performed on sellers. Click on the ellipsis button against the seller on which you want to perform actions. The actions are as follows: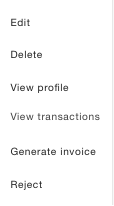
Edit
You can modify a seller's information by clicking on the ellipsis button and choosing the Edit command from the drop-down. Clicking on the Edit button opens a form with the current data of the sellers. You can change the information here. 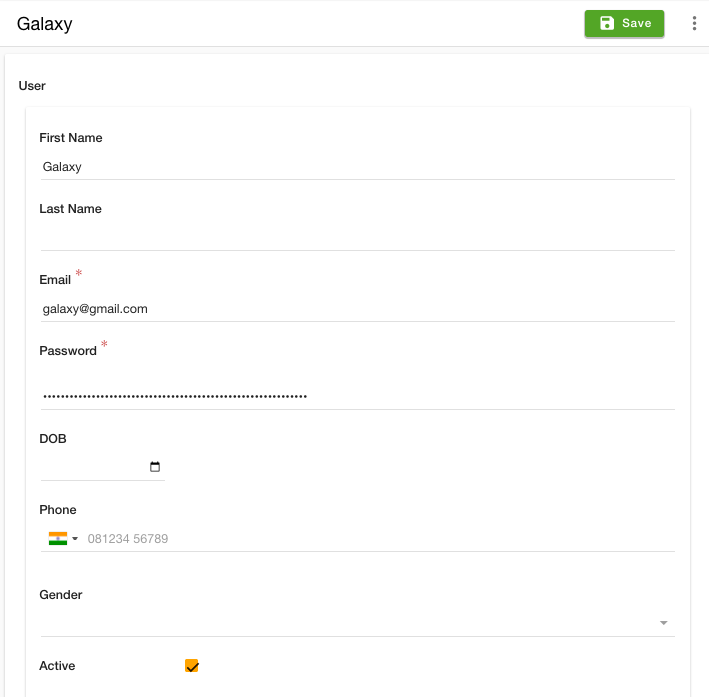
Delete
You can delete a seller from your store by clicking on the ellipsis button and choosing the Delete command from the drop-down. Clicking on the Delete option will delete the seller.
View Profile
You can view a seller's information by clicking on the ellipsis button and choosing the View Profile command from the drop-down. Clicking on the View Profile option shows all the information regarding the seller, including basic info, balance, status, etc. 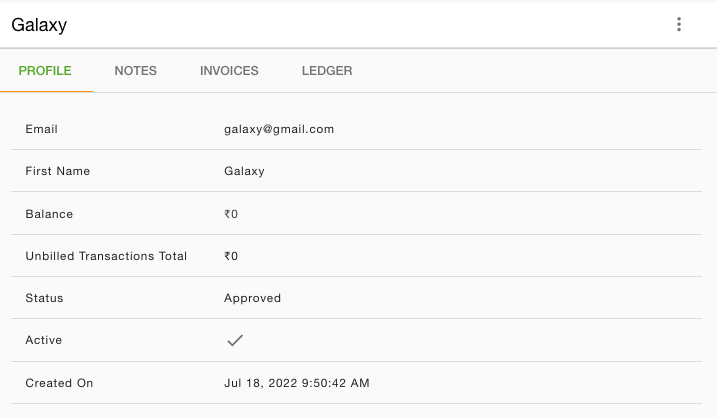
View Transactions
You can view all transactions of a seller by clicking on the ellipsis button and choosing the View Transactions command from the drop-down. Clicking on the View Transactions option redirects you to the Seller Ledger which shows all the information regarding the seller's transactions and balance.
Generate Invoices
You can view all transactions of a seller by clicking on the ellipsis button and choosing Generate Invoices command from the drop-down. Clicking on the Generate Invoices option opens a dialogue box that allows you to generate invoices for sellers. 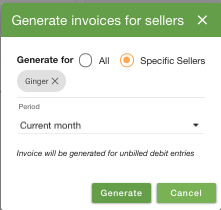
Approving or Rejecting Sellers
StoreHippo allows you to control the approval flow for sellers. You can accept and reject sellers as you wish. To validate pending approval/denied seller, follow the
- Click on the pending/approval/rejected sellers tab and select the seller that you want to approve by clicking on the ellipsis button.
- Choose the approve/reject option from the drop-down menu.
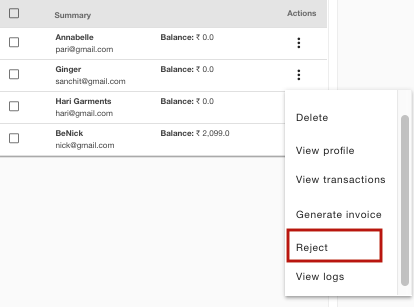
Similarly, if you want to reject a seller, go to the approved/pending approval tab and choose the reject option from the drop-down menu. In case you are not willing to change the status of the seller at the moment, you can edit the seller and change the status to pending.
Importing/exporting sellers
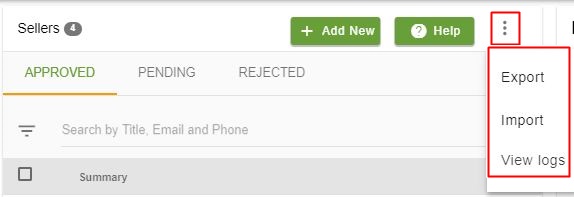
StoreHippo allows you to import and export sellers. If you want to add sellers in bulk to your store, use the Import option by clicking ellipses next to the Help button at the top right corner of the Sellers window. If you wish to export your store's sellers and their details, use the Export option.
