- Email:
[email protected]
Phone:
+918010117117
StoreHippo Help Center
StoreHippo Help Center
- Home
- Setting up chained/split payments
- Razorpay Route
Razorpay Route
Mr.Rajiv kumarRazorpay Route simplifies the payment process when handling multiple sellers, vendors, or accounts. With Razorpay Route, you can collect the charge of your payouts from different sellers on a single platform. Also, you can split payments between various third parties, sellers, or bank accounts and manage settlements, refunds, and reconciliations. It is suitable for businesses that disburse payments in a one-to-many model. Razorpay Route offers easy management, great control, and complete transparency of fund movements between you, your sellers, and customers alike. You take charge of funds that require a transfer, refund, and settlement. Using Razorpay Route, you can:
- Create and manage linked accounts
- Split payments and transfer funds to multiple linked accounts
- Reverse transferred funds and manage customer refunds with automated reversals
- Manage linked account settlements
- Move from manual and file-based reconciliation to a fully API driven one, and more
On the Razorpay platform, onboard your sellers as Linked Accounts to start moving funds from your account to seller accounts. To set up the connected/split payment by Razorpay Route, follow the below-mentioned steps:
Register on Razorpay Route
- Register on Razorpay and if you already have a Razorpay account, then log into Razorpay Dashboard.
- Click Route from the left pane.
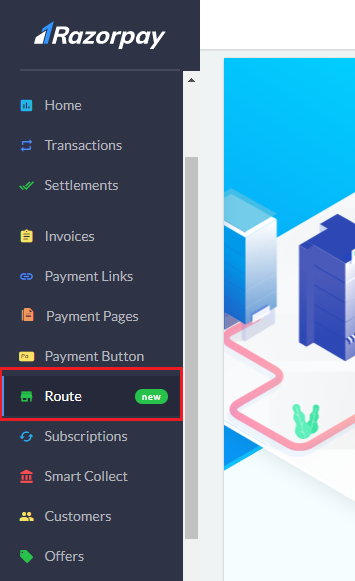
- You can perform various actions using Route, such as - Add and manage linked accounts, initiate a transfer, issue a refund, create a reversal, and view transfers & reversals reports.
- Click the Accounts tab and click the Add Account button to add the account.

- The pop-up box will open up. Provide the account name, account email address, and required access.
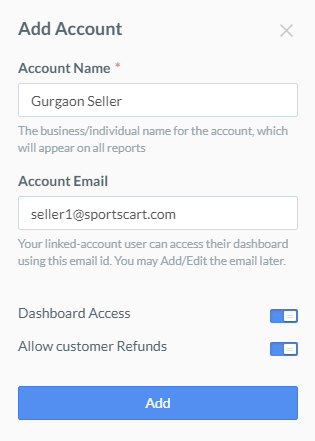
- Click the Add button to add the account.
- After adding the account, get the keys. Go to the Settings section.
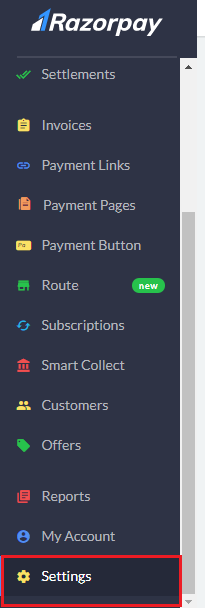
- Go to the API Keys section and generate the keys.
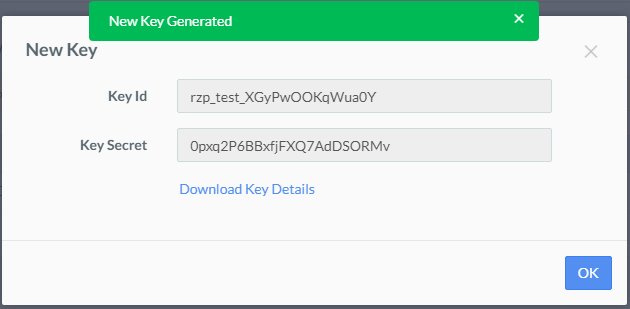
- Download the key details.
Setting up Payment Method
After you have got the Key Id and Key Secret, proceed to set up the payment method. Follow the below steps to set up the payment methods:
- Go to Settings > Payment Methods section of StoreHippo Admin panel.
- Select Razorpay Route as a payment method.
- Provide the credentials.
- After entering the credentials, click the Save button.
Adding Seller Ledger Rules
Once you have set up the payment methods, you need to add the seller ledger rules. Follow the steps given below to add the seller ledger rules:
- Go to Sellers > Seller Ledger Rules section of the StoreHippo Admin panel.
- Click the Add New button to add the seller ledger rule.
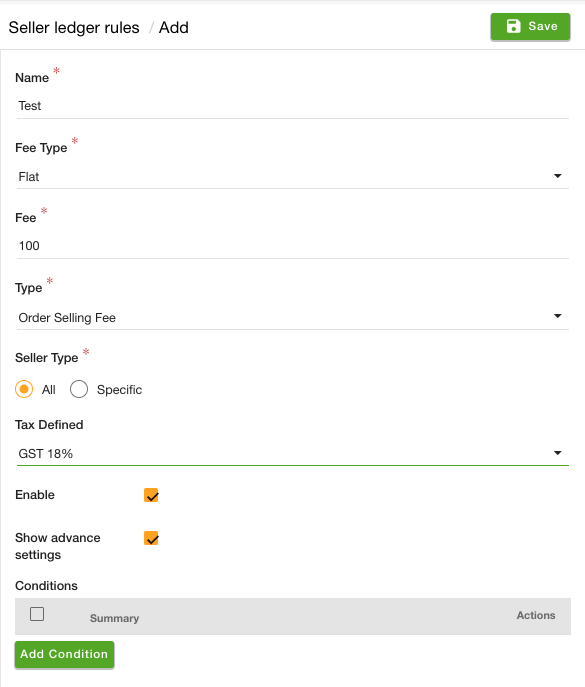
- Add seller ledger rule(s) for all the sellers of the store. The commission amount configured in the ledger rules is the amount that will be kept as a share by the store's admin (primary receiver). The rest amount of the orders will be split among the sellers.
Selecting the payout methods
First of all, you need to select the payout methods to enable them. To do so, follow the steps mentioned below:
- Go to the Settings > Seller Settings section in the StoreHippo Admin Panel.
- From the Seller Payout Methods dropdown, select the payout methods.
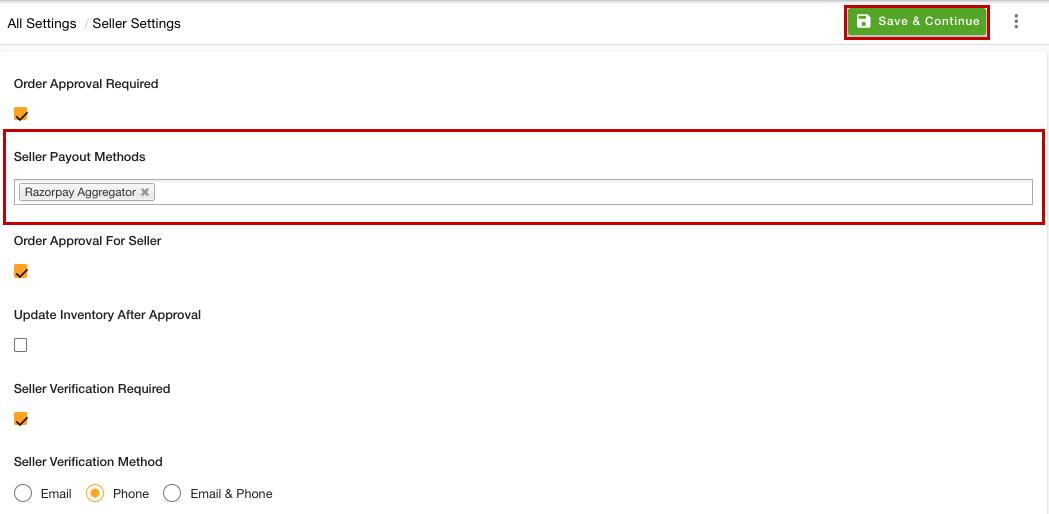
- After selecting the "Razorpay Aggregator" as the Seller Payout Methods, click the Save & Continue button.
Adding Sellers
Follow the below steps to adding the secondary receiver in Seller Payout Methods:
- Go to the Sellers > Seller payout methods section of the StoreHippo Admin panel.

- Add seller payout methods by clicking the Add New button.
- Select the seller from the Seller field and "Razorpay Aggregator" from the Type field.
- Mention the sellers' Razorpay Route Account Id under the Id field.
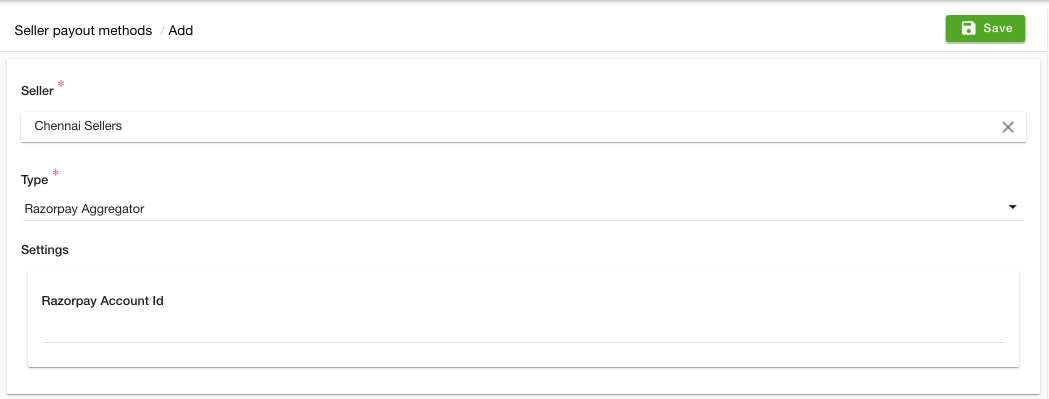
- Click the Save button.


