-
Email:
[email protected]
Phone:
+918010117117
StoreHippo Help Center
StoreHippo Help Center
- Home
- Substores (Multi Store)
- How to set different navigation for different substores?
How to set different navigation for different substores?
Mr.Rajiv kumarAvailable in Enterprise Plan and above.
StoreHippo allows you to set the substore based navigations. The substore based navigation helps you to set different navigations for different substores. When the user selects any substore, the navigation associated with that substore will be displayed. However, in order to do this, you need to create substores.
Scenario
Suppose, you have two substores and you want to display different navigations for both substores. You can achieve this by creating substores and assigning substore to navigation.
Steps
StoreHippo's multi-store e-commerce platform allows you to set up multiple substores within a store to offer a different storefront as well as navigation, products, layout, etc. to users. To set different navigations for different substores, follow the steps mentioned below:
Enabling MultiStore
- Go to the Settings > MISC section in the StoreHippo Admin Panel.
- Select the Enable Multistore checkbox to enable the multistore e-commerce functionality.

- Go to Settings > Substores section in the StoreHippo Admin Panel to create substores.
- Click the Add New button.

- In the Name field, provide the name of the substore.

- You can provide the image, sort order, and other settings of the substore if you want.
- Click the Save button to apply the changes and the substore will be created.
Assigning Substores to Navigation
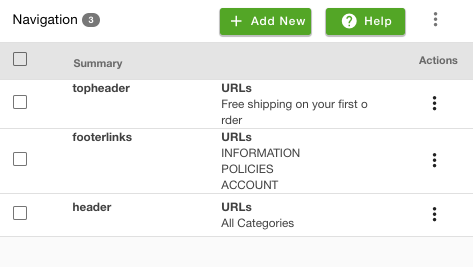
- Go to the Site > Navigation section in the StoreHippo Admin Panel to access navigations.

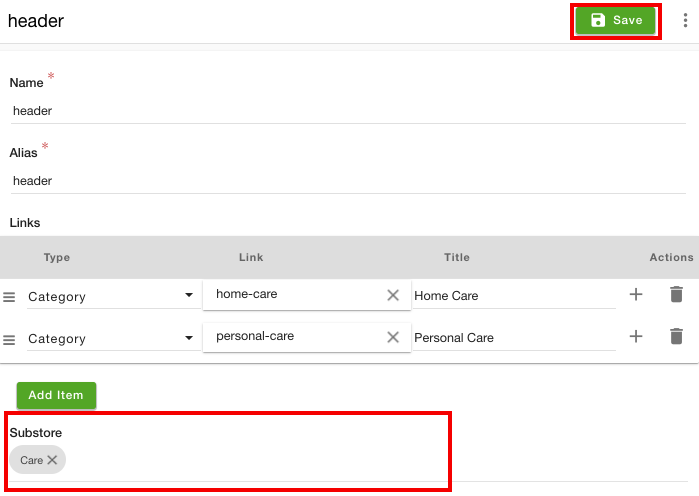
- Proceed to add or edit navigation.
- There will be a Substore field.
- Select the substores from the substore dropdown.

- After assigning the substore(s), click the Save button to apply the changes.
Now, as per the selected substore, the associated navigation will be displayed. 
In the same way, you can assign the substores to other navigations to create the substore based navigations.


