- Email:
[email protected]
Phone:
+918010117117
StoreHippo Help Center
StoreHippo Help Center
- Home
- Building the iOS Mobile App
- Testing iOS apps with TestFlight
Testing iOS apps with TestFlight
Mr.Rajiv kumarIt is very important to test your app before launching it. To test your iOS app, you can use TestFlight. The TestFlight app helps the developers to test beta versions of the apps. You can create testers and send them the link for testing.
Before proceeding to test your iOS app with TestFlight, you need to fulfill the following prerequisites:
- Register for the Apple Developer program: First of all, you need to register for the Apple Developer program. Click here, to know more about registering for the Apple Developer program.
- Building the app: After registering for using distribution certificates and profiles, you need to build the iOS app with the distribution certificate and profile.
- Create an App Store Connect record for the app: You need to have an App Store Connect record to upload and publish your iOS app to the App Store. Click here to know more about creating an App Store Connect record for an app.
- Upload the app: You need to upload the build of your app that you want to push live. You can upload the app through the Transporter app.
You can assign the app for testing using TestFlight either to internal users or to external users. When you assign the app to external users for testing, it will undergo a review.
Assigning the app to external testers
Once you have built the app, downloaded the .ipa file, and uploaded it to the App Store Connect, you can proceed to test the app. Follow the steps mentioned below to do so:
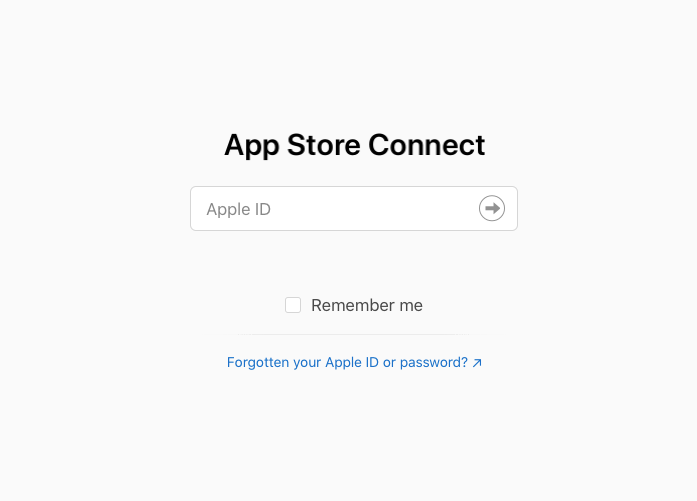
- Login to your App Store Connect account.
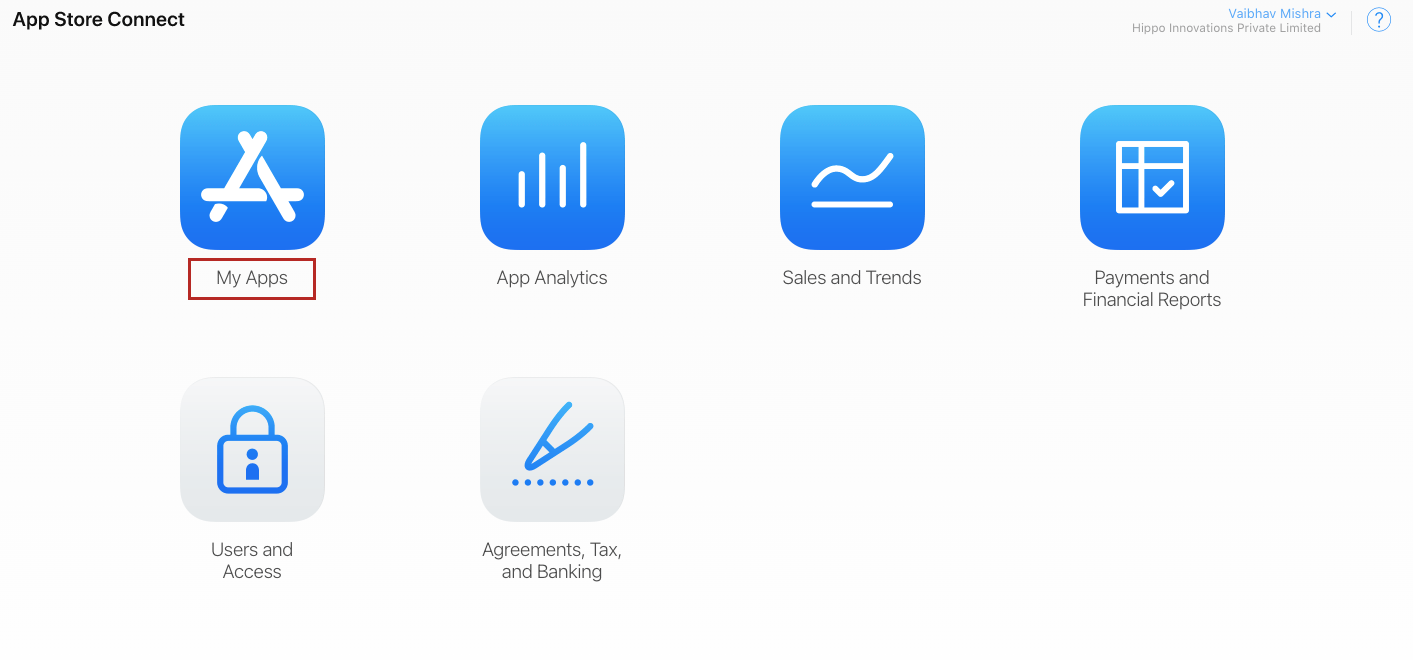
- Click on the My Apps option.
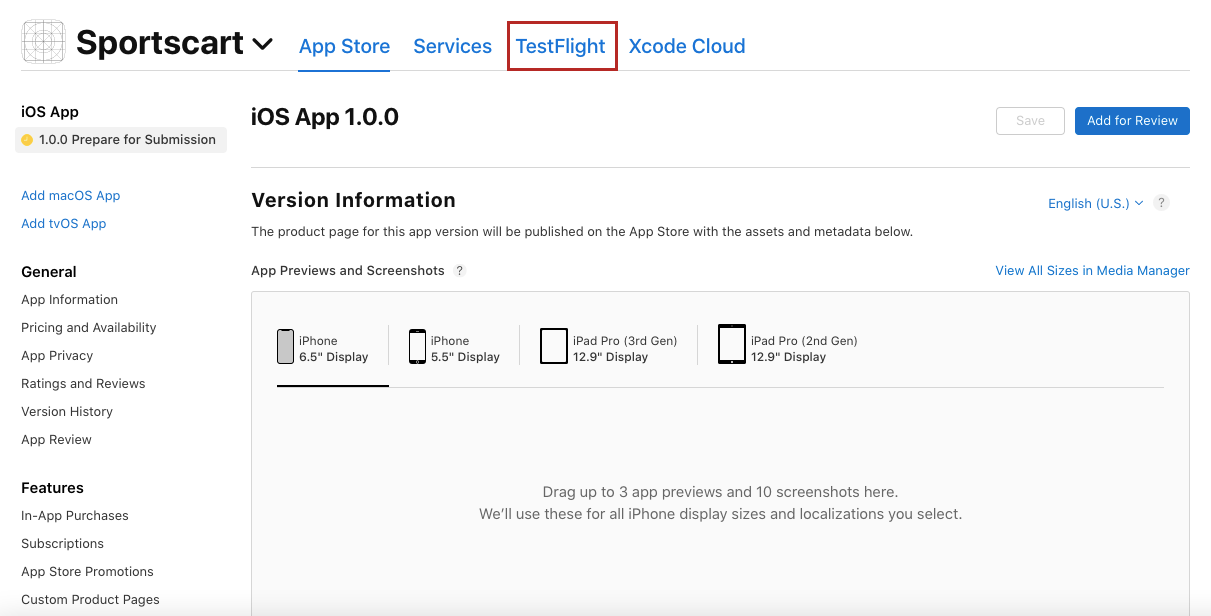
- Click on the TestFlight option as shown in the image below.
- All versions of your iOS app that have been uploaded will be listed here. The build that you have uploaded will take a little time to get processed.
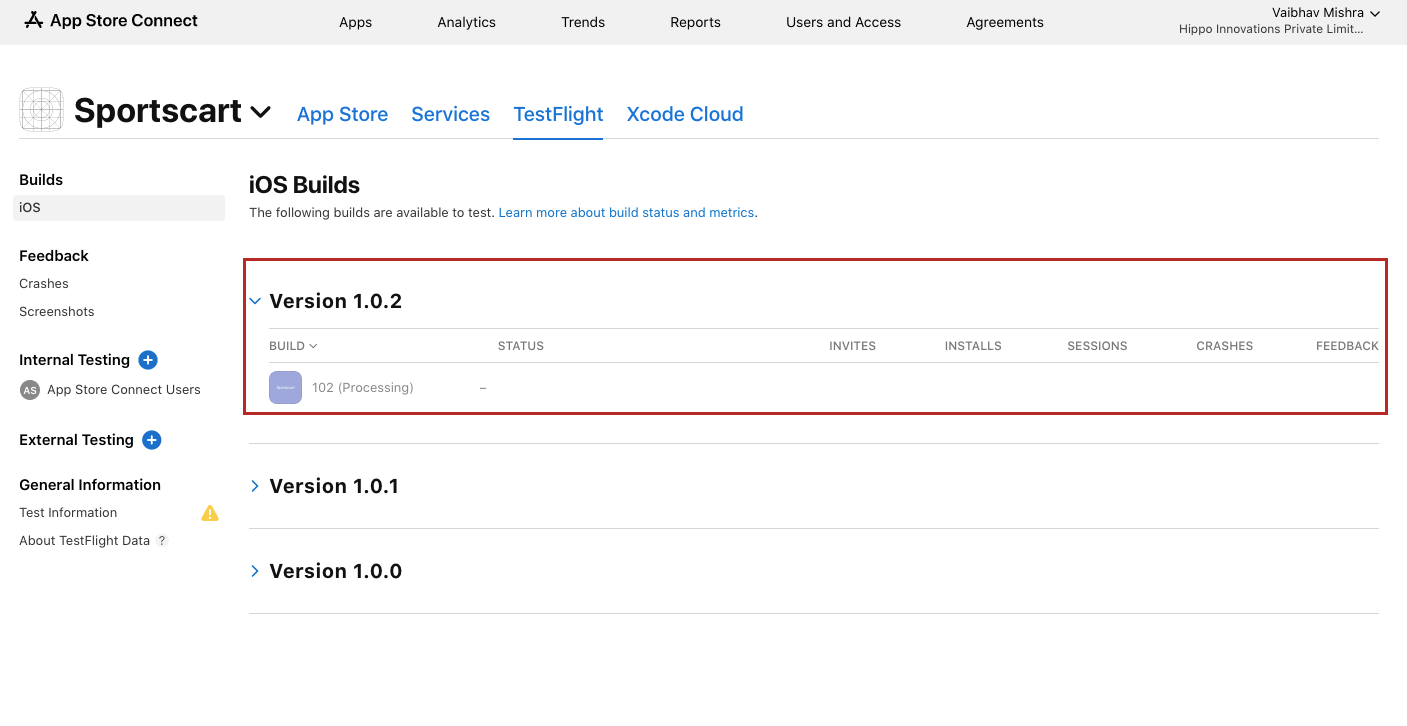
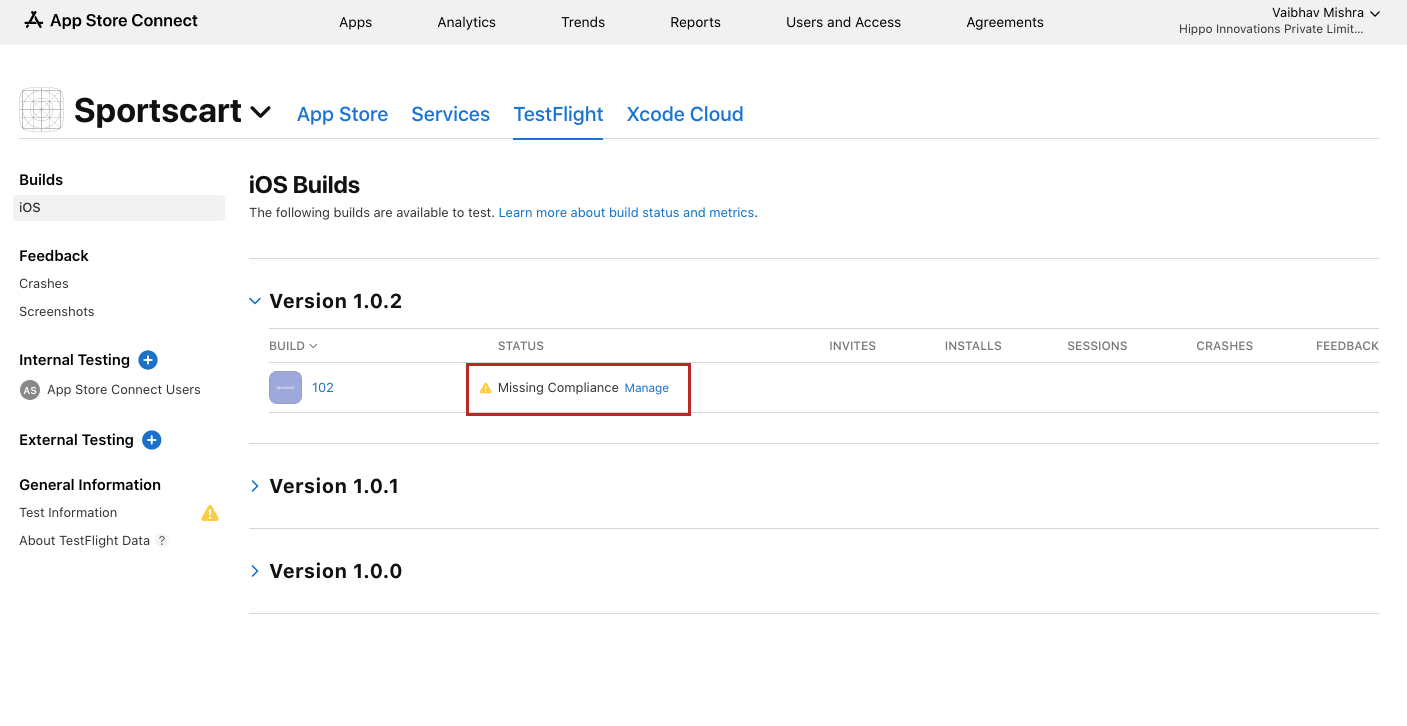
- Once the app is processed, click on the Manage button.
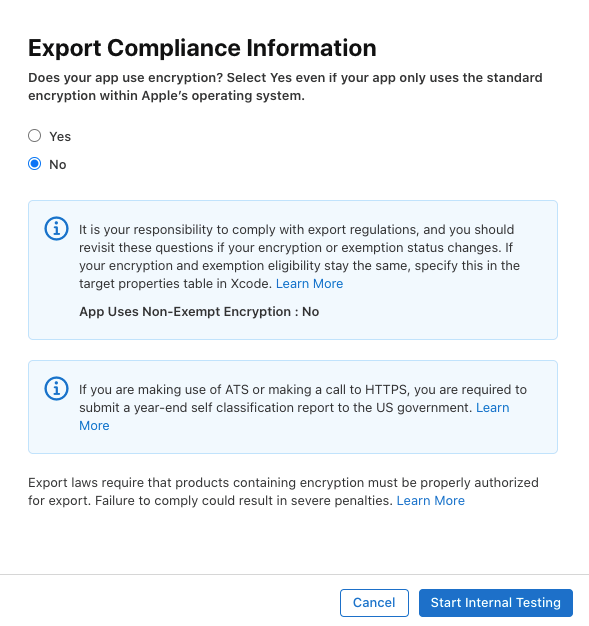
- A dialog box will open up. Select whether your app uses encryption or not. Let's say, you have selected the "No" option and then click the Start Internal Testing option.
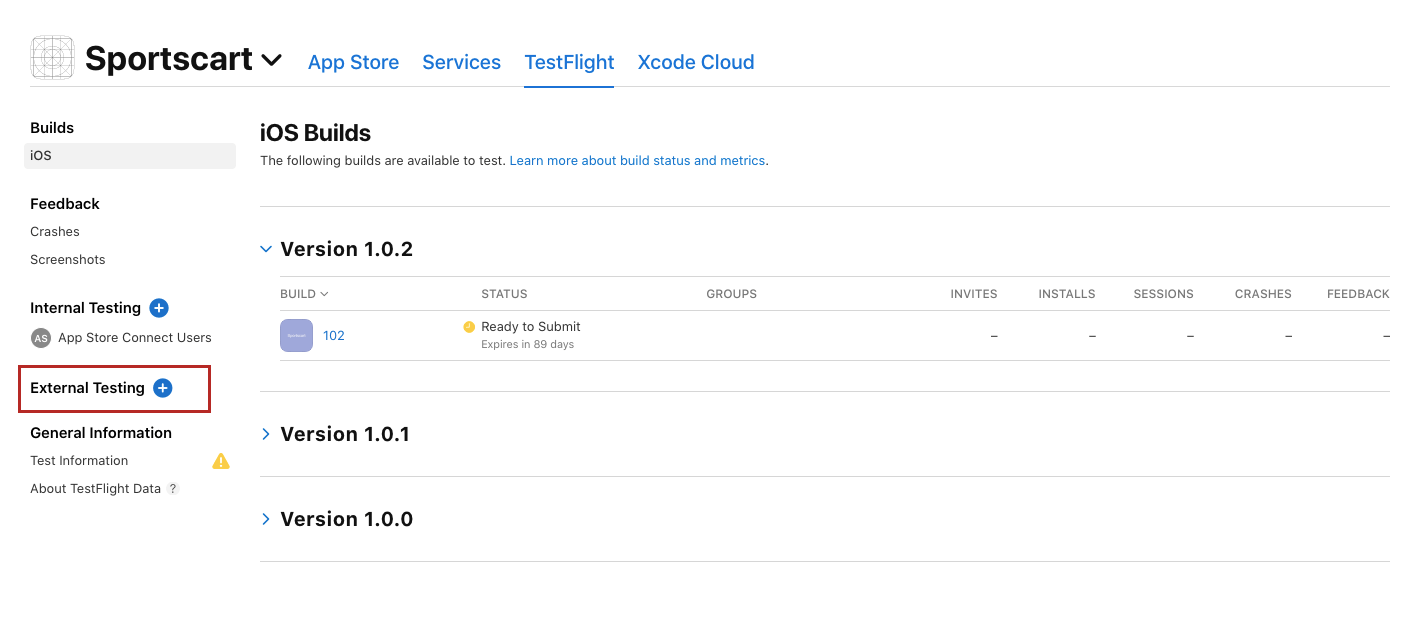
- Now, you need to add the testers. Click on the External Testing option as shown in the image below.
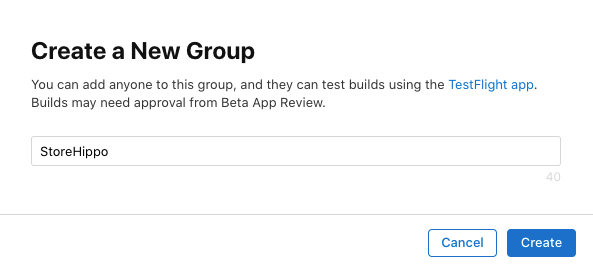
- Proceed to add a testing group. Enter the group name and click the Create button.
- Now, proceed to add the testers. You can either add new testers, import testers through CSV, or add the existing testers in the group.
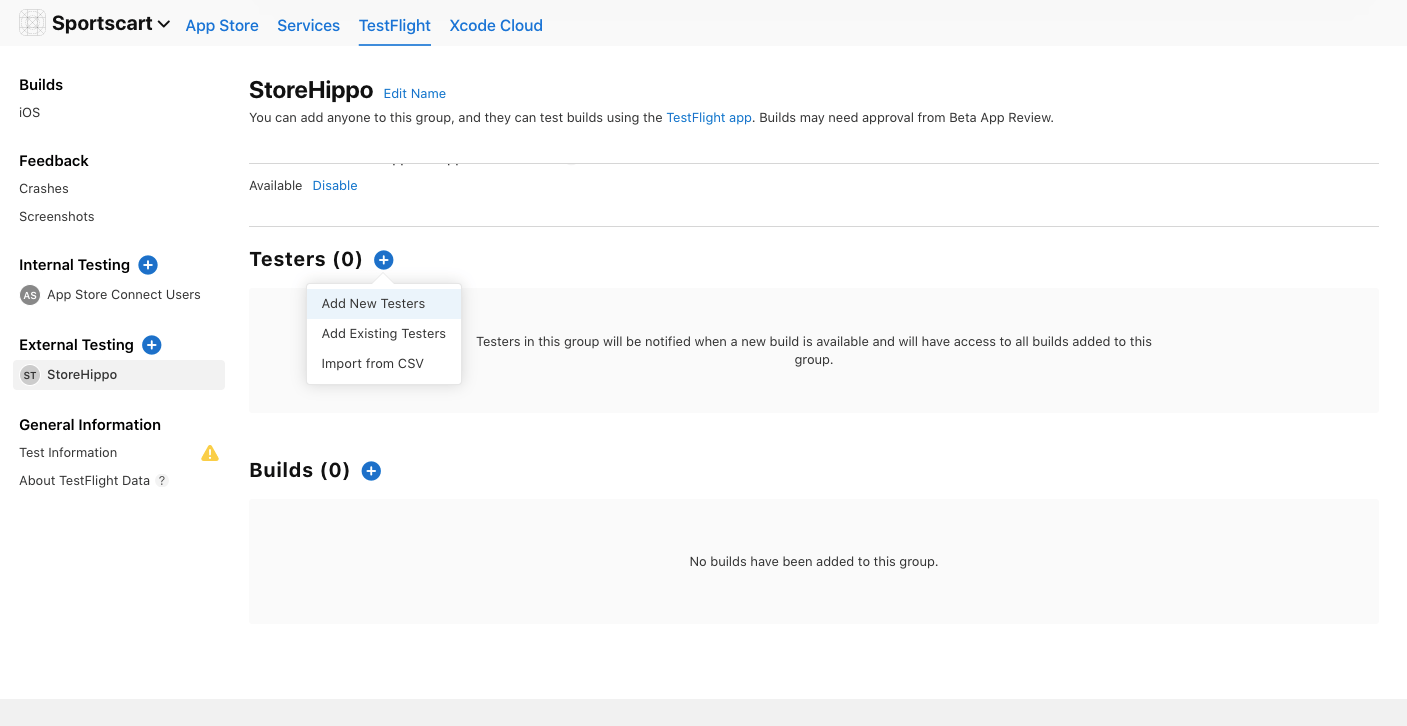
- Mention the email ID, first name, and last name of the tester. You can add single or multiple testers.
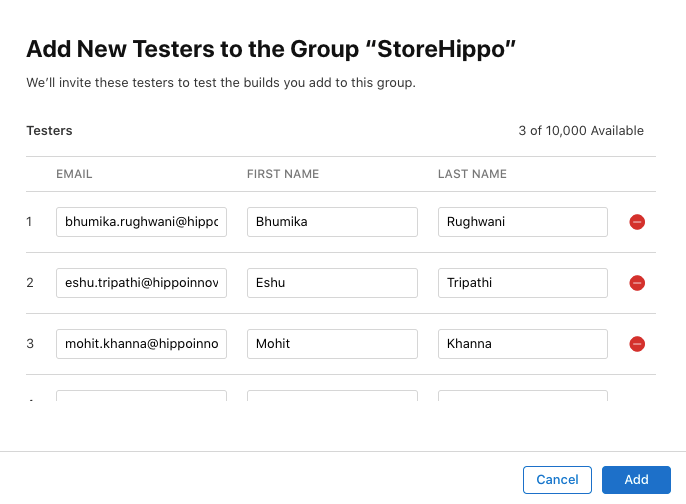
- Click the Add button and testers will be added to your account.
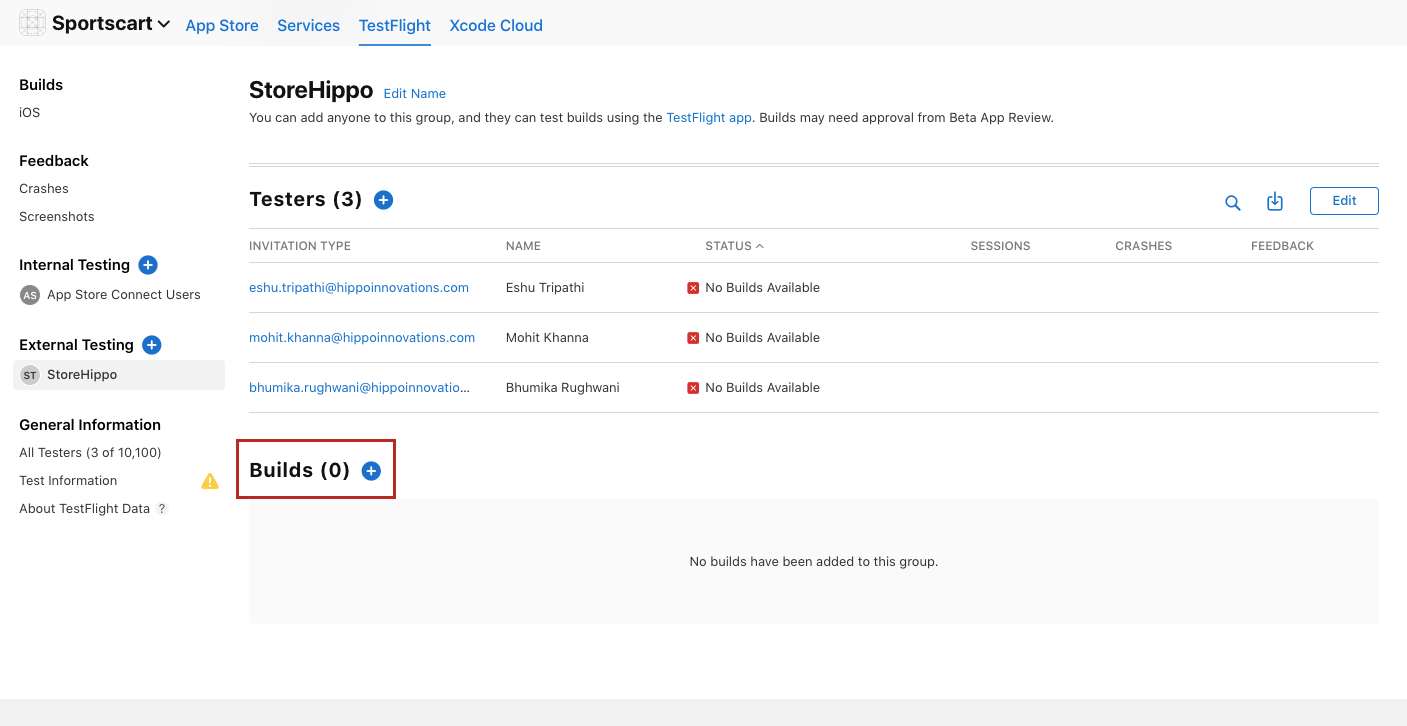
- Now, proceed to select a build. Click on the Builds option and select the build to be tested from the list of available app builds.
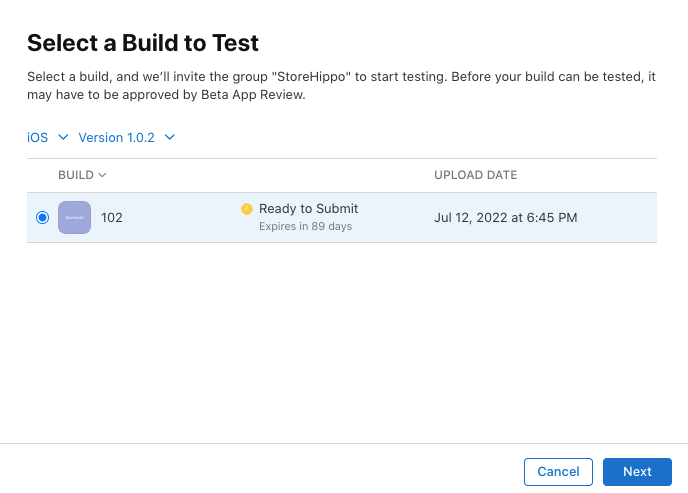
- Click the Next button. A dialog box will open up.
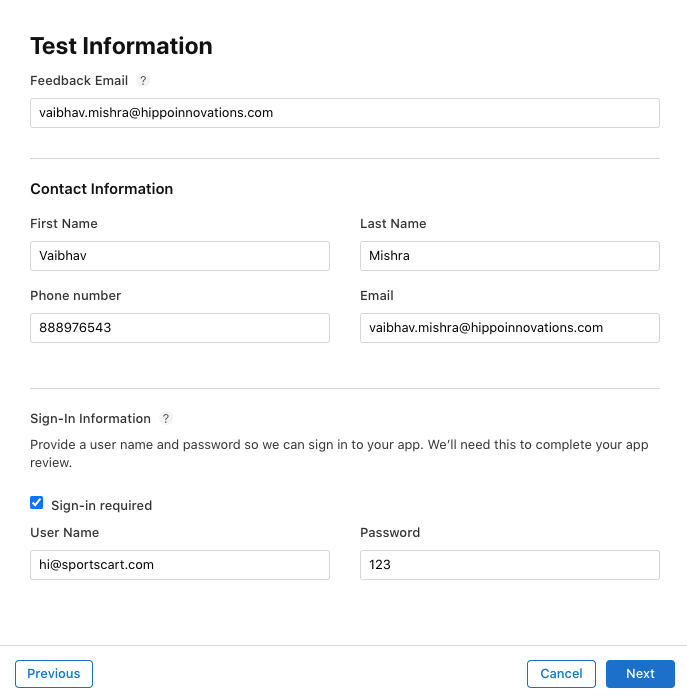
- Provide the app testing information, such as contact info, email ID where you want to receive the feedbacks, sign-in information if app sign-in is required, etc.
- Click the Next button.
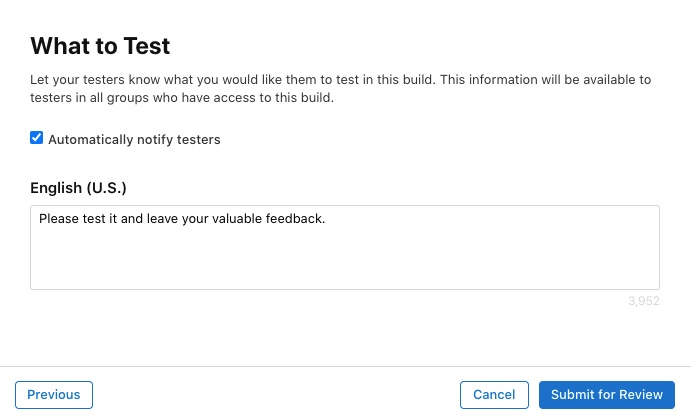
- Select the Automatically notify testers checkbox, if you want to notify the testers. In the message box, you can tell the testers what to test.
- Click the Submit for Review button.
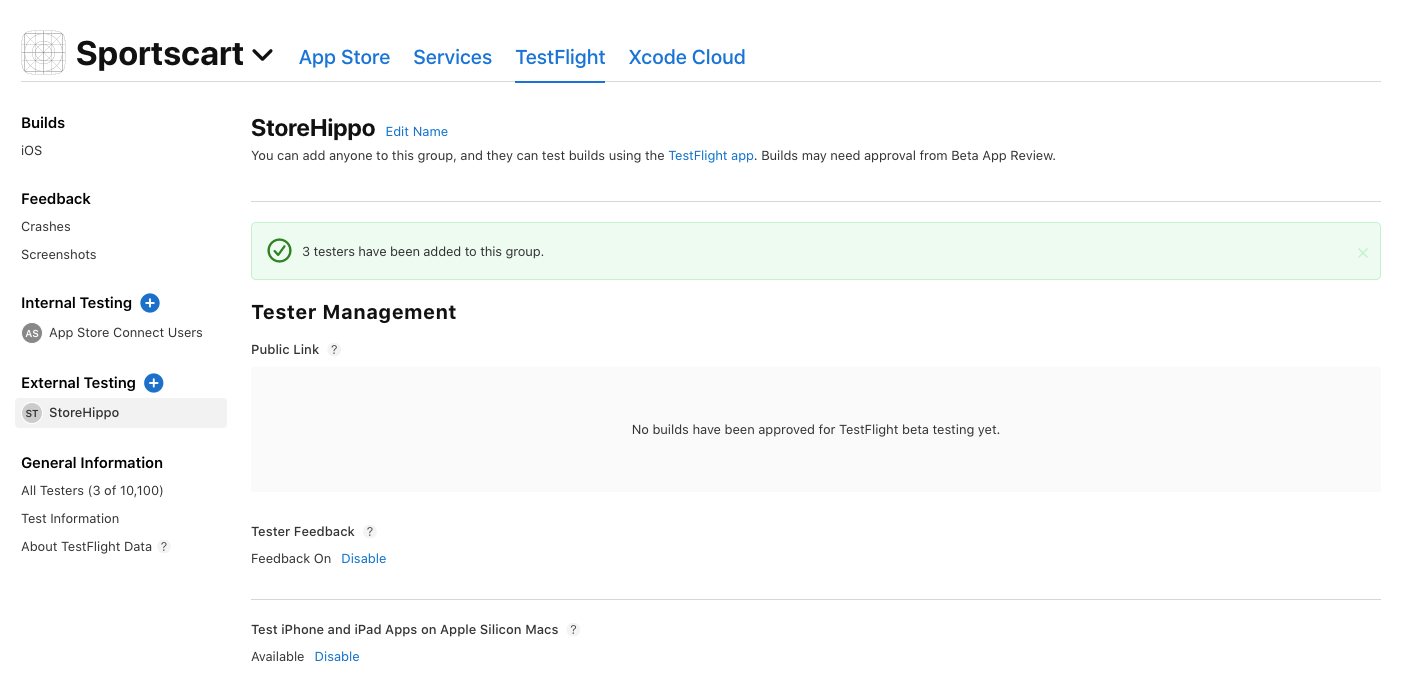
The testing build will undergo review. Once approved, your testers will be able to test the app.
Assigning the app to internal testers
You can also assign the app to your internal testers for testing. However, for that, you need to add users to your App Store Connect account. Click here to know how to add users in App Store Connect. Once you have added the users, you can follow the steps mentioned below to assign the app to internal testers for testing:
- Click the Internal Testing option as shown in the image below.
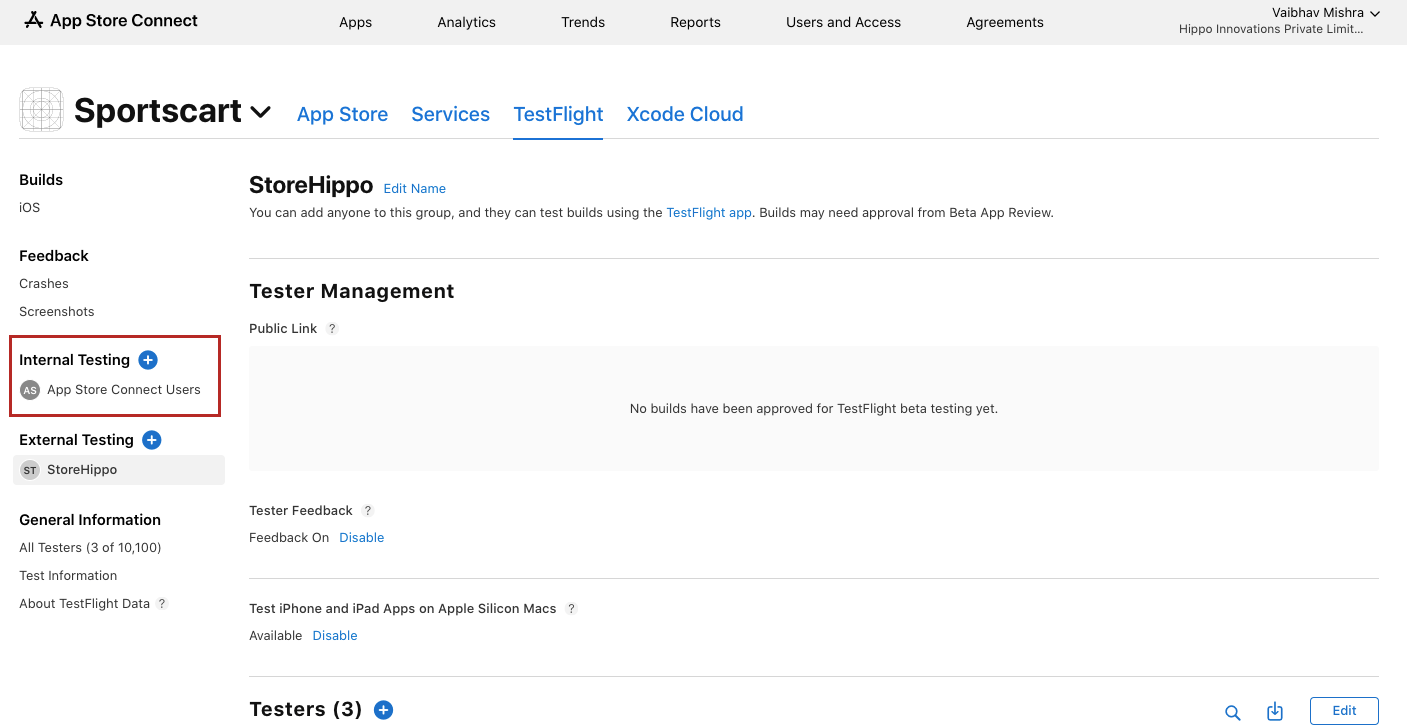
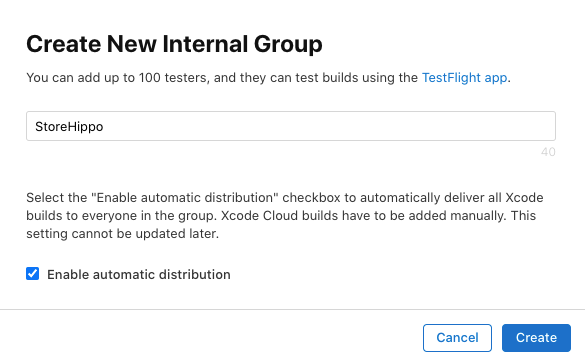
- Create an internal group for testing if required. Enter the group name and click the Create button.
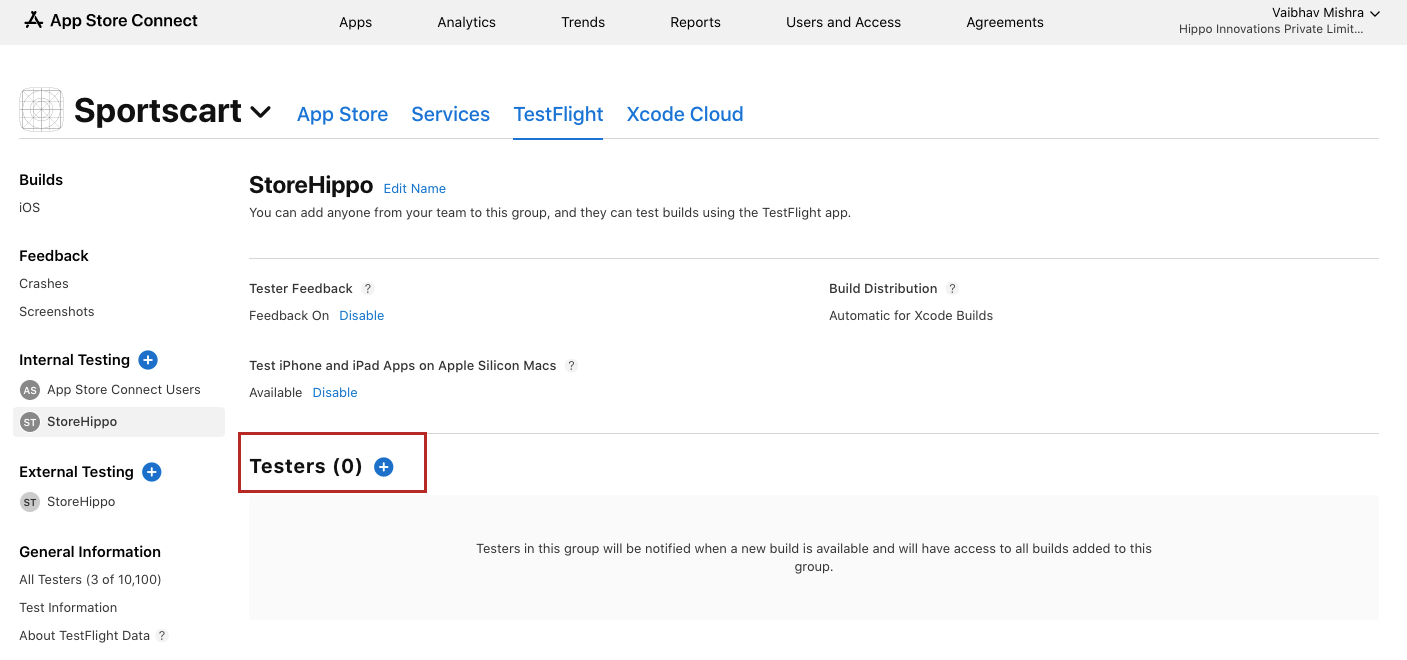
- Click the Testers option as shown in the image below.
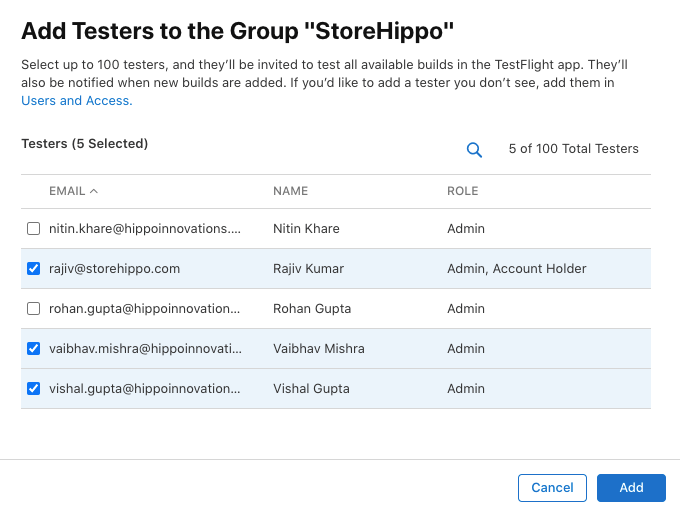
- Select the testers from the list of users and click the Add button.
- After you will select the users, select the build to assign the testers for testing.
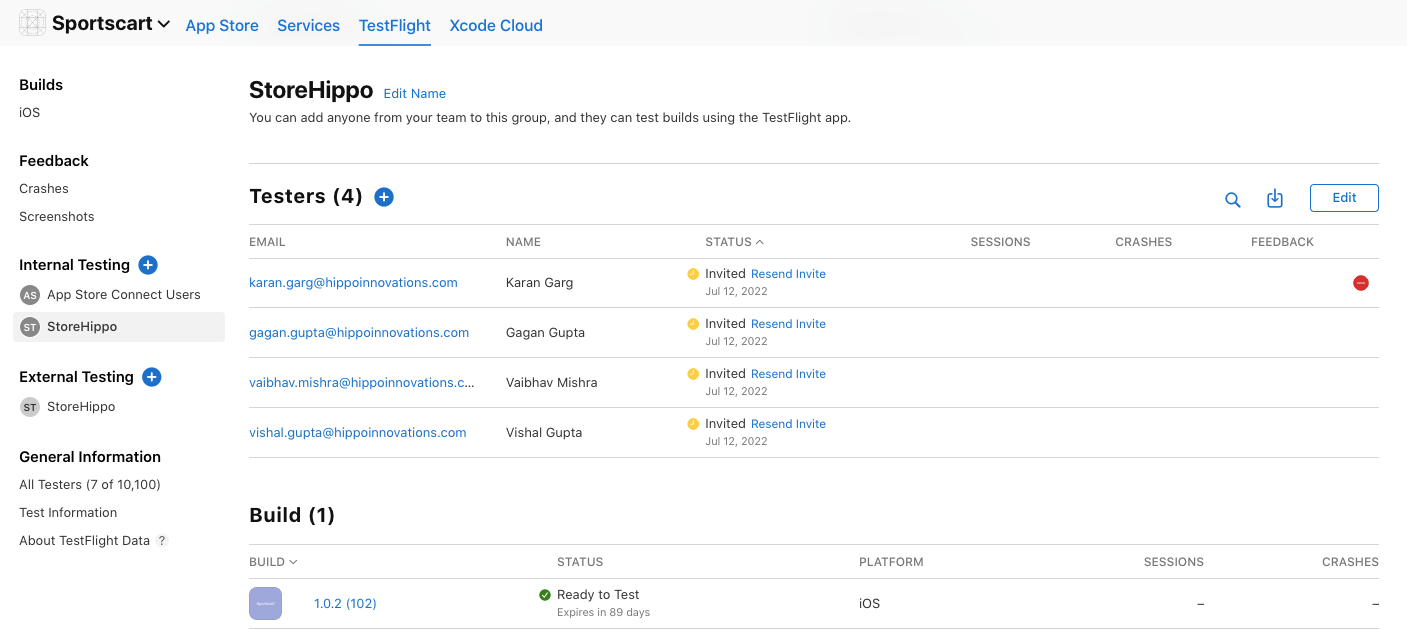
Now, the invitation will be sent to the users for installation. The users can install the app and test it.


