-
Email:
[email protected]
Phone:
+918010117117
StoreHippo Help Center
StoreHippo Help Center
- Home
- Google Analytics
- Configuring Google analytics goals
Configuring Google analytics goals
Mr.Rajiv kumarGoals will tell Google Analytics when something important has happened on your website.
-
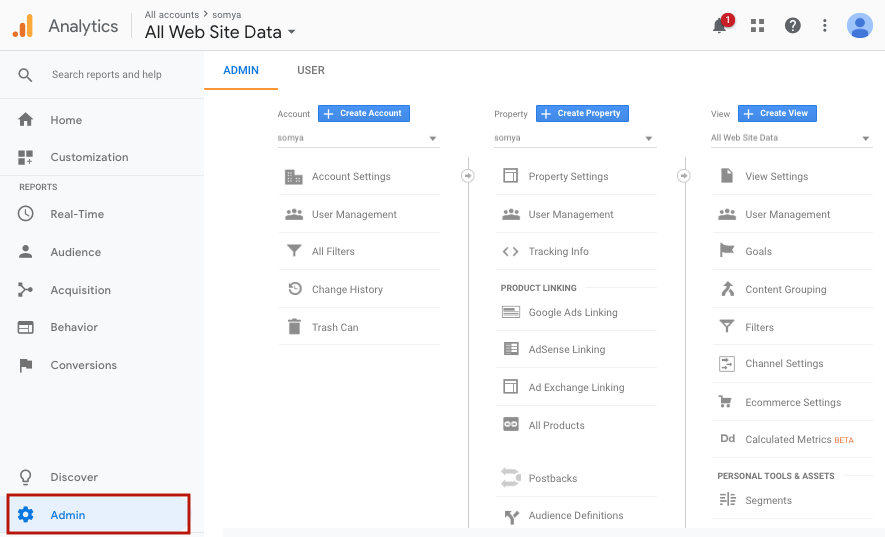
Go to Google Analytics menu bar and click Admin.
-
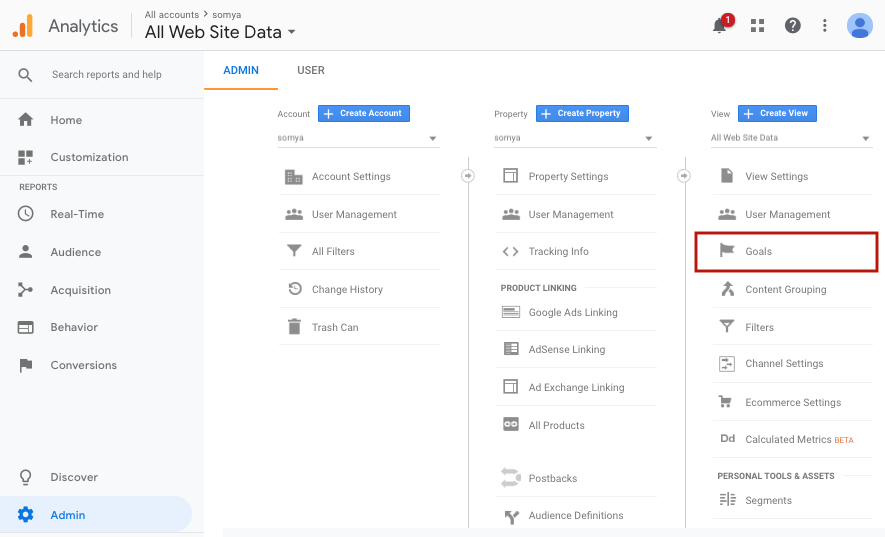
The window that will appear will show the settings like Account, Property, and View that you want to track. Click on Goals.
-
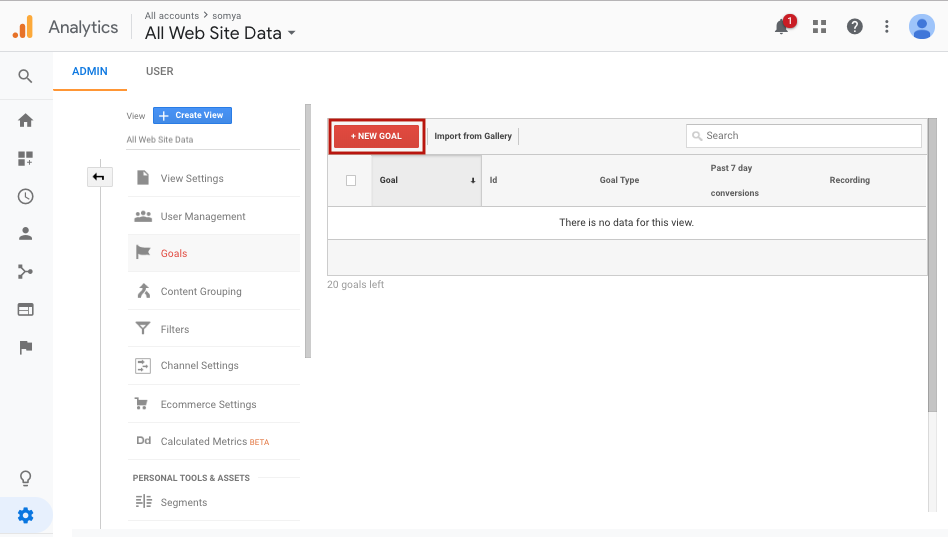
Click + NEW GOAL.
-
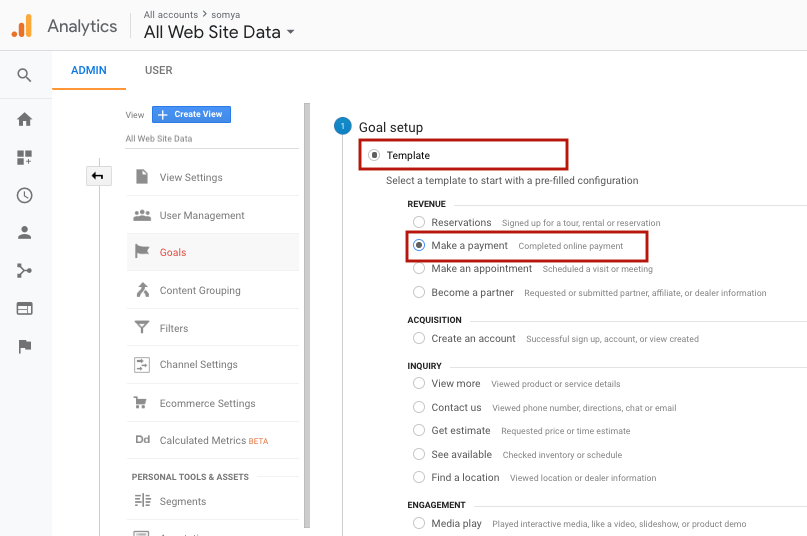
In Goal setup, select the Template check box, then select Make a Payment in the REVENUE section.
-
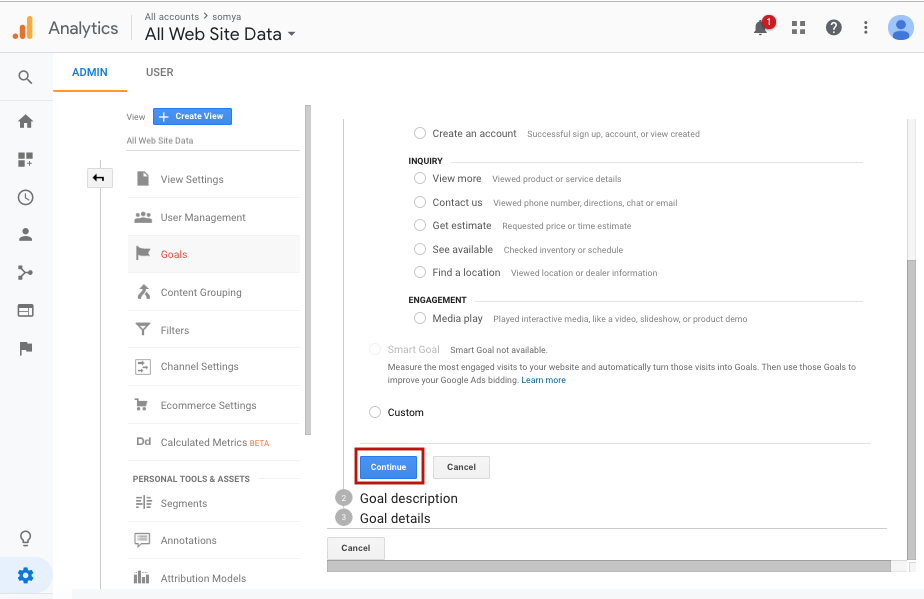
Click Continue.
-
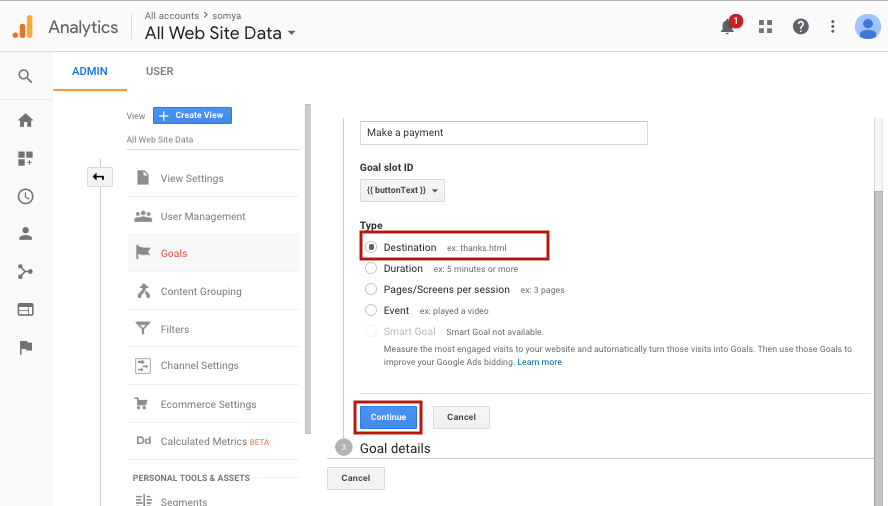
The Goal Description Name field is pre-filled, but you can enter a different name. Make sure that the Destination option is selected. Click Continue.
-
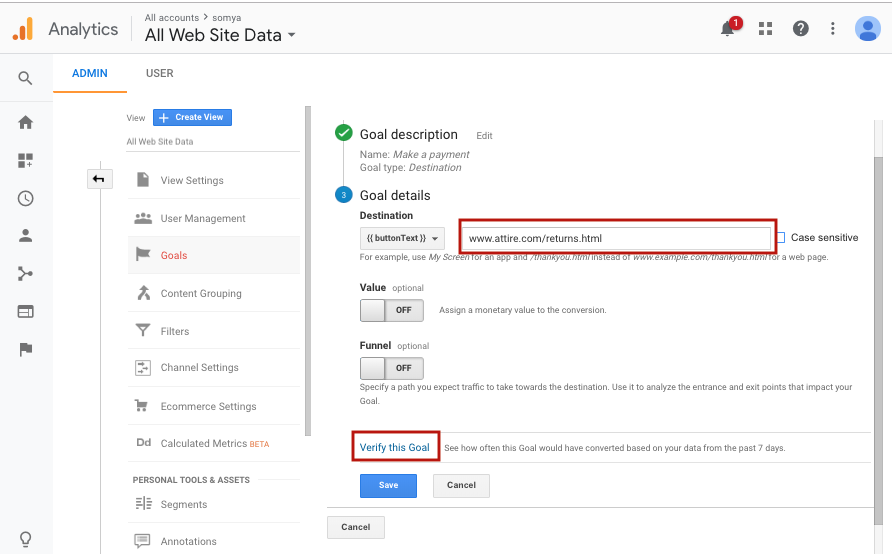
In the Goal details section, enter the URL. Leave the Case sensitive box unchecked unless you require it.
-
Click Verify this Goal to see if your Goal is set up correctly.
-
Click Save.
Configuring goal for conversions (order confirmation)
StoreHippo order confirmation URLs have format "/orderstatus/<orderid>". You can use the following settings to create a goal to track conversions.
- In Goal setup, select the Template check box, then select Place an order in the REVENUE section.
- Specify the goal description and make sure that the Destination option is selected. Click Continue.
- Select begins with from the dropdown under Destination and fill "/orderstatus/" in the goal details section.
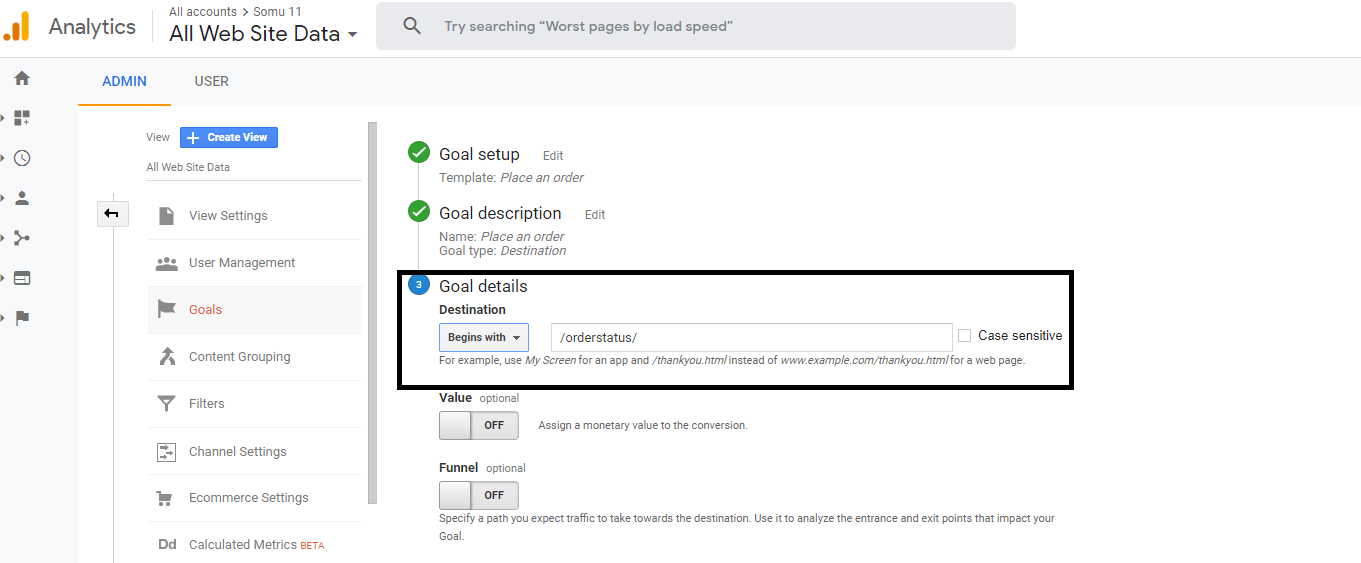
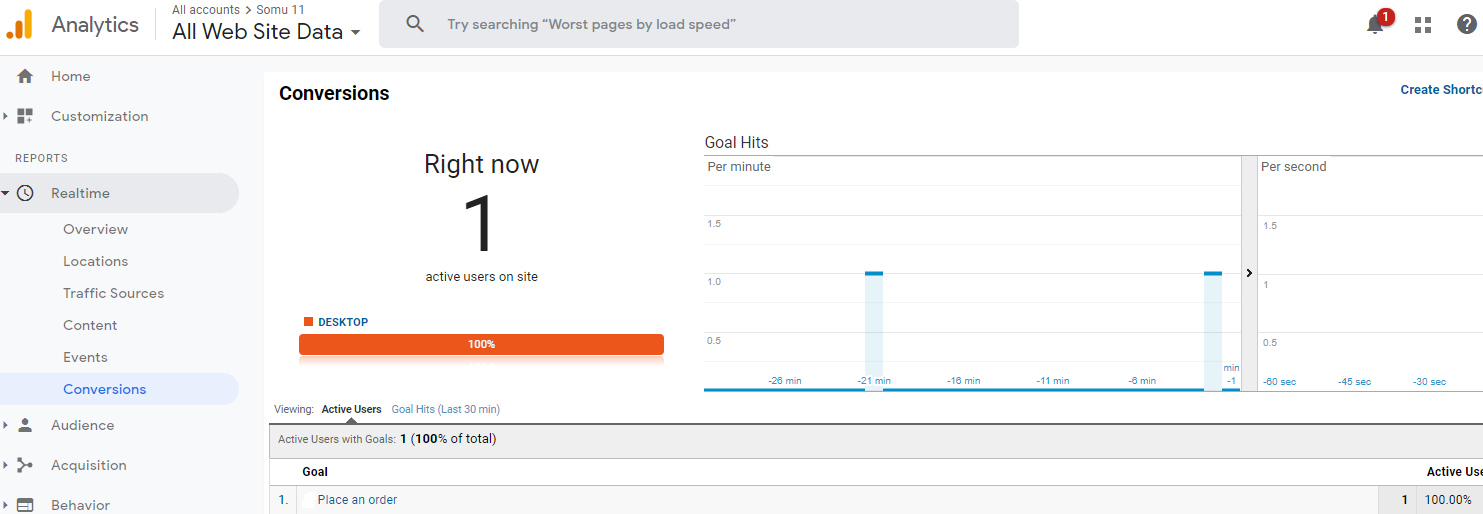
The same will reflect in the conversions sections when the order is placed.
