StoreHippo Help Center
StoreHippo Help Center
Zapier Integration
Mr.Rajiv kumarZapier is a third-party service that connects StoreHippo to many other apps and services, including Slack, Gmail, MailChimp, Shopify, and more. It enables you to automate your entire workflow by copying and moving your data between StoreHippo and other online applications. This way, you don't have to spend too much time or resources integrating StoreHippo with other apps. Before we go further, it is important that you know the following three things:
- An integration between two apps is called a Zap.
- A trigger is an event that happens in one app.
- An action is an event that Zapier automatically performs in another app based on that trigger.
Triggers and Actions supported by StoreHippo
You can design zaps where StoreHippo is the trigger (i.e. creating a new User in StoreHippo triggers an automated action), and where StoreHippo is the action (i.e., doing something in another app/service will automatically trigger the creation of a new User in StoreHippo). Let's look at the various triggers and actions supported by StoreHippo.
Triggers supported:
- New User - when a new user is created
- New Product - when a new product is created
- New Order - when a new order is created
- New Enquiry - when a new inquiry is created
Actions supported:
- Add Product - Creates a new product in StoreHippo
- Add User - Creates a new User in StoreHippo
- Add Enquiry - Creates a new User in StoreHippo
Making a Zap To Use Triggers
As an example, let's say you want to create a spreadsheet row whenever a user is created in StoreHippo. Here's how you will go about it:
- Log into your Zapier account, or create an account if you don't have one already.
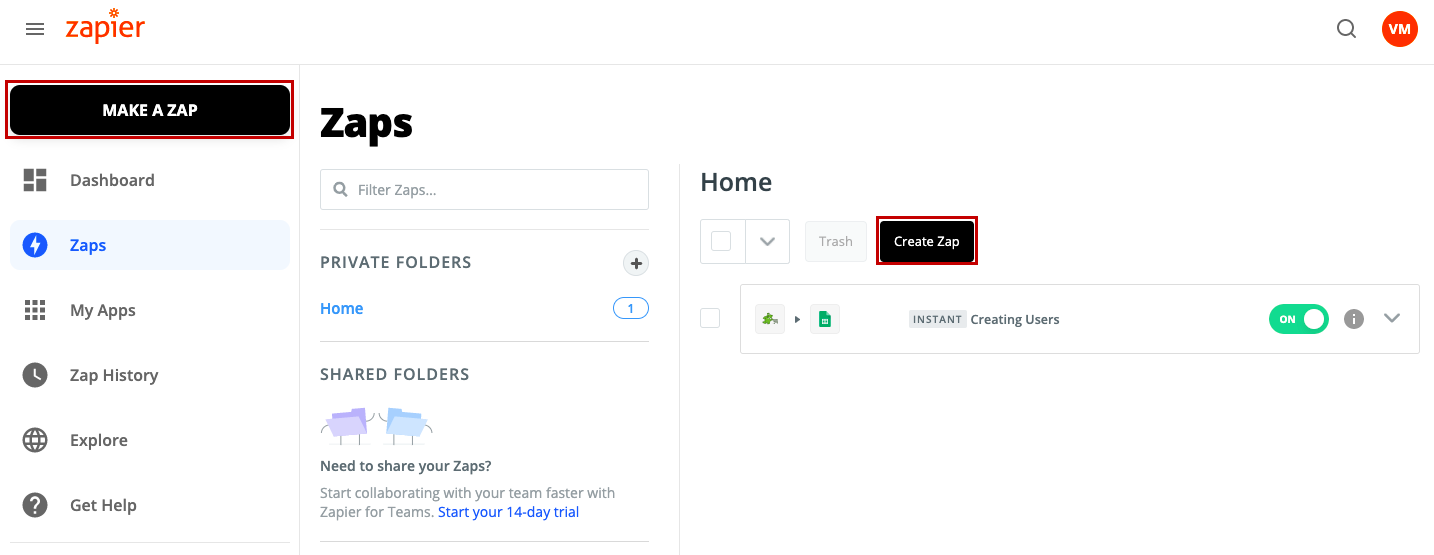
- Click the Make a Zap! option.
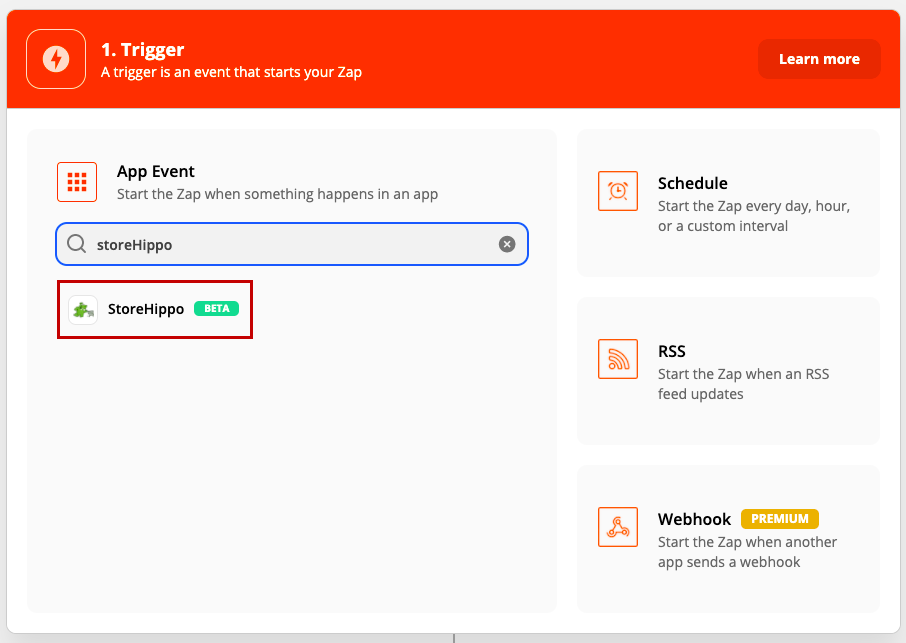
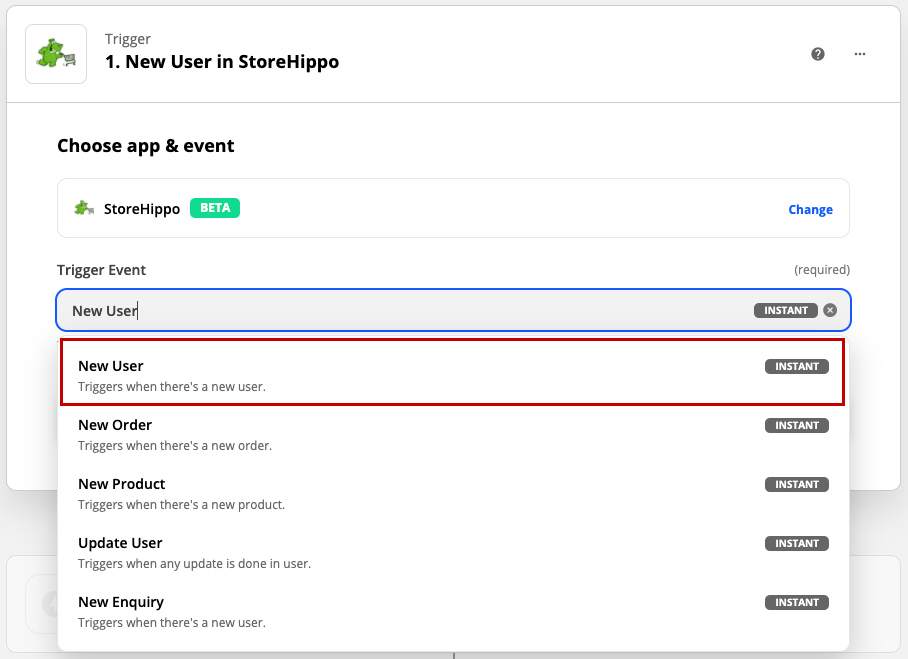
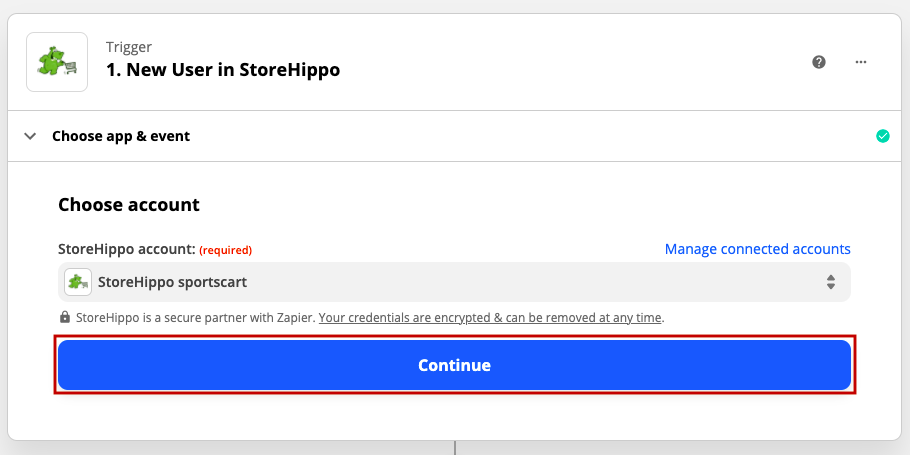
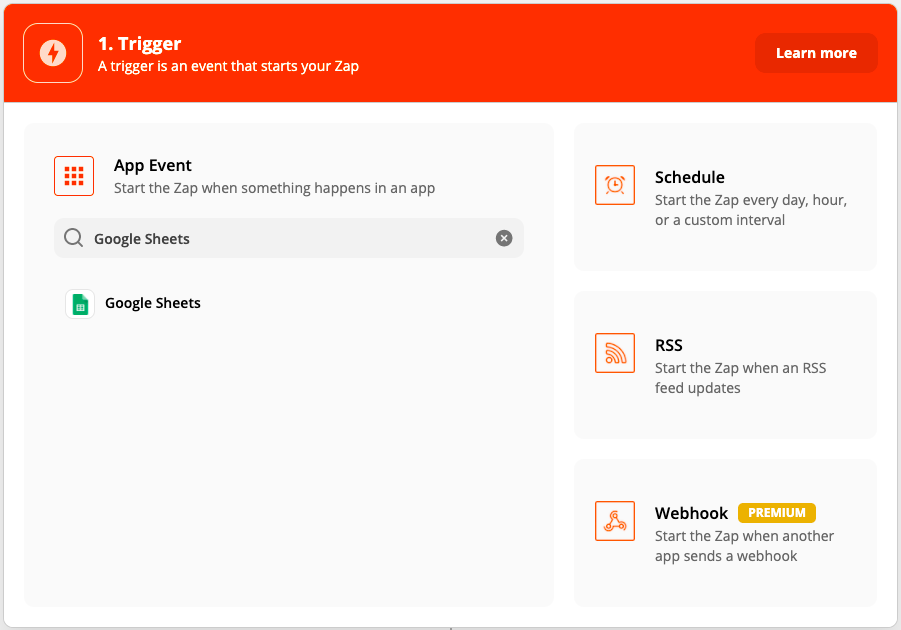
- Select the "StoreHippo" as your Trigger app and select "New User" as the Trigger Event.
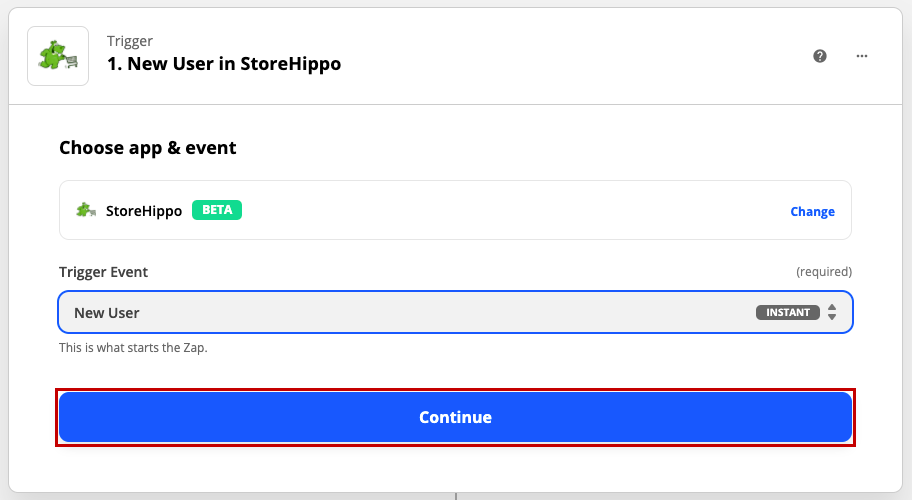
- Click the Continue button.
- Click the Sign in to StoreHippo button.
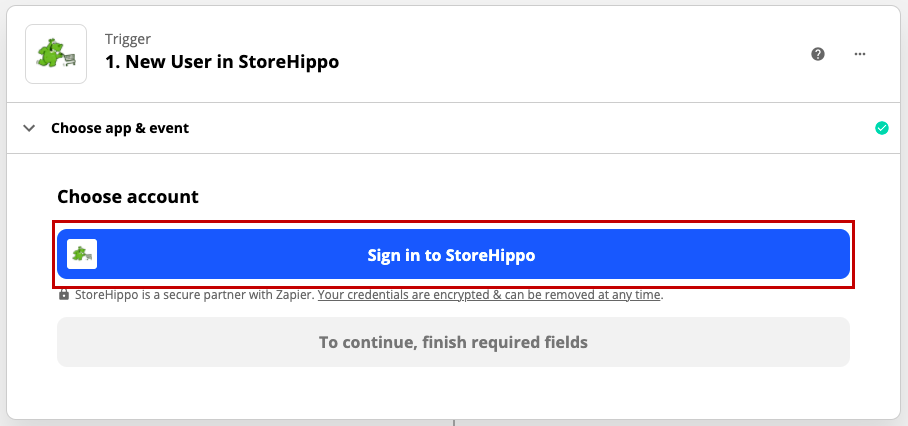
- Sign in to StoreHippo with your store name and access key.
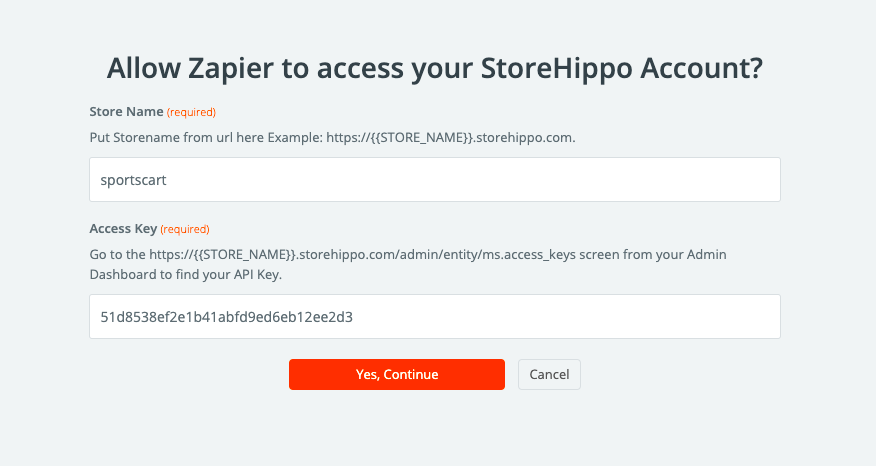
- Click the Continue button.
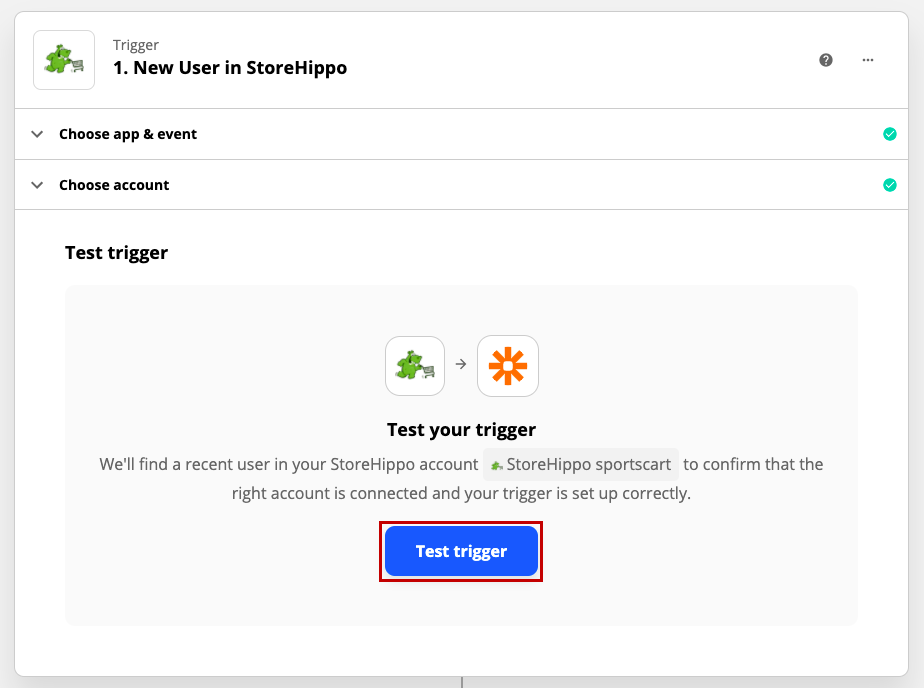
- Click the Test trigger button to test the trigger.
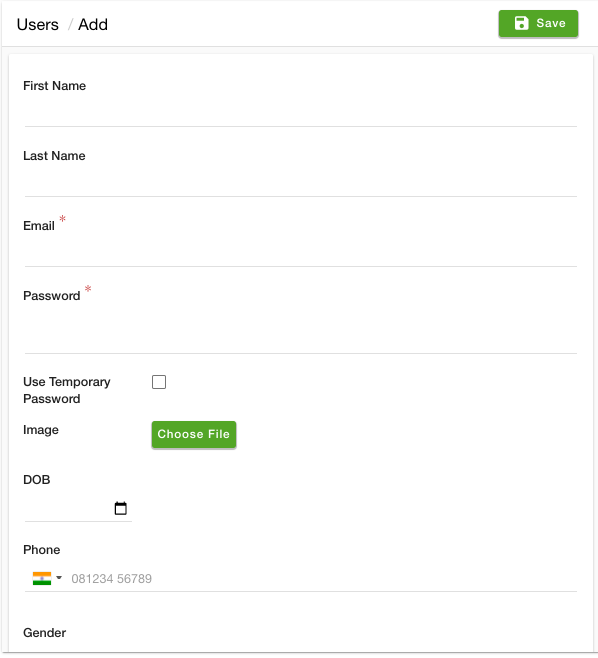
- After that, you need to log in to your store admin panel and have to create a user for setting up the Zapier webhook into StoreHippo.
- Go to the Users > Users section in your StoreHippo admin panel.
- From here you can create a new user into your system by clicking the Add new button. Click here to know more about adding users.
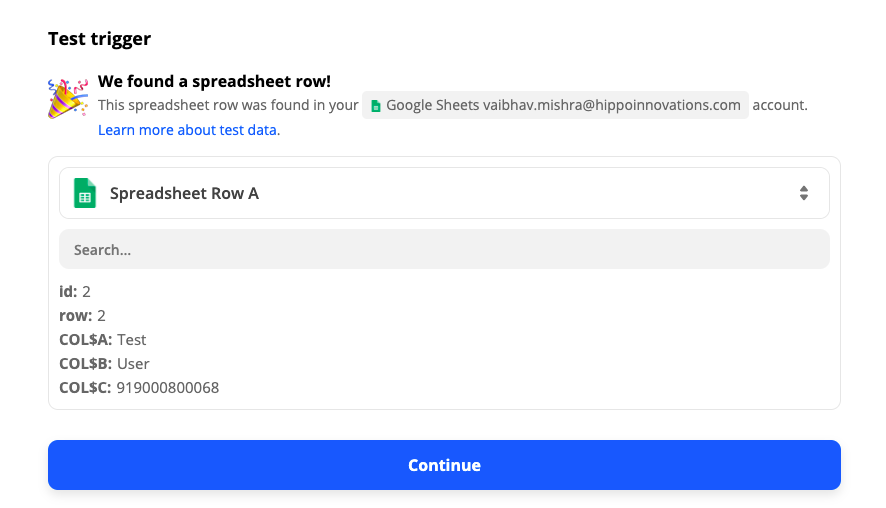
- Now, go back to the Zapier and test the trigger again by clicking the Test trigger button.

- After the successful trigger testing, you will receive a message as shown in the image below. Click the Continue button.

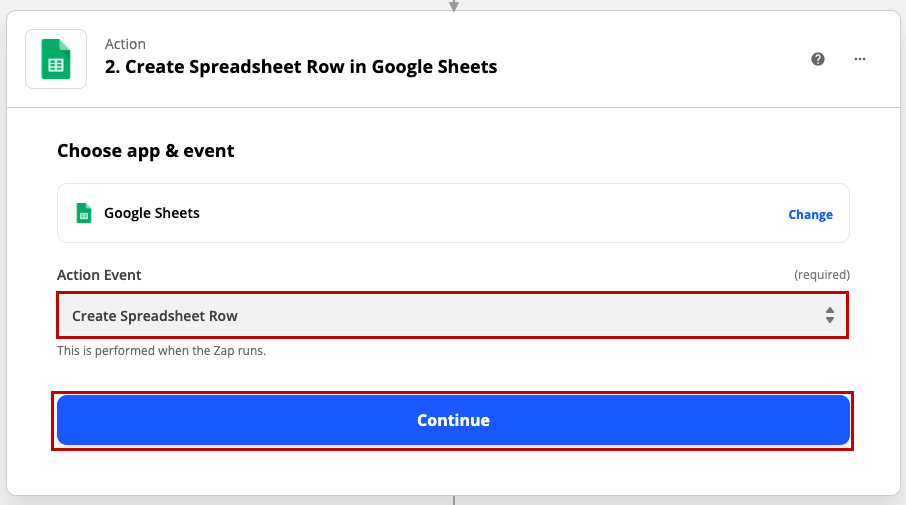
- Select an app for taking action. For now, we are taking an example of google sheet.

- Select the Create Spreadsheet Row option and click the Continue button.
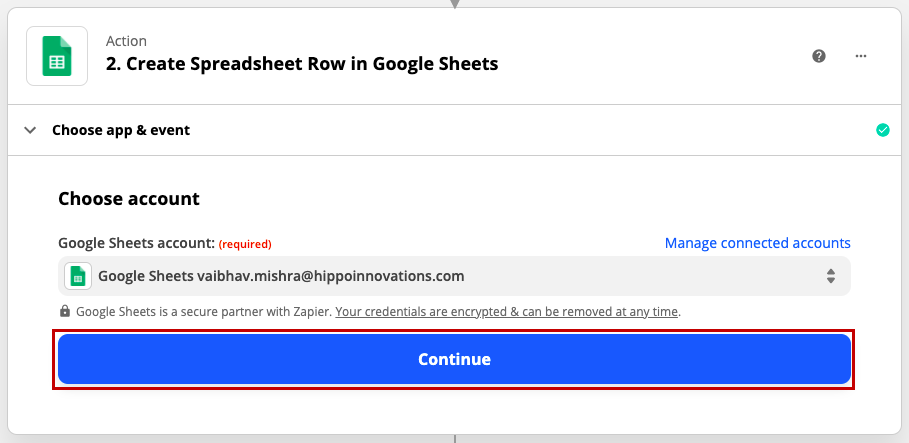
- Sign in to the Google Sheet and click the Continue button.
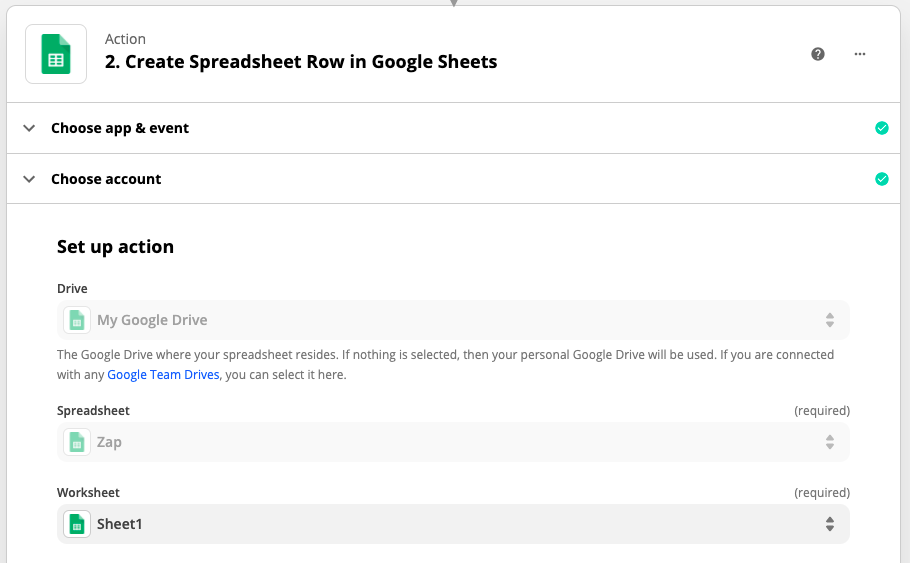
- Select the spreadsheet and worksheet where the action is needed to be performed.
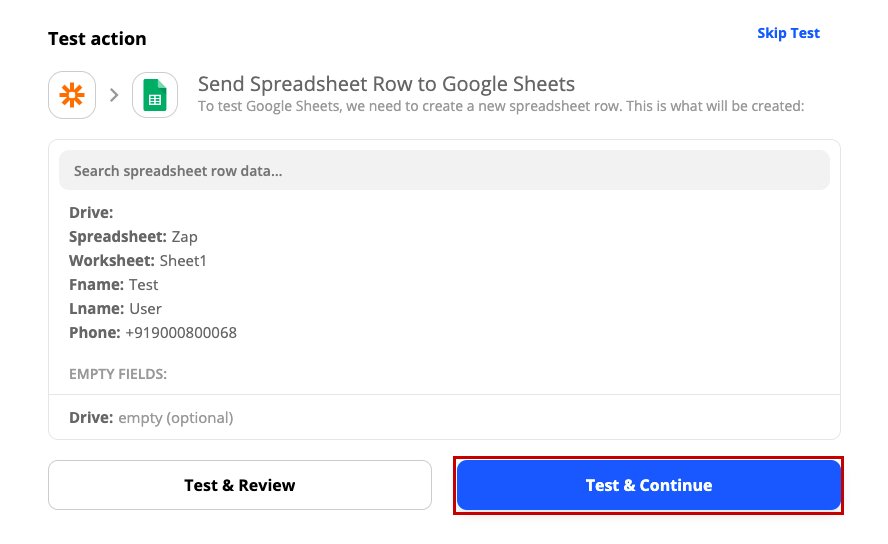
- Once you have selected the worksheet, map the fields with the keys that you have got from the StoreHippo trigger and click the Continue button.
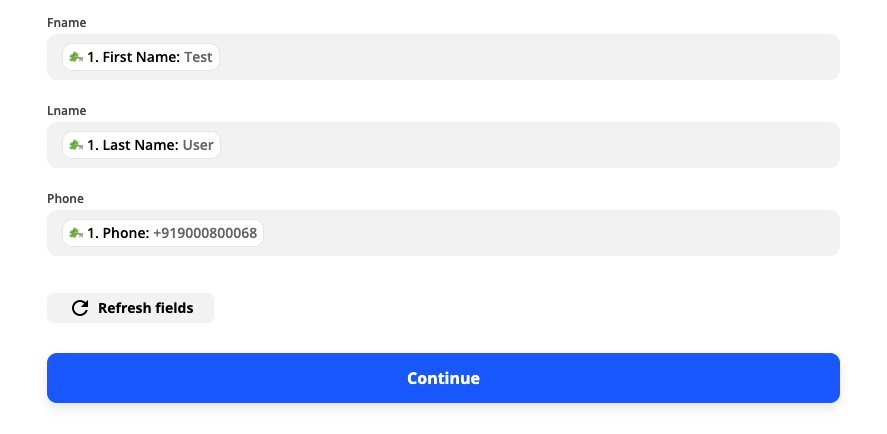
- After mapping these fields, click the Test & Continue button.
- After the successful test run, you will reach the next step as shown in the image below. Here, you can turn on your zap to become online and see the action on the sheet where the trigger gives data.
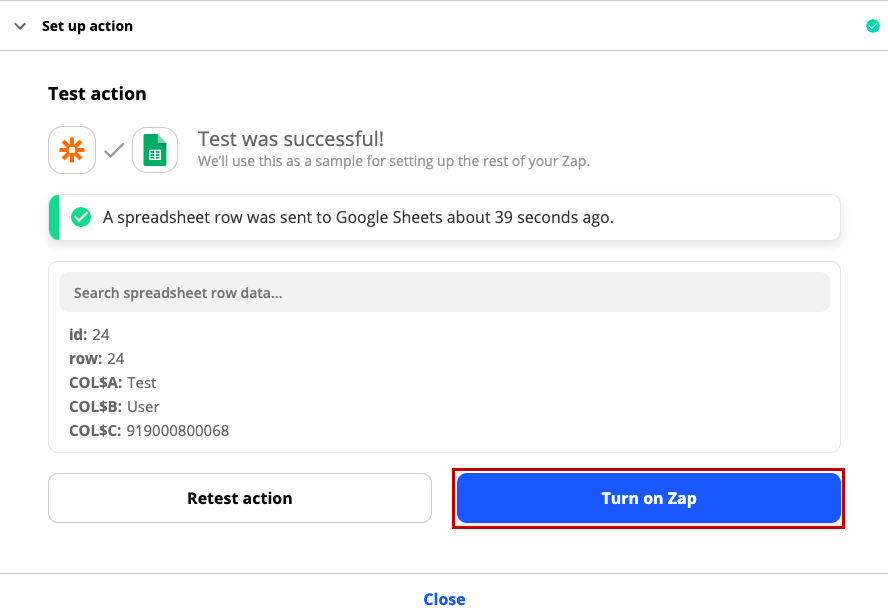


Now, the Google spreadsheet row will be created from the above zap.
Making a Zap To Use Actions
- Create a new Zap by clicking the Make a Zap or Create Zap button.
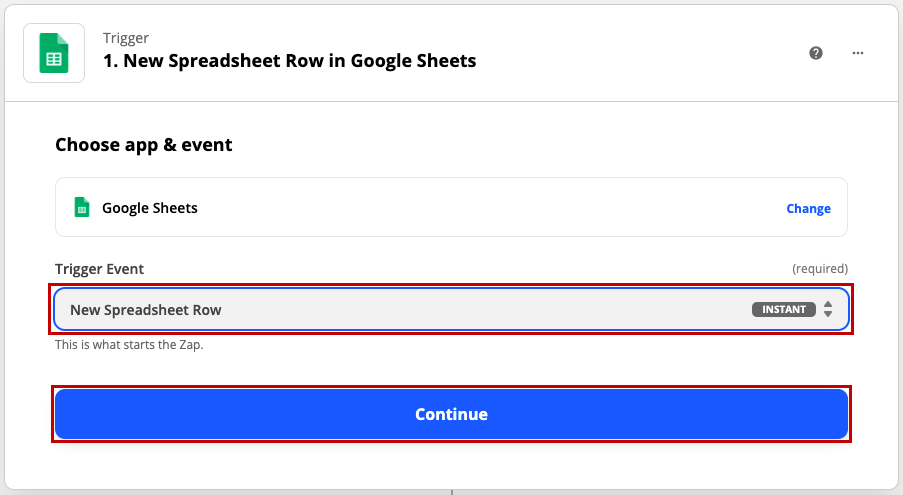
- You will get a screen to select the app for the trigger. Here, you have to select Google Sheet.
- Choose "New Spreadsheet Row" as the Trigger Event and click the Continue button.
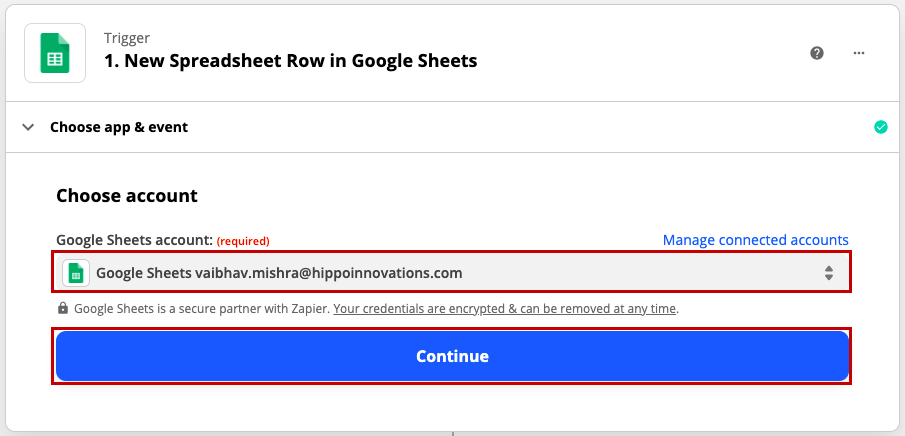
- Select the Google sheet account and click the Continue button.
- Select a spreadsheet and worksheet from where you can get the information to add to the system.
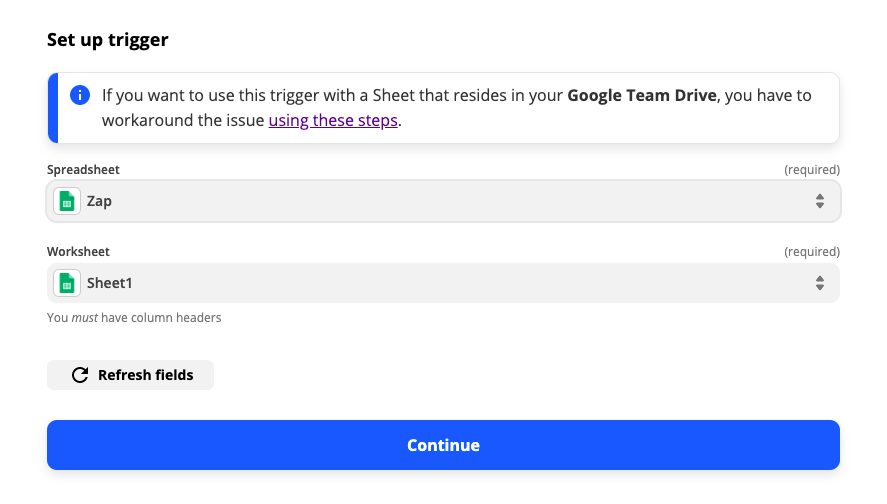
- Click the Continue button and test the trigger.
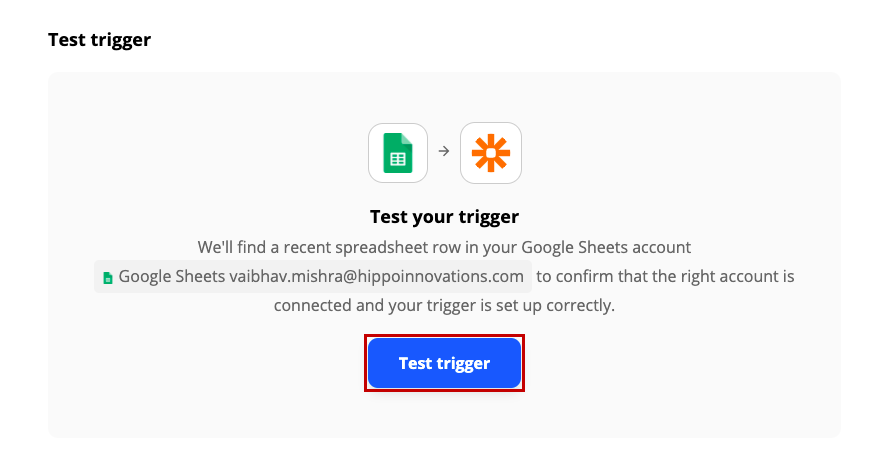
- The message for successful trigger testing will be displayed. Click the Continue button.
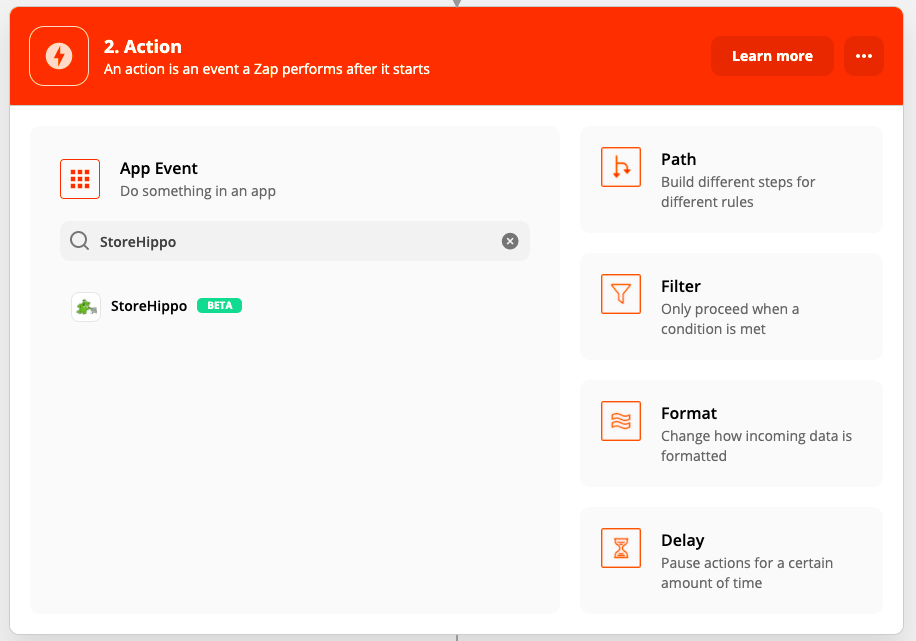
- Choose StoreHippo as an action app.
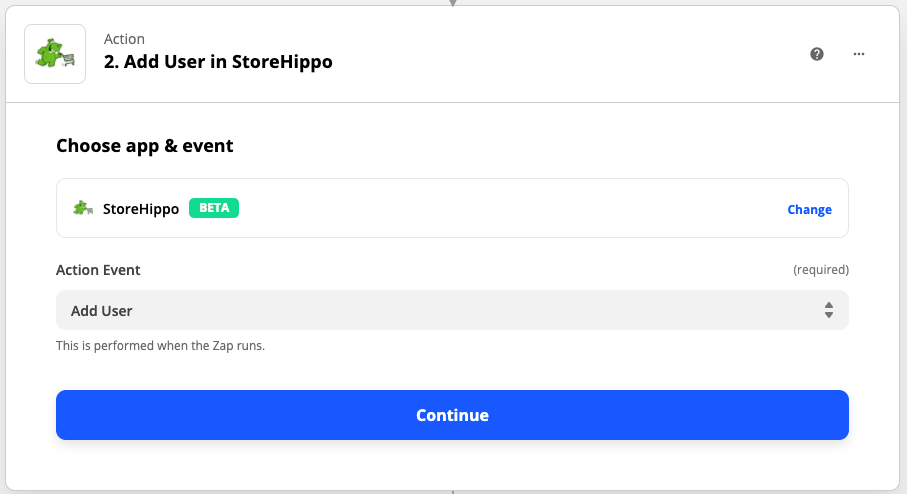
- In the Action Event field, select the "Add User" option.
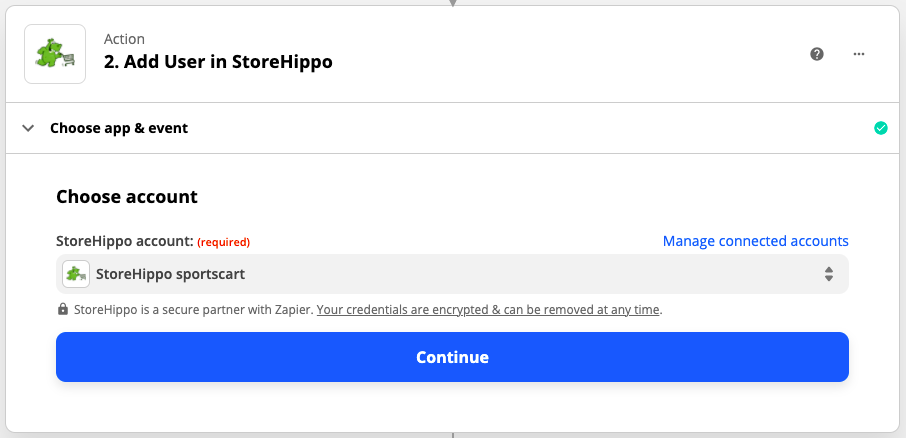
- Choose your StoreHippo account and click the Continue button.
- Setup action and map the fields.
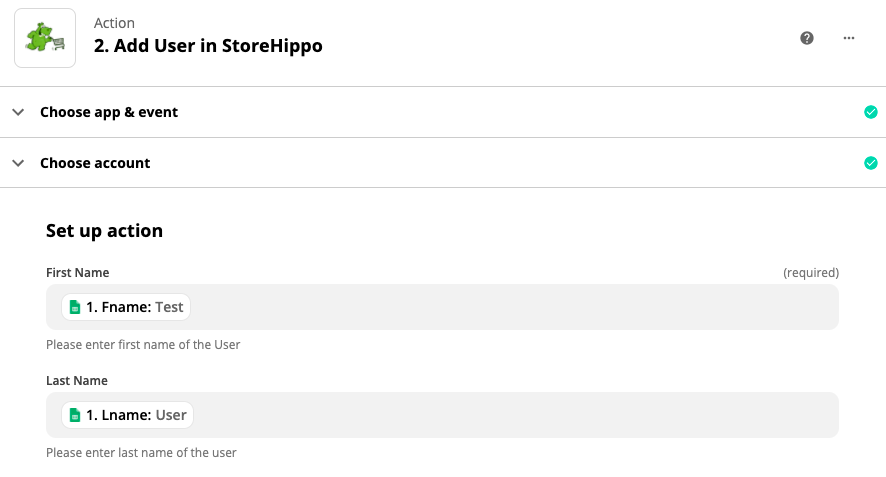
- After providing the details, click the Continue button.
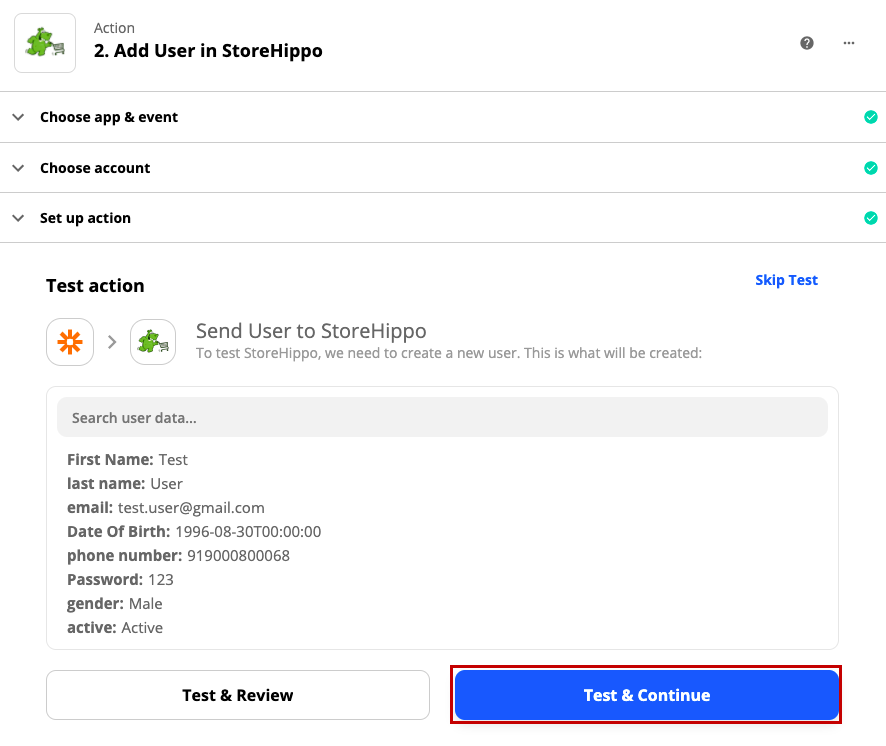
- Click the Test & Continue button to start the testing.
- Provide the name for your zap and turn it on.
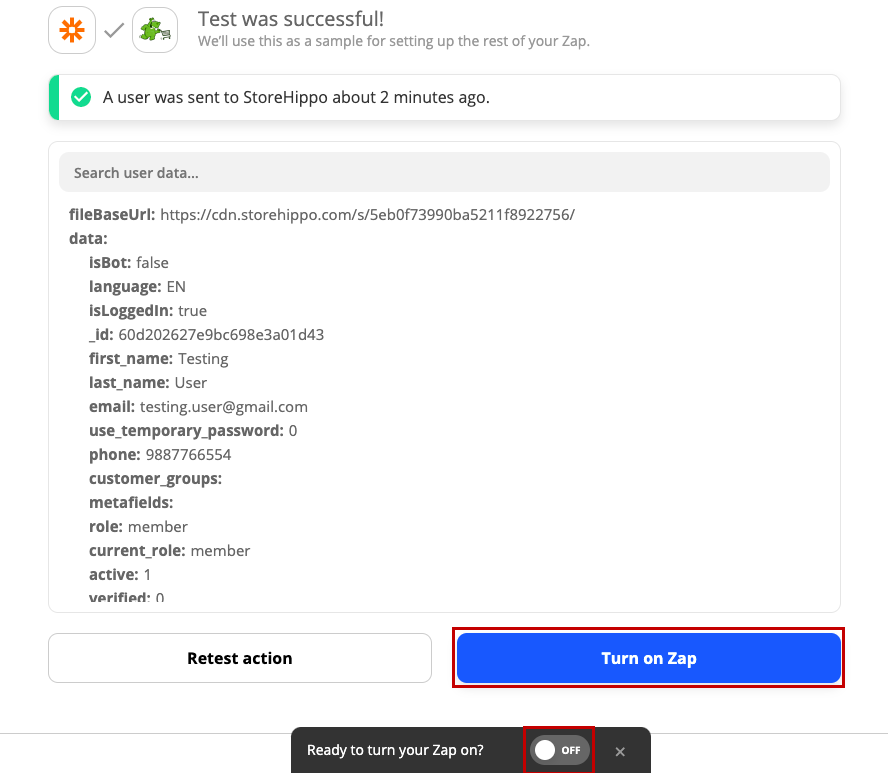


Now, a new user will be created into the system. You can verify it in the StoreHippo Admin panel. 


