- Email:
[email protected]
Phone:
+918010117117
StoreHippo Help Center
StoreHippo Help Center
- Home
- Email providers
- Setting up Mailchimp as the email provider
Setting up Mailchimp as the email provider
Mr.Rajiv kumarStoreHippo has integrated the API of Mailchimp. You can add Mailchimp as the email provider in your store. Mailchimp facilitates you to manage your business communication seamlessly. It gives you a secure, encrypted, and privacy-guaranteed email service.
Setting up Mailchimp as the email provider in your store is a two steps process, viz getting keys and adding Mailchimp as the email provider in your store.
Getting Mailchimp API key
- Register on the Mailchimp.
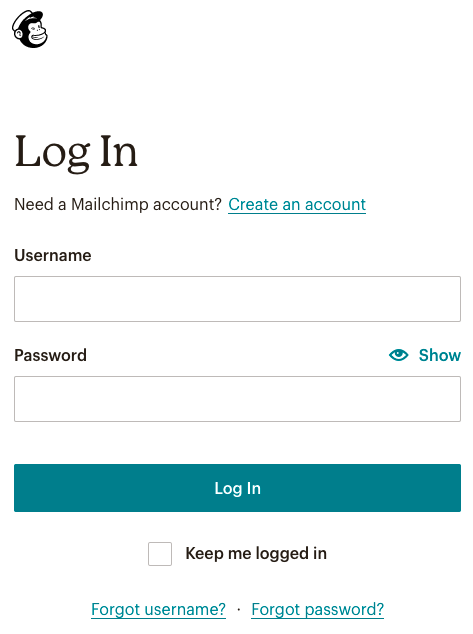
- If you already have an account, then proceed with the next steps.
- Click the user icon at the bottom.
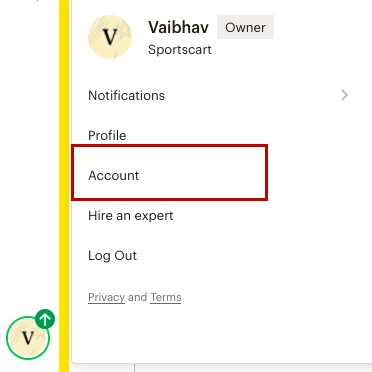
- Click the Account option.
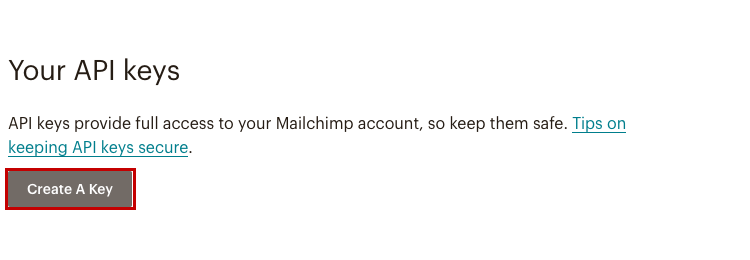
- Click the Create A Key button.

Now, the Mailchimp API key will be created. Save the API key for use.
Getting Mandrill API key
After getting the Mailchimp API key, you need to get the Mandrill API key. However, for that, you need to create a Mandrill account. Once you have created the Mailchimp account, you need to register on Mandrill.
- You can register on the Madrill using your Mailchimp credentials.
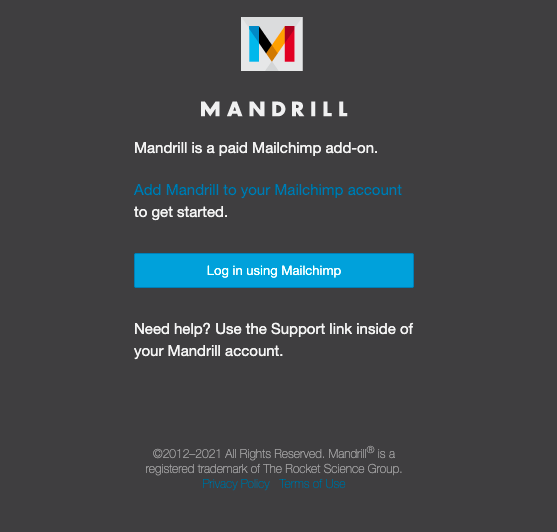
- After logging in to your Mandrill account, go to the Settings section.
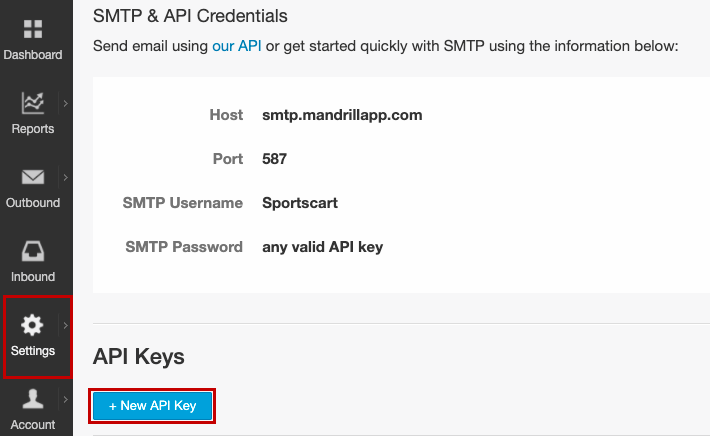
- Click the New API Key button and proceed to create a new Mandrill API key.

Now, the Mandrill API key will be created.
Adding a domain in your Mandrill account
Now, you need to add a domain to your Mandrill account and get it verified through your domain provider.
- Go to the Setting section and click the Sending Domains option.
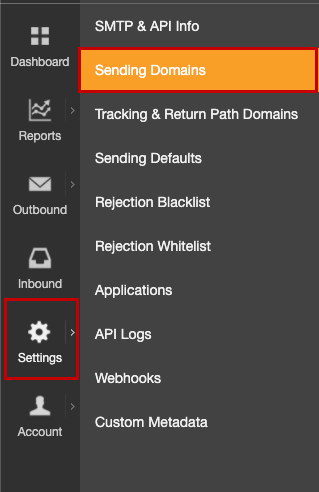
- Add your domain and click the Add button.

- Now, you need to get your domain verified, SPF, and DKIM settings validated through your domain provider.

After the successful verification, it will have verified check as shown in the image above.
Adding Mailchimp as the email provider
To set up Mailchimp as the email provider of your store, follow the steps mentioned below:
- Go to the Settings > Email Providers section in the StoreHippo Admin Panel.

- Click the Add New button. A form will open up with multiple fields.
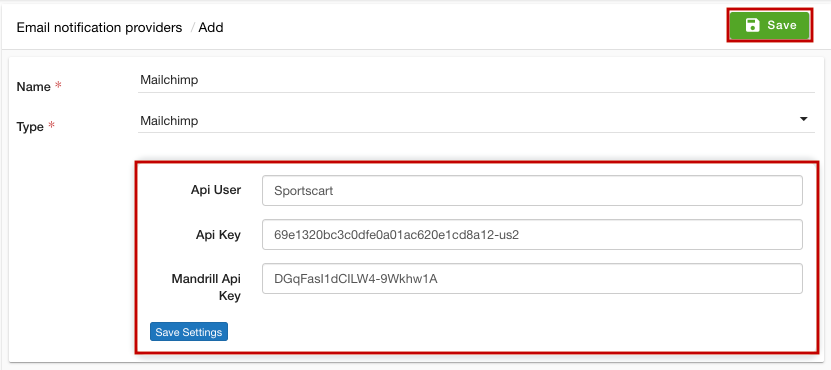
- In the Name field, enter the name of the email provider.
- From the Type dropdown, select the email provider.
- In the Api User field, enter the name of the API user.
- Enter the Mailchimp API key in the Api Key field.
- In the Mandrill Api Key field, enter the API key that you have got from your Mandrill account.
- Click the Save Settings button to save the settings followed by the Save button to apply the changes.
Now, Mailchimp will be set as the email provider in your store.


